Let's begin
1. Open the background layer "fond_yamina"
2. Layers - Duplicate - Image - resize 90% all layers
not checked
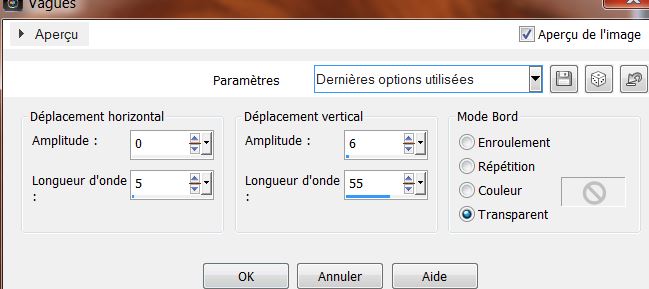
3. Effects - distortion effects - Wave
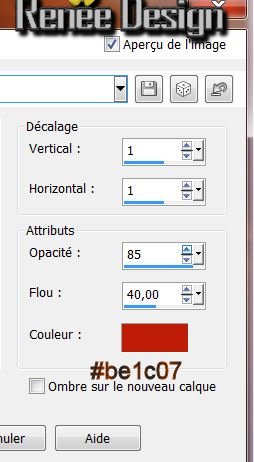
4. Effects - 3-D effects - Drop Shadow 1/1/85/40
black
5. Effects - Simple - Pizza Slice Mirror (apply an other times)
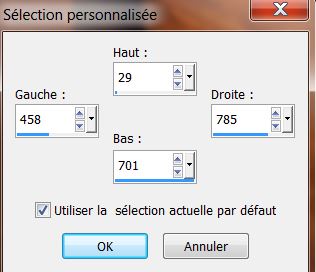
6. Selection tool - Custom selection
7. Selection - promote selection to
layer
8. Go Back to copy of raster 1 / Delete
9. Selections - deselect
10. Return to the top layer (promoted selection)
11. Effects / Pizza slice Mirror
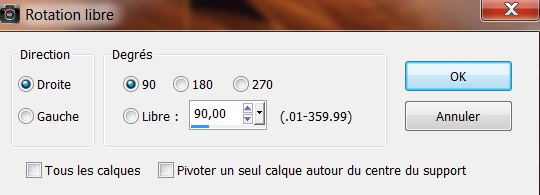
12. Image - free rotate
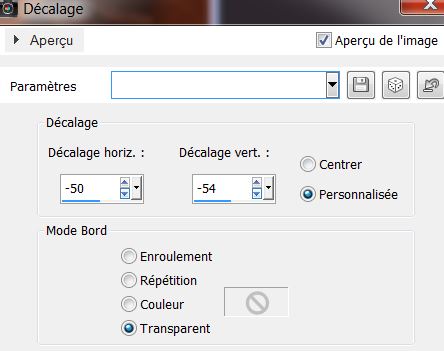
13. Effects - Image effects - Offset
14. Effects - Edge effects - Enhance more
15. Layers - Duplicate / Image Flip / Layers - merge
down
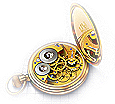
You are here
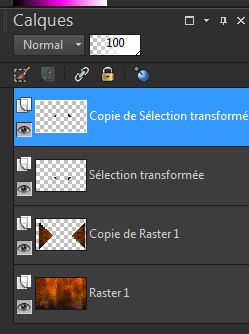
16. Close the eye of the layer raster 1
Click to activate another layer - Layers - merge visible
layers
Open the eye of the layer raster layer 1 to make it
visible again
17. Return to the merged layer / duplicate
18. Effects - geometric effects - Circle - Transparent
checked
19. Layers - add a new layer
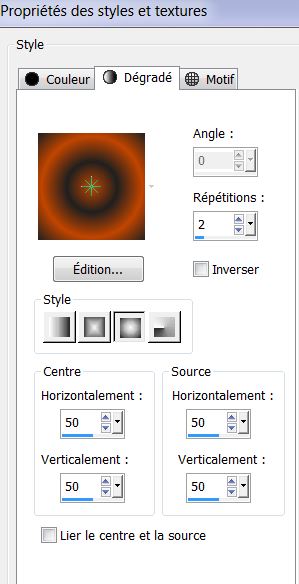
Color palette set the foreground color to #c14500 and
background to #202020
20. Prepare a sunburst gradient configured like this
21. Selections - load selection "yamina_1'' - fill
with the gradient
22. Effects - AAA Frame - Texture Frame

23. Selections - Modify - Expand - 15 pixels
24. Layers - add a new layer / fill with the gradient /
layers - arrange/ move down
25. Selections - deselect / Go back to the top layer /
layers - merge down
26. Effects - EyeCandy 5 Impact Extrude - Preset "yamina_extrude"
27. Effects - Mura's Meister - Perspective Tiling /
color #c14500
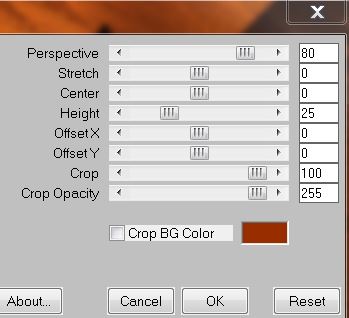
28. Layers - Arrange - move down - do this twice
29. Effects - 3D effects - drop shadow
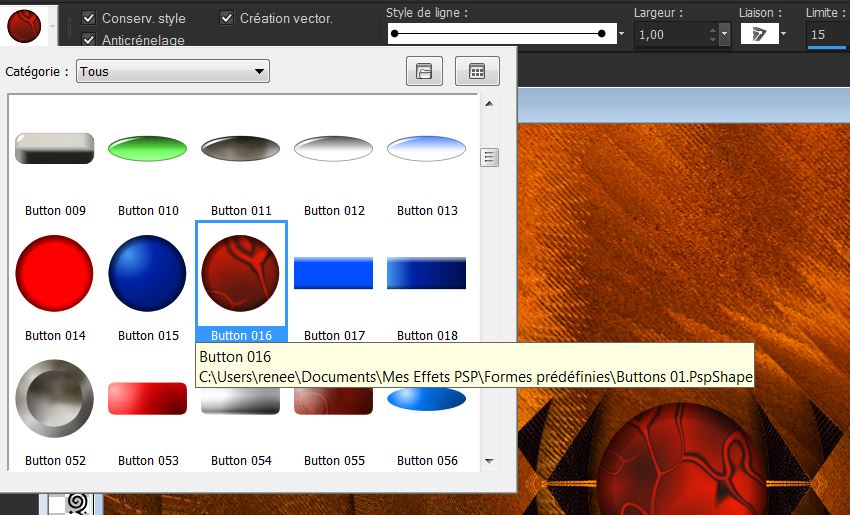
30: Layers - new raster layer - "dossier_buttons_01
'place in the basic shapes psp - Open the tool
predefined shapes and pick the button 016
Draw the shape / (if you do not succeed it is a png in
the materials file) paste as a new layer
31. Effects - EyeCandy 5 - Glass - Clear Preset / Select
the basic tab and set the Bevel Width to 10.82
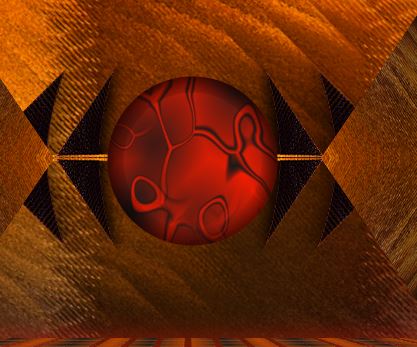
32. Paste the tube ''yamina_image1" as a new layer /
paste as a new layer and move it onto the center of the
button (see finished drawing) - you can also place it in
basic shapes with the name "nova"
33. Click to activate the bottom layer / open the tube
''yamina_grille'' - edit copy and paste as a new layer
placing it as seen in the finished image
Change mode to hard light and leave the opacity at 77
34. Go to the top of the Layers palette
35. Open the tube ''yamina_image_plateau'' / edit - copy
and paste as a new layer
36. Leave the mode set to hard light and opacity at 87
37. Layers - add a new layer
38. Selections - Load selection from disk "yamina_2" -
flood fill - opacity 60 - fill with your background
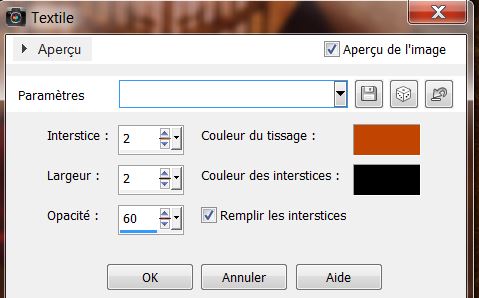
39. Effects - texture effects - weave - Change the
foreground color to #c14500 and background to #202020
40. Selections - deselect
41. Effects - EyeCandy 5 Impact - extrude / Preset
''yamina_extrude_2''
42. Change the layer mode Luminance Legacy
43. Layers - add a new layer
44. With the fill tool opacity still at 60 - fill with
the foreground color
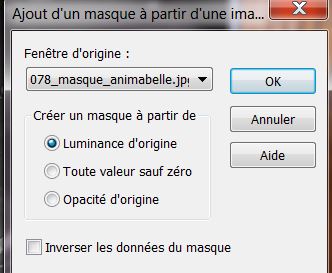
45. Layers - new mask layer from an image
"078_masque_annimabelle.jpg"
46. Effects - edge effects - enhance - Layers - merge
group
47. Open the tube "lady_with_swan_n.shau_misted_of
devils" - image / resize 65% all layers not checked
Edit - copy and paste as a new layer - move into place
as shown in the finished drawing
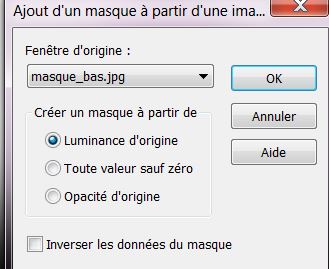
48. Layers - new mask layer from image "masque_bas"
49. Layers - merge group
50. Open the tube "medusa
higherdepts_misted_tube_of_devils - paste as a new layer
- image/ mirror
51. Attention: Place on the right as shown

52. Open the tube "whooping_crane" - image/ mirror -
image - resize at 60% all layers not checked - paste as
a new layer
53. Effects - 3D effects - drop shadow default
54. Open the tube "corbeau_26" - Copy and Paste as new
layer
55. Layers - Merge visible layers
55. Image - add borders - 5 pixels white
56. Image - add borders - 5 pixels #c14500
57. Image - add borders - 10 pixels white
58. Image - add borders - 35 pixels #202020
59. With your magic wand select the 35 pixels edge
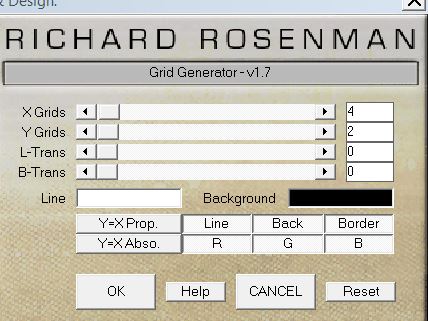
60. Effects - Richard Rosenman - Grid Generator (click
Y.X Prop to change the figures as shown)
61. Selections - deselect
62. Image - add borders - 3 pixels white
63 Paste or write the text to your taste ( Woodcut font)
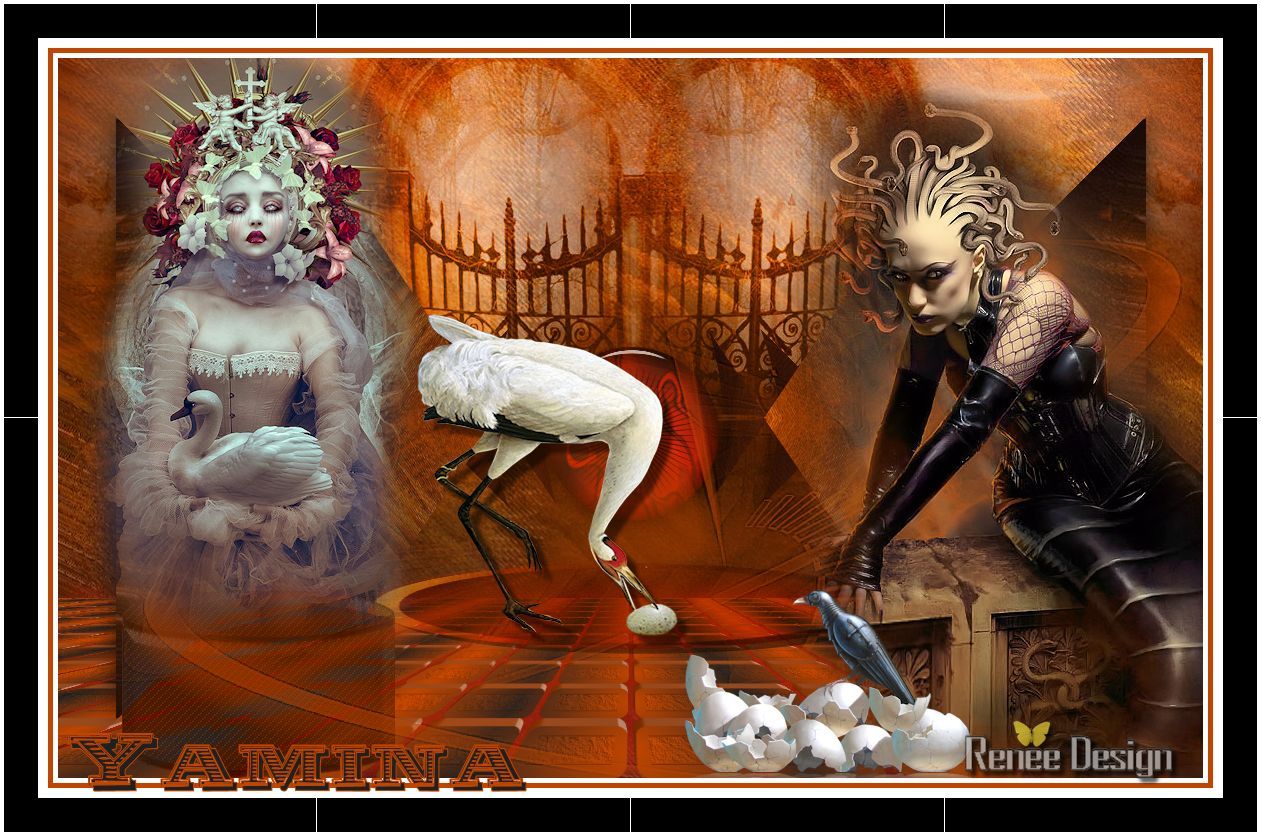
64. Layers - merge all
Lesson over
Thanks Sally
*
This lesson was written by Renée
the 22/10/2013
in place
the 08/11/2013
*
Don't
forget to thank the people who work for us and with us.
I named the tubeurs - Testers and the translators
Thank you
|