Let's begin
Color palette - foreground color white - background
color #c94846
1. Open the image "fond_sweet_love_girl" - promote to
background layer
2. Layers - new raster layer - fill with the color white
3. Layers - new mask layer from image "masque_sweet_love_renee" 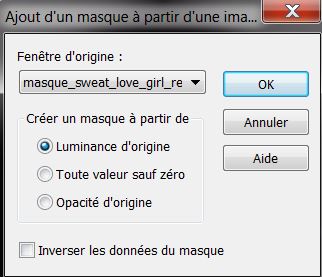
4. Effects - edge effects - enhance
5. Layers - merge group
6. Layers - new raster layer
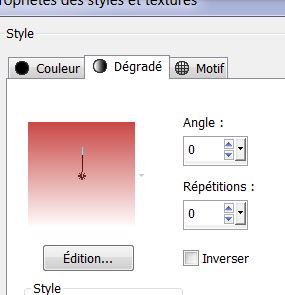
7. Color palette - make a linear gradient
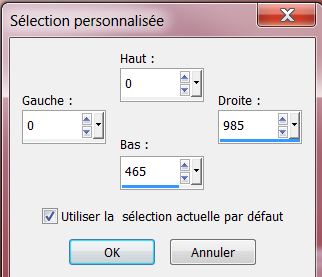
8. Selection tool - custom selection
9. Fill with the gradient
10. Effects - simple - blintz
11. Effects - Filters unlimited2.0 - Toadies - posterize
12. Effects - edge effects - Dilate - Effects - edge
effects - enhance
13. Effects - unlimited2.0 - Toadies - blur'em

14. Selection - select none
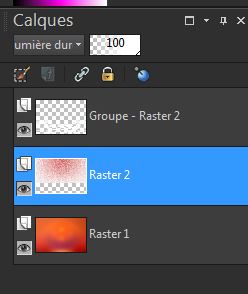
15. Layers - Arrange - move down down - Change this
layer mode to Hard Light
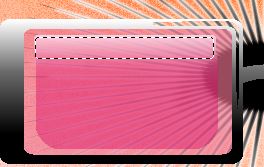
This is your pallet
16. Activate the top layer
17. Layers - new raster layer
18. Selections - Load selection from disk "sweet_1" -
fill with white
Selections - select none
19. Effects - 3D effects - drop shadow black 10/22/50/7
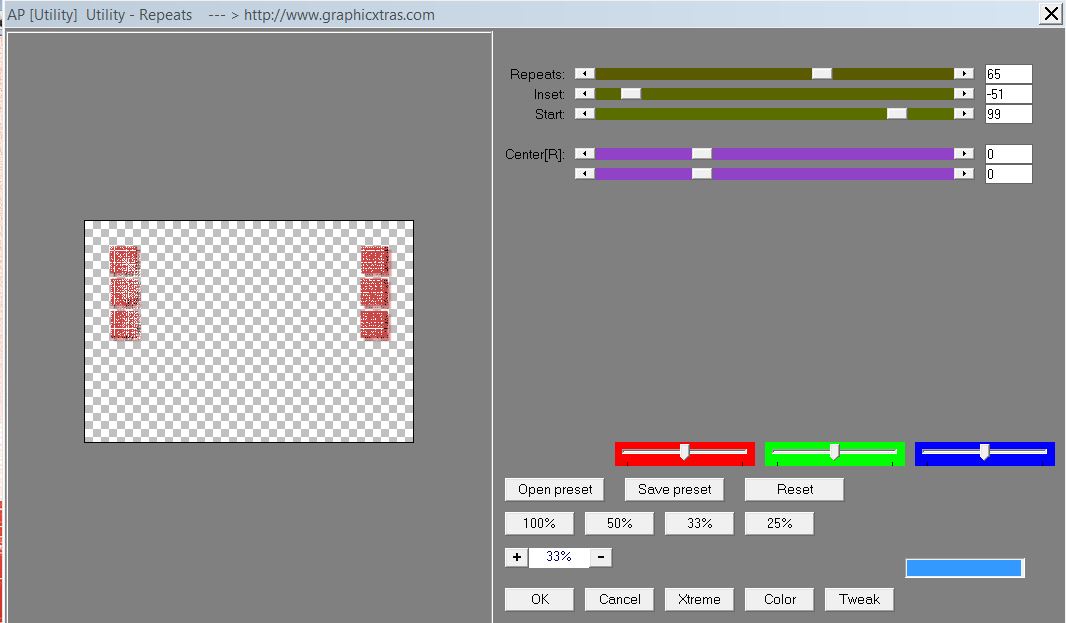
20. Change foreground to white - red background
Effects -"AP14" video - repeats 48/min51/99/0/0
Otherwise use the filter - AP (utility) - Utility -
repeat
21. Layers - new raster layer
22. Selections - Load selection from disk "sweet_2" -
fill with white
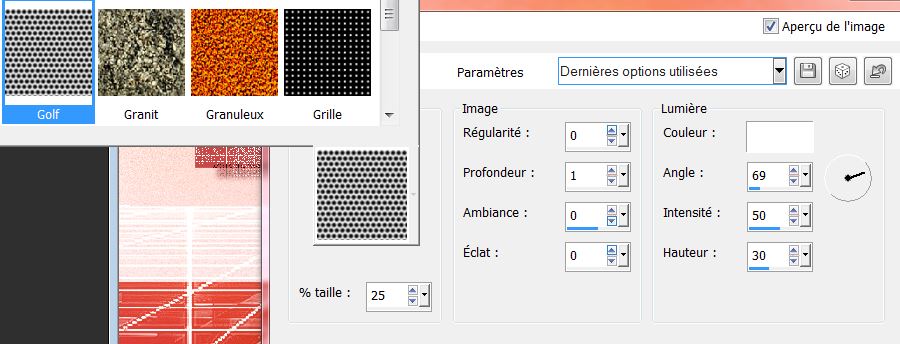
23. Effects - texture effects - texture - Golf - can be
found in the download file in the texture folder - see
parameters
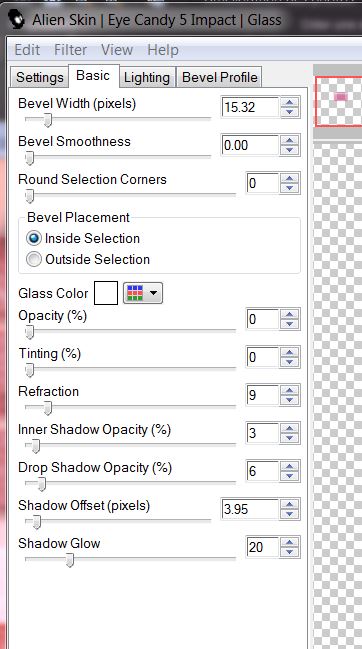
24. Effects - Eye Candy5 impact - glass - preset "renee_sweet_girl_glass"
25. Selections - select none
26. Change the mode of this layer to hard light -
Opacity 73
27: Load from the materials folder "burst.jsl" into the
preset shapes folder of psp
28: Layers - new raster layer
Preset shapes tool - select the shape you have loaded
and draw in the center as shown
Convert to raster layer and move it if necessary with
the select tool (K)
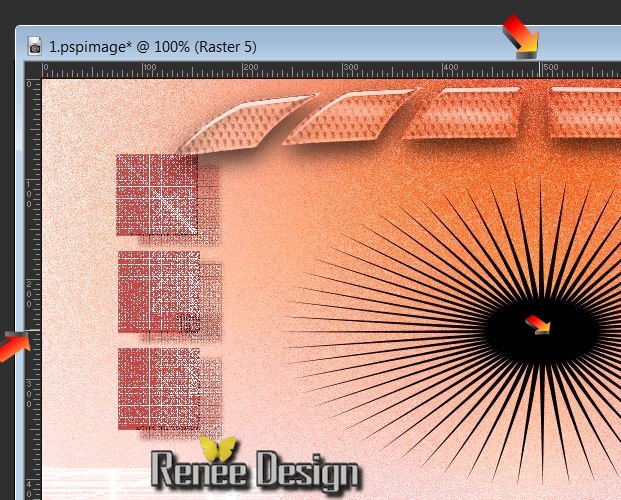
29. Effects - Eye Candy5 impact - blacklight - preset
"sweet_girl_blacklight"
30. Layers - new raster layer
31. Selections - Load selection from disk "sweet_3"
32. Color palette open your gradient''Black_White'' -
Linear 0/0 unchecked invert - fill the selection with
the gradient
33. Selections - select none
Color palette - change the Background color to "f2a8bb"
34. With your magic wand select the inside of the
glasses - flood fill - fill with the background color -
Opacity 65
35. Selections - select none
36. Open tube "sweet_girl_verre" - Copy and paste as a
new layer - place well in the glasses
With the rectangle selection tool (S) - rounded/ draw a
selection like this
37. Effects - EyeCandy 5 Impact Glass Preset
''sweet_100'' / deselect
38. Layers - Duplicate / Mirror Image - Make sure there
is a perfect symmetry
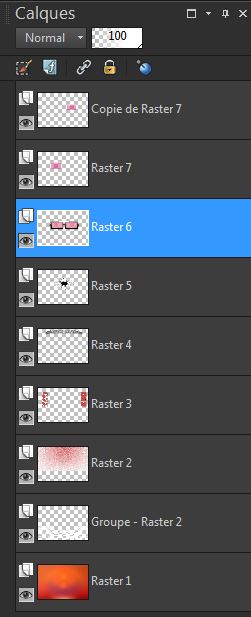
39. Activate the layer Raster6 (glasses) / selections -
load the selection "sweet_3''
Effects - EyeCandy 5 Impact - Glass - Clear Preset/
default
40. Selections - select none
your work should look like this
41. Click to activate the top layer
42. Layers - new raster layer
43. Selections - Load selection from disk "sweet_4" -
fill with foreground gradient - make sure the flood fill
tool is set at 100 opacity
44. Effects - Eye Candy5 impact - Glass - preset
"sweet_girl_glass_2" - lower layer opacity to 77
45. Selections - select none
46. Layers - add a new raster layer
47. Selections - load selection "sweet_girl_5'' / set
the foreground to white - flood fill tool/ Opacity 50 -
fill the selection
48. Selections - select none
49. Layers - duplicate - Effects - Image effects -
Offset
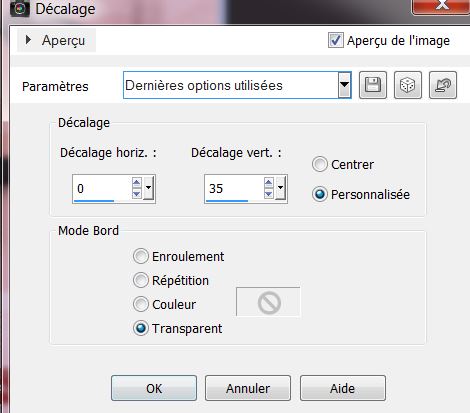
50. Repeat line 49
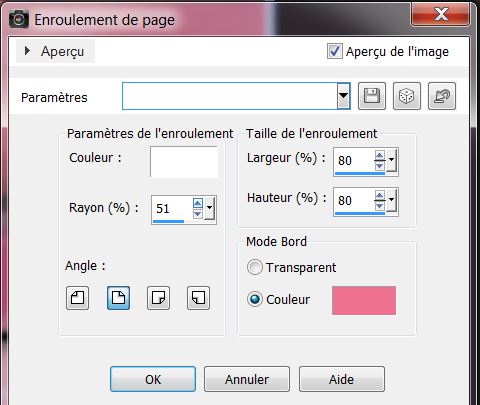
51. Layers - merge down twice
52. Effects - Image effects - page curl
53. Change the Layer Mode to Soft Light
54. Layers - add a new layer
55. Selection tool - custom selection
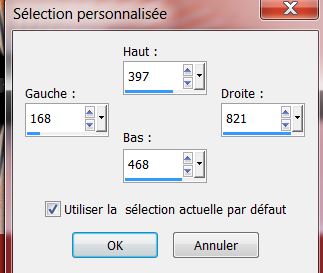
55. Fill with #be2620 color
56. Effects - L and K's - Jouri set at 122/129/128
57. Effects - Filters unlimited2.0 - Graphic Plus -
Cross Shadow default
58. Selections - select none
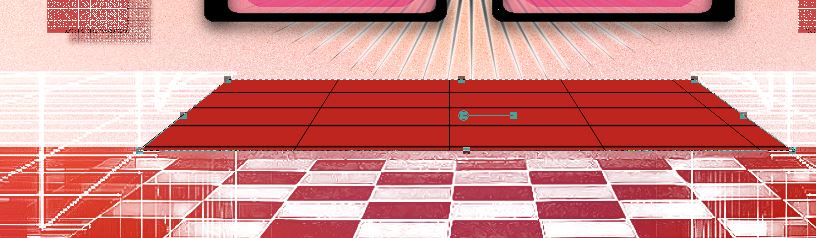
59. With the Select Tool (K) - Perspective mode / move
like this
60. Change the Mode of this layer to Luminance Legacy -
Opacity set at 83
61. Layers - new raster layer
62. Selections - Load selection from disk "sweet_girl_6"
- flood fill tool set to Opcaity 65 - fill with white
63. Effects - Eye Candy5 Impact - Bevel - preset "sweet_girl_bevel"
64. Change this layer to Soft Light mode
65. Layers - Arrange - Move Down - Selections - select
none
66. Open the tube ''sweet_girl_cone'' - paste as a new
layer - move into place
This layer mode set to Luminance Legacy
67. Layers - Duplicate - Image - mirror
68. Layers - merge down
69. Open tube "sweet_girl_branches" - paste as a new
layer - bottom right corner
70. Open tube "sweet_girl_tige" - paste as a new layer -
see finished image
71. Open the title tube (titre) "renee_sweet_girl" -
paste as a new layer
72. Effects - 3D Effects - Drop Shadow 0/0/78/16 black
73. Layers - Arrange - Move Down
74. Open tube "jhanna_554_tube" Paste as new layer
Image - mirror - move into place
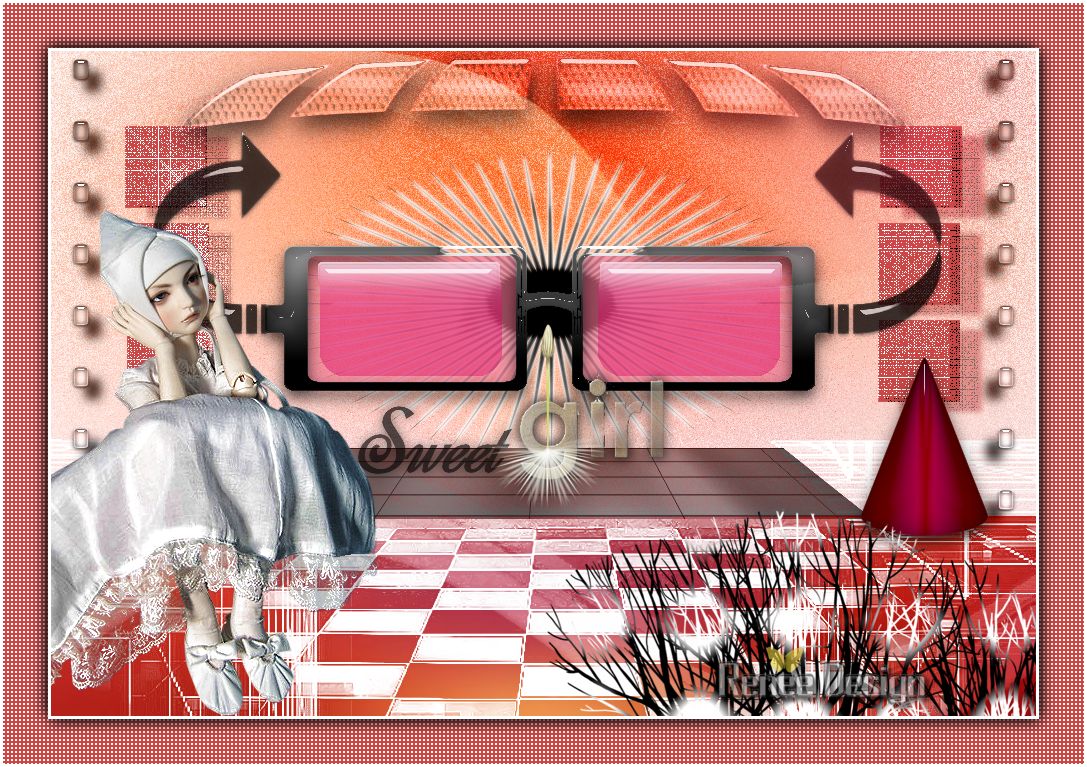
75. Layers - Merge visible
76. Image - add borders three white pixels
77. Image - add borders 45 pixels background color
78. Select this border with your magic wand
79. Effects - Filters unlimited2.0 - AFS - sq border 2
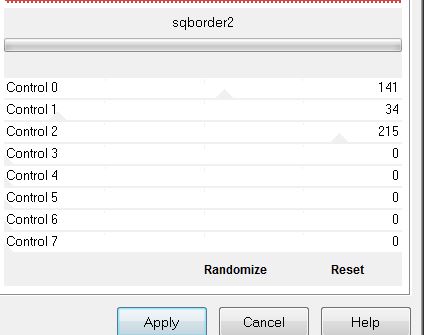
80.
Selections - Invert
81. Effects - 3D Effects - Drop Shadow 3/3/85/22 black -
negative min3/min3/85/22
82. Selection - select none
83. Image - add borders three pixels white
All Finished
Thanks
Written
5/11/2013
Created
15/11/2013
*
I hope you enjoyed this lesson |

 Translated
by Sally
Translated
by Sally