|
Let's start the lesson
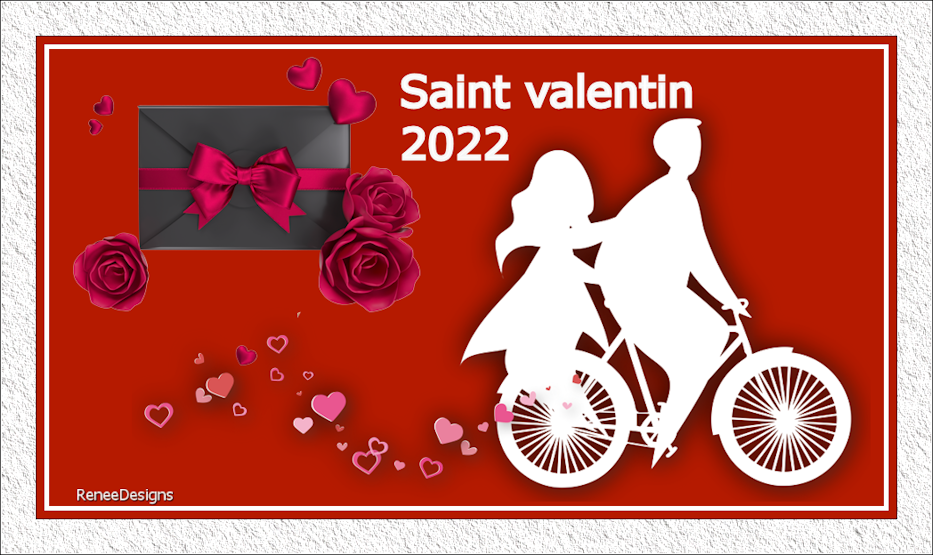
Saint Valentin 2022

Tubes for your own creations here

- Preparation
-Material Properties: Set your foreground color to color #b0210a = 1- Set your background color to color #ffffff=2 (white)
1. Open the Background Image ‘’Fond-STV-2022’’-
Promote Background Layer =Raster 1
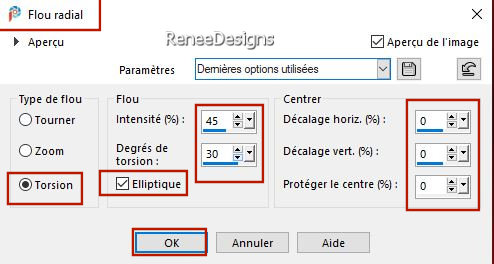
2. Adjust-Blur-Radial Blur use the settings below
3. Effects – Edge Effects – Enhance (Repeat a second time)
3. Layers –
Duplicate
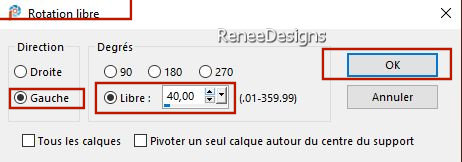
4. Image - Free Rotate 40 to the left
5. Image - Resize by 65% - Uncheck - Resize all layers
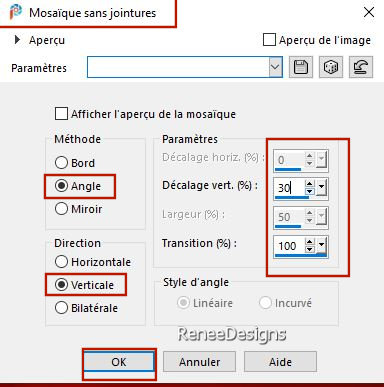
6. Effects – Image Effects – Seamless Tiling use the settings below
7. Effects – 3D-Effects – Drop Shaduw with these settings: 0/0/100/40 Color Black
8. Effects – Image Effects – Seamless Tiling- Select: Side by Side
9. Layers-Properties-Set the Blend Mode to " Hard Light "- Lower the Opacity to 63%
10. Effects- Plugins
– AP [Lines] Lines – SilverLining select "Arrow" use the settings below

- Activate the bottom of the layer palette =Raster 1
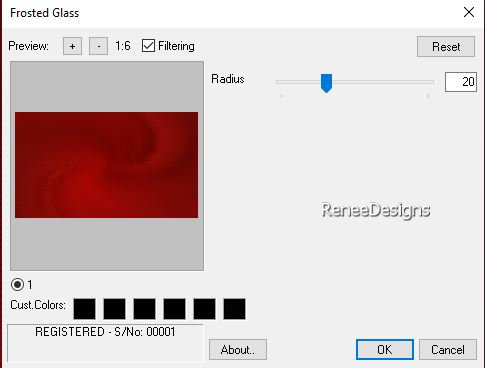
11. Effects – Plugins - Mystic Nights- Frosted Glass -Radius = 20
12. Effects – Edge Effects – Enhance
- To replace the top of the layer-palette
13. Layers- New Raster Layer
14. Selections –load/save selection –load selection from disc and select my selection: ‘’SV2022-1’’
15. Activate Flood Fill Tool
 –
Fill the selection with the background color #ffffff=2 –
Fill the selection with the background color #ffffff=2

16. Effects-
3D -Effects– Drop Shadow with these settings: 1/1/100/2 Color Black
17. Layers- Duplicate
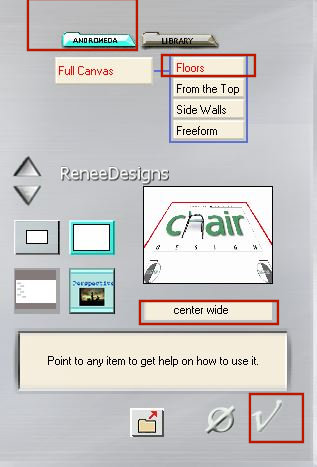
18. Effects – Plugins – Andromeda – Perspective- select-Floors-"Center wide"
19. Layers-Properties-Set the Blend Mode to " Overlay "- Lower the Opacity to 81%
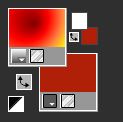
- Material Properties:
Turn your colors-Set your foreground color to color #ffffff =2 - Set your background color to color #b0210a=1
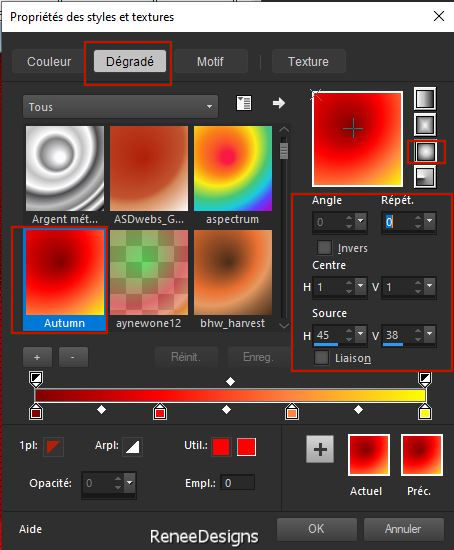
- Color Palette: Foreground color to gradient and select ‘’Autumn’’- Prepare a foreground-sunburst gradient configured like this
20. Layers- New Raster Layer
21. Selections –load/save selection –load selection from disc and select my selection: ‘’SV2022-2’’
22. Activate Flood Fill Tool
–
Fill the selection with the sunburst gradient
23. Effects –Plugins-
Unlimited 2. - Filter Factory Gallery C –TileMix with these settings: 147/100
Attention: if after this operation the color white appears in your creation and your foreground color is correct, so red behind and white in front then you better place filter factory C in the folder of external filters.
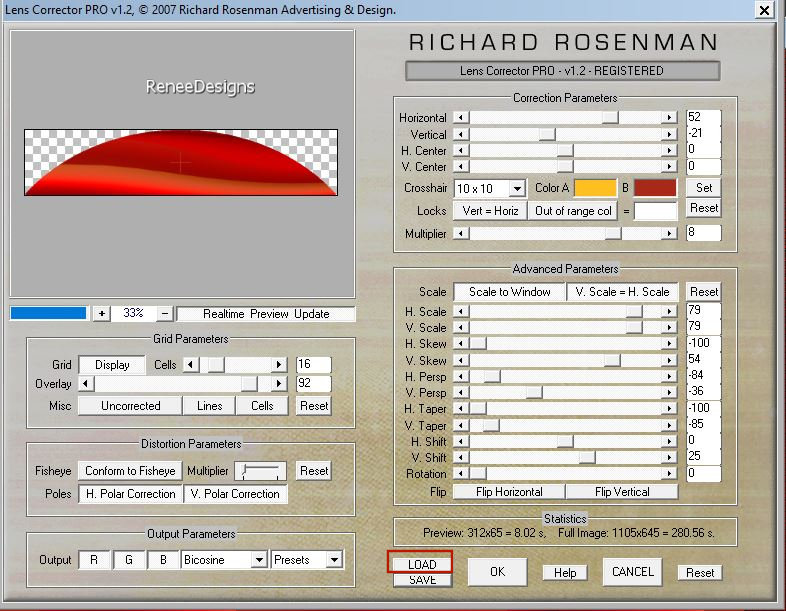
24. Effects – Plugins – Richard Rosenmans – Lens Corrector
1. Click on Load-
select the preset : ‘’
Renee-SV-LensCorrectorpro-setting.ini’’ in your file
2. Click Ok to apply
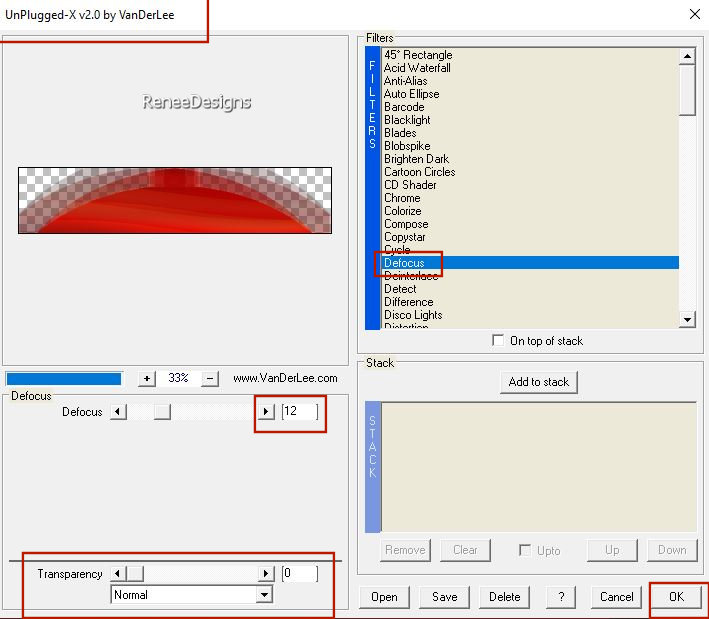
25. Effects – Plugins – Vanderlee – UnPlugged X – Defocus use the settings below
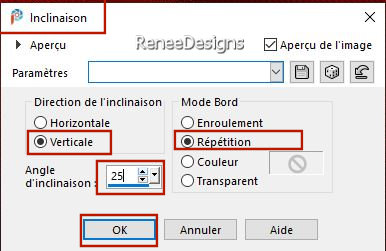
26. Effects – Geometric Effects – Skew use the settings below
27. Objects – Align
– Right
28. Effects -
3D-Effects - Drop Shadow use the settings below -Color Black
29. Effects - Plugins- Alien Skin EyeCandy 5 - Impact - Backlight-Tab-Settings-User Settings and select my file- –Preset :
‘’Renee-SV2022-Backlight’’
30. Effects – Edge Effects –Enhance
31.Layers-Properties-Change the Blend Mode to " Hard Light "
32. Layers- New Raster Layer
33. Selections –load/save selection –load selection from disc and select my selection: ‘’SV2022-3’’
- Color palette: Gradient off -and set the foreground color back to solid white=2
34. Activate Floo Fill Tool
–
Opacity at 40% – Fill the selection with the foreground color #ffffff=2
(Note: Change the Flood Fill - opacity back to 100%)
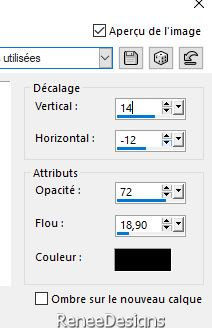
35. Effects -
3D-Effects - Drop Shadow with these settings: Minus ! – 2/ 34 /72 /18,90 Color Black
36. Open the Tube ‘’ Renee-SV2022-Image
1’’ - Edit - Copy- Activate your work -Edit - Paste as a new layer
37. Pick Tool: (K) on your keyboard -Enter these parameters on the toolbar
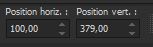 100/
379 100/
379
Press ( M ) to close the Pick Tool
38. Open the Tube ‘’ Renee-SV2022-Image
2’’ -Edit - Copy- Activate your work -Edit - Paste as a new layer
39. Pick Tool: (K) on your keyboard -Enter these parameters on the toolbar
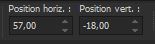 57 / -18
Press ( M ) to close the Pick Tool
40. Open the Tube ‘’ Renee-SV2022-Image
3’’ -Edit - Copy- Activate your work -Edit - Paste as a new layer
41. Pick Tool: (K) on your keyboard -Enter these parameters on the toolbar
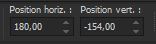 180 / - 154
Press ( M ) to close the Pick Tool
42. Layers- New Raster Layer
43. Selections –load/save selection –load selection from disc and select my selection: ‘’SV2022- 4’’
44. Effects-
3D-Effects – Drop Shadow use the settings below (tick at shadow on new layer) Color White

-
Stay on the shadow layer
45. Effects-
3D-Effects – Drop Shadow using the default settings
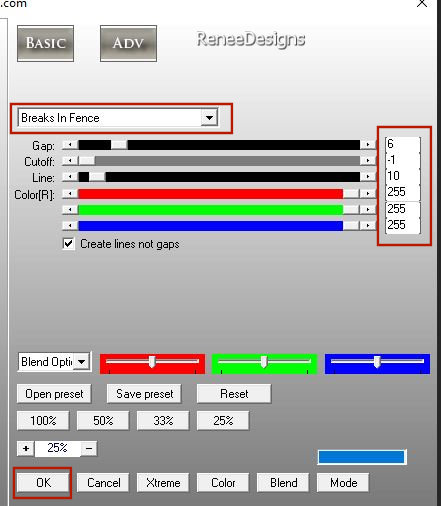
46. Effects - Plugins – AP [Lines] Lines – Silverlining-select "Breaks In Fence" use the settings below
- Activate the layer above
47. Start again / Selections –load/save selection –load selection from disc and select my selection:
‘’SV2022- 4’’
48. Effects - 3D-Effects
- Drop Shadow with these settings:Minus ! -24 /3 /50 /5 Color Black
49.Open the Tube ‘’ Renee-SV2022-Image
4’’ -Edit - Copy- Activate your work -Edit - Paste as a new layer
Move it in the right place
50. Layers- Merge- Merge Visible
51. Edit- Copy !!
52. Open the tube ‘’Cadre’’ in your Psp
53. Layers- New Raster Layer
54. Edit - Paste Into Selection (Image is still in your PSP memory)
55. Layers- Arrange- Move Down
56. Paste the author's watermark on your work and your own watermark
57. Layers- Merge- Merge All
-Save as JPG

That's it - Thank you / I hope you enjoyed this lesson
Renée
This lesson was written by Renée 14/01/ 2022
Edited and Update
in 2022
*
Any resemblance with an existing lesson is a coincidence
* Do not forget to thank the people who work with us and for us -I have appointed the tubeurs and translators
Thanks
*
|
 Translations