|
Let's start the lesson.
-
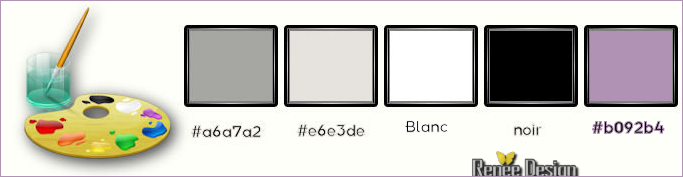
Color Palette- Set your foreground color to #e6e3de
- Set your background color to #000000
-
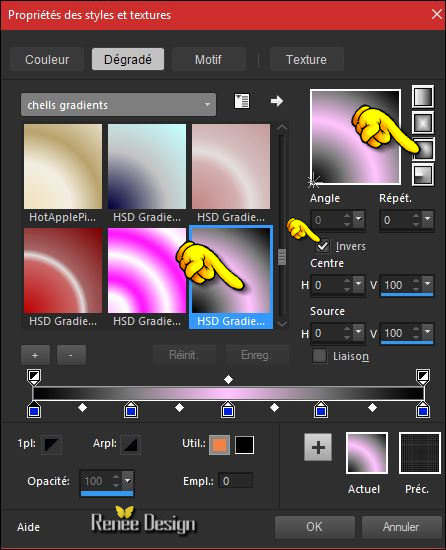
Set your Foregroundcolor to gradient and select ‘’HSD Gradient 5’’-
Prepare a sunburst gradient configured like this.
 -
Material palette to start the lesson: -
Material palette to start the lesson: 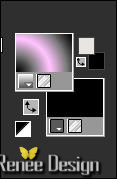
1.
File: Open a new transparent image 1005 x 735 pixels
2.
Activate Flood Fill Tool and fill the layer with the gradient
3.
Adjust-Blur- Gaussian Blur: Radius 55
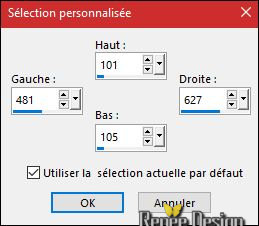
4.
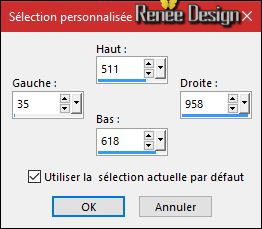
Activate Selection Tool -Custom Selection (S) -Rectangle with these settings 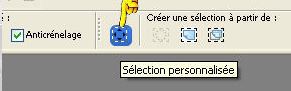
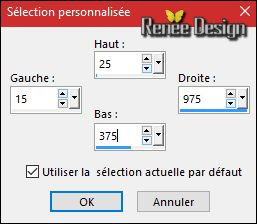
5.
Effects – Art Media Effects– Brush Strokes with these settings-Color:#ecff8d

6.
Selections- Modify- Select Selection Borders with these settings

7.
Activate Flood Fill Tool

–
and fill the selection with the gradient
Keep Selected
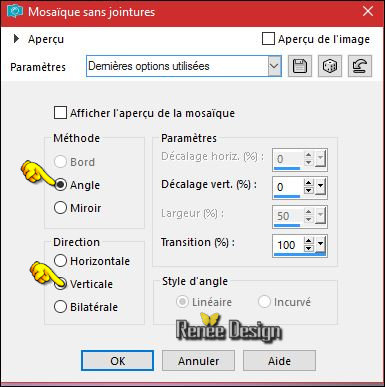
8. Effects – Image Effects- Seamless Tiling use settings below
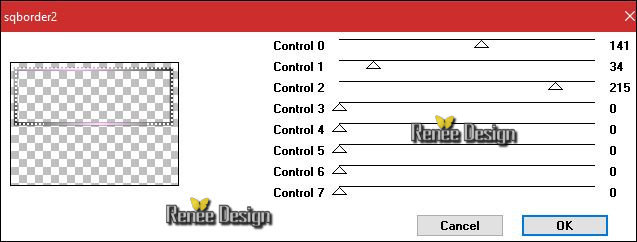
9.
Effects -Plugins - [AFS IMPORT]
sqborder2
10.
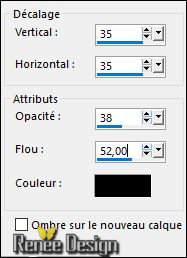
Effects –3D Effects – Drop Shadow with these settings : 10/10/50/5 black
11.
Selections Promote selection to Layer
Selections Deselect All
12.
Layers- Duplicate
13.
Effects –Plugins – Simple 4 Way
average
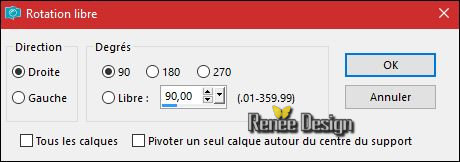
14.
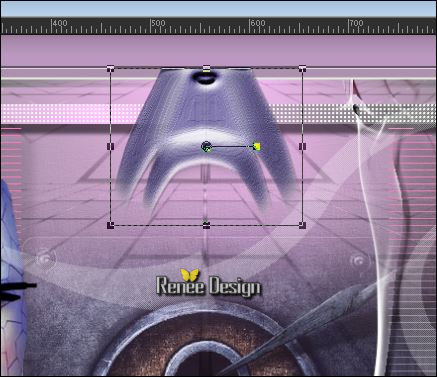
Image -Free Rotate
15.
Layers- Arrange-Move Down
16.
Effects -Plugins- Mura’s Meister - Perspective
Tilling
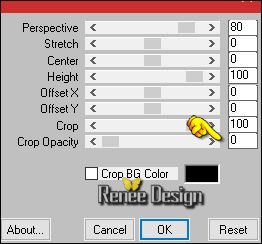
-
Repeat: Effects -Plugins- Muras Meister with the same settings
17.
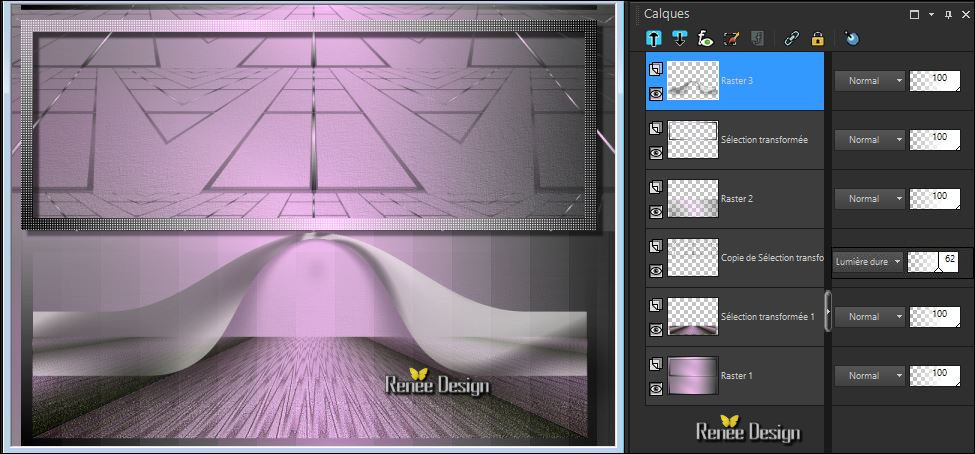
Layers-Properties-Set the Blend Mode to " Hard Light " -Set the layer Opacity of this layer to 62%
Stay on this layer
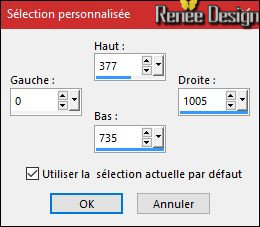
18.
Activate Selection Tool -Custom Selection (S) -Rectangle with these settings
DELETE 
Keep Selected
19.
Layers- New Raster Layer
20. Pot of Paint: Change the opacity of the color at 30%
-Activate Flood Fill Tool and fill the selection with the gradient
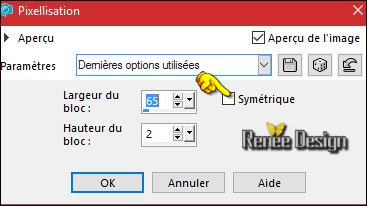
21.
Effects –Distortion Effects –
Pixelate
22.
Effects- Edge Effects- Enhance
Selections- Deselect All
23.
Layers-Properties-Set the Blend Mode to "Normal" -Set the layer Opacity of this layer to 100%
Your Layer palette look like this now-You should have this result
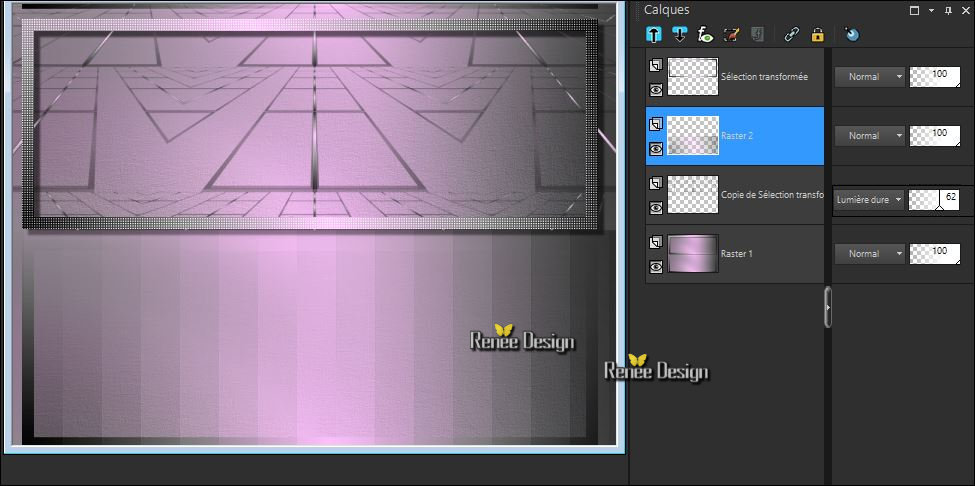
-To replace the top of the layers palette
24.
Layers- New Raster Layer
25.
Activate Selection Tool -Custom Selection (S) -Rectangle with these settings
- Color Palette- Set your foreground color to
#e6e3de
26.
Pot of Paint: Change the opacity of the color at 60% –Activate Flood Fill Tool and fill the selection with the foreground color
Selections- Deselect All
27.
Effects –Plugins - Unlimited – Tramages- Mo' Jellyfish...
30/173/132
28.
Effects –3D Effects – Drop Shadow with these settings :
29.
Effects –Distortion Effects- Warp with these settings
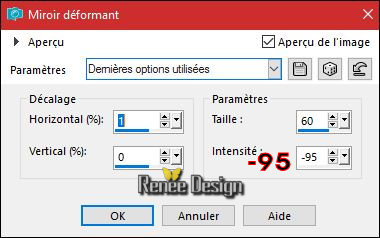
-
In the Layer Palette: Make Raster 1 active
30.
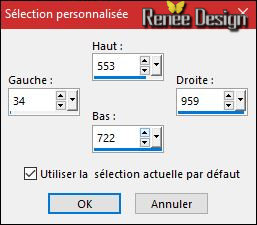
Activate Selection Tool -Custom Selection (S) -Rectangle with these settings
31.
Selections-Promote Selection to Layer
32.
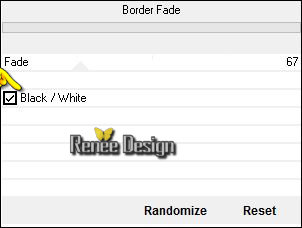
Effects –Plugins- Unlimited -Photo Aging Kit- Border
Fade
33.
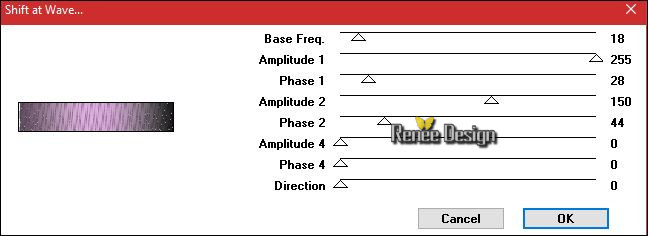
Effects –Plugins - Mura’s seamless – Shift at
Wave
34. Effects
– Edge- Effects- Enhance More
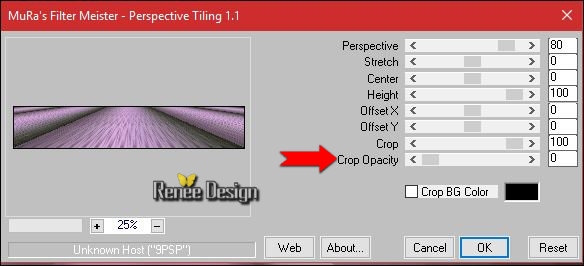
35. Effects
–Plugins – Mura’s Meister – perspective Tiling
Selections- Deselect All
36. Effects- 3 D Effects- Drop Shadow with the same settings
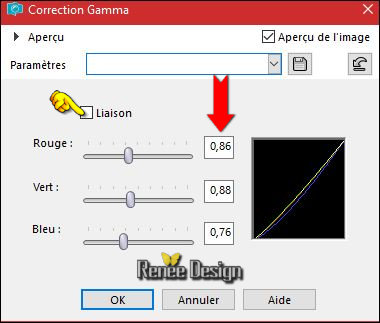
37. Activate Gamma Correction (Mode ADD/Shift + G )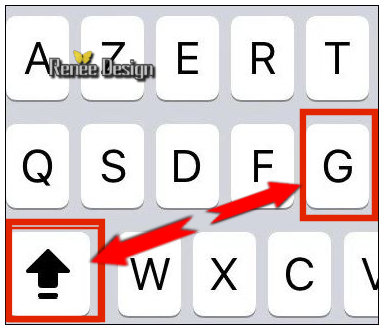
it will open
Your Layer palette look like this now-You should have this result
To replace the top of the layers palette
38. Layers- New Raster Layer
39.
Selections –load/save selection –load selection from disc and select my selection: ‘’
MY_escape1’’
40. Pot of Paint: Change the opacity of the color at 60% - Activate Flood Fill Tool and fill the selection with the background color #000000
41. Effects
–Plugins – Ulead effects- Particle
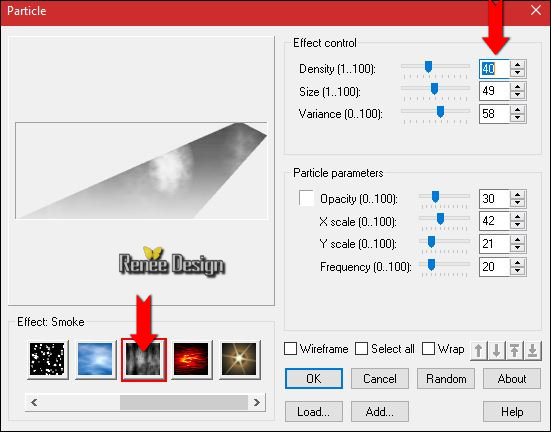
(For a better effect)
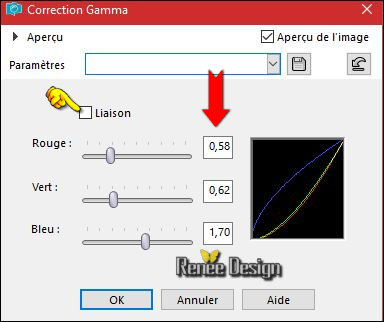
42. Activate Gamma Correction (Mode ADD/Shift + G )
Selections- Deselect All
-In the Layer Palette-Make the second layer from the bottom active ( promote selection1 )
- Color Palette- Set your foreground color to #ffffff
43. Layers- New Raster Layer
44.
Selections –load/save selection –load selection from disc and select my selection: ‘’ MY_escape2’’
45. Pot of Paint: Change the opacity of the color at 50% -Activate Flood Fill Tool and fill the selection with the foreground color
Selections- Deselect All
46. Layers- New Raster Layer
47.
Selections –load/save selection –load selection from disc and select my selection: ‘’ MY_escape3’’
48. Pot of Paint: Change the opacity of the color at 100% –Activate Flood Fill Tool and fill the selection with the foreground color #ffffff( 3 or 4
clicks)
Selections- Deselect All
To replace the top of the layers palette
- Open the tube ‘’ Tubes_Escape_divers’ (Do not close)
49. Activate the layer "Raster 1" of the tube – Edit - Copy- Activate your working area, Edit - Paste as a new layer
50. Effects – Image Effects -Offset with these settings H = 0 and V = - 302
/Transparent
51.
Layers-Properties-Set the Blend Mode to " Screen"
52.
Back on tube
-
Activate the layer " Raster 2 "of the tube – Edit - Copy- Activate your working area, Edit - Paste as a new layer
53.
Effects – Image Effects -Offset with these settings H = - 2 and V =
28/ transparent
54.
Set the layer Opacity of this layer to 79%
55.
Layers- New Raster Layer
56. Selections –load/save selection –load selection from disc and select my selection: ‘’
MY_escape4’’
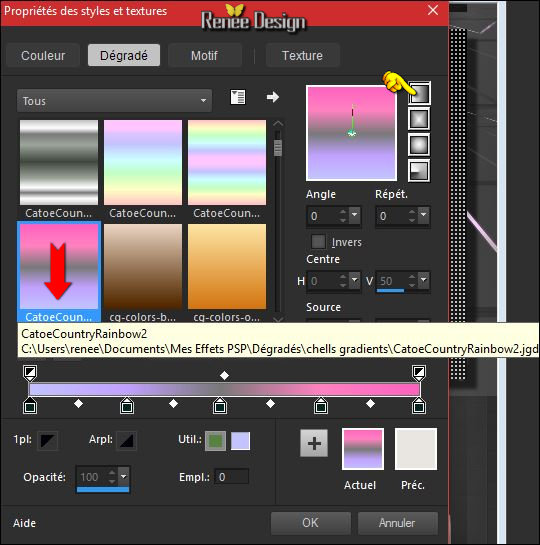
- Color Palette: Set your Foregroundcolor to gradient and select ‘’
CatoeCountryRainbow2’’- Prepare a linear gradient configured like this.
57.
Activate Flood Fill Tool and fill the selection with the gradient
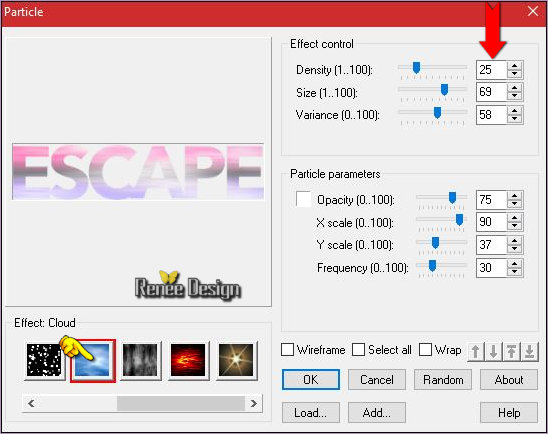
58.
Effects –Plugins – Ulead effects
-Particle
59.
Effects- Edge Effects- Enhance
Selections- Deselect All
60.
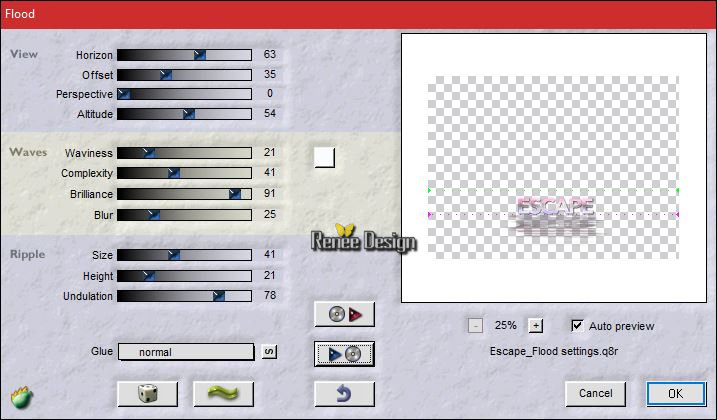
Effects –Plugins– Flaming Pear – Flood/ Preset
''Escape_Flood settings''
Click on the red arrow  >>and select my file
  can be used in any folder of your choice by clicking it. Open it will be ok in your filter can be used in any folder of your choice by clicking it. Open it will be ok in your filter
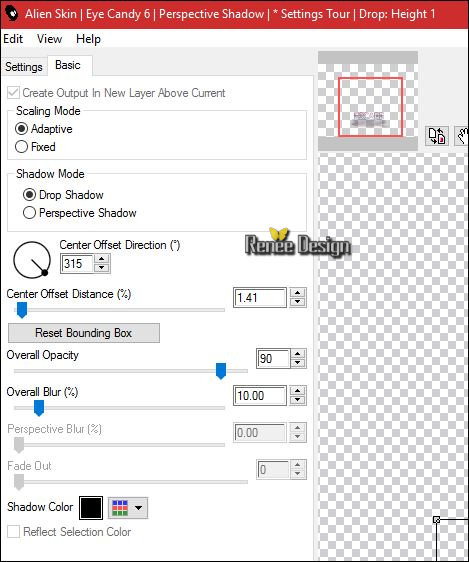
61.
Effects –Plugins – EyeCandy 6 –Perpsective shadow/
Setting Tour/Drop Height 1
or take Plugins Eyecandy5 Impact –Perspective shadow)
 ou ou 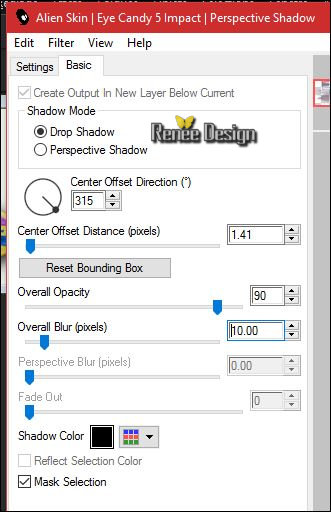
62. Open the tube ‘’Renee_tube_escapade.pspimage »
- Image
Resize to 60 %
- Edit - Copy- Activate your working area, Edit - Paste as a new layer
- Move tool / place your tube to the bottom right side
63. Layers- New Raster Layer
64.
Selections –load/save selection –load selection from disc and select my selection: ‘’ MY_escape5’’
65. Activate Flood Fill Tool and fill the selection with the gradient
(
Do you have problems with this?-png image
« Escape-Effet_Selection5 »/ is included in the zipfile and paste as a new layer on your working area )
66. Repeat -Effects- Plugins -Eyecandy 5 perspective shadow with the same settings
67. Layers- Arrange- Move Down as
-To replace the top of the layers palette
68. Open the tube ‘’ Renee_tube_escapade2.pspimage’’
- Edit - Copy- Activate your working area, Edit - Paste as a new layer
- Move tool/move to the left side
69. Layers- Duplicate
70. Effects - Distortion Effects - Wind direction- From Right checked - Wind Strength:100°
71. Layers- Arrange- Move Down
-To replace the top of the layers palette
72. Layers- New Raster Layer
73. Selections –load/save selection –load selection from disc and select my selection: ‘’ MY_escape6’’
74. Activate Flood Fill Tool and fill the selection with the foreground color #ffffff (2 clicks)
Selections- Deselect All
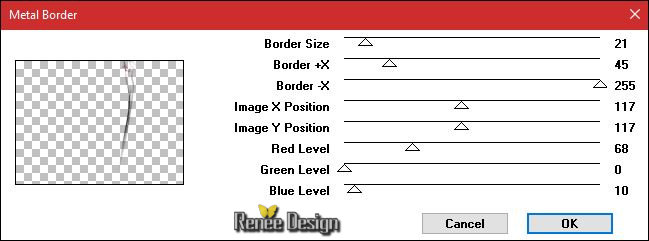
75. Effects
–Plugins – Graphic plus- Metal Border
76. Layers- New Raster Layer
77.Selections –load/save selection –load selection from disc and select my selection: ‘’ MY_escape7’’
78. Pot of Paint:Opacity of the color at 100% –Activate Flood Fill Tool and fill the selection with the foreground color #ffffff
Selections- Deselect All
79. Layers-Properties-Set the Blend Mode to " "Normal" -Set the layer opacity of this layer to
51%
80.
Effects –Plugins – Flaming Pear –
Transtone
81. Open the tube ‘’ Escape_pinceau’’-
Edit - Copy- Activate your working area, Edit - Paste as a new layer
- Move Tool: Move to the bottom left side
82. Image - Add borders-Symmetric checked: 1 pixel #a6a7a2
83. Image - Add borders-Symmetric checked: 1 pixel #e6e3de
84. Image - Add borders-Symmetric checked: 1 pixel #a6a7a2
85. Image - Add borders-Symmetric checked: 50 pixel #b092b4
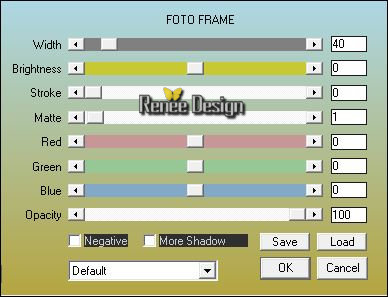
86. Effects
–Plugins –AAA Frame – Foto Frame
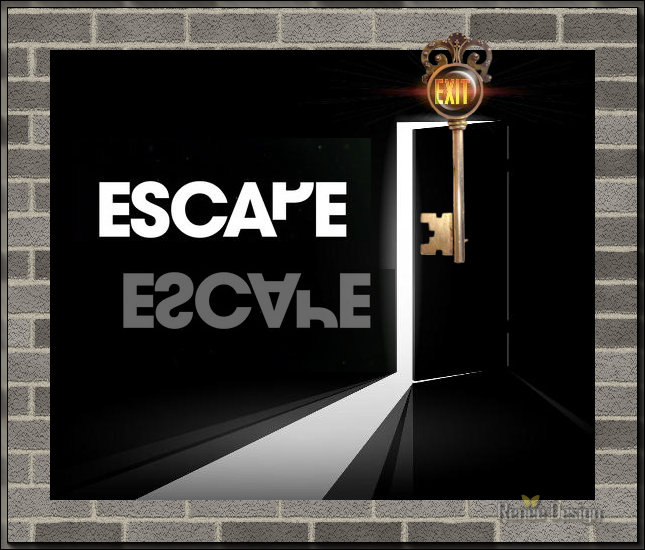
87. Open the tube ‘’ Escape_Tube_1.png’’
- Edit - Copy- Activate your working area, Edit - Paste as a new layer
- Move as shown in the example below
88. Layers- New Raster Layer
89.
Activate Selection Tool -Custom Selection (S) -Rectangle with these settings
90. Activate Flood Fill Tool and fill the selection with the foreground color #ffffff
Selections- Deselect All
91.
Effects –Plugins – EyeCandy 5 Impact – Back Light-tab Settings/User settings choose my
Preset ‘’ Renee_Escape_Blacklight’’
92.Layers- Arrange- Move Down
93.
Layers-Properties-Set the Blend Mode to " Screen" -Set the layer Opacity of this layer to %67
94.
Open the tube ‘’Escape_DECOS’’
-
Edit - Copy- Activate your working area, Edit - Paste as a new layer
– Move it in the right place ( see finished image )
95.
Image - Add borders-Symmetric checked: 5 pixels #ffffff
96. Open the tube’’Escape_Tube_2’’
Edit - Copy- Activate your working area, Edit - Paste as a new layer(do not move, it is in the right place)
97.
Layers-Properties-Set the Blend Mode to " Soft Light "
98.
Layers- Merge- Merge All (flatten)
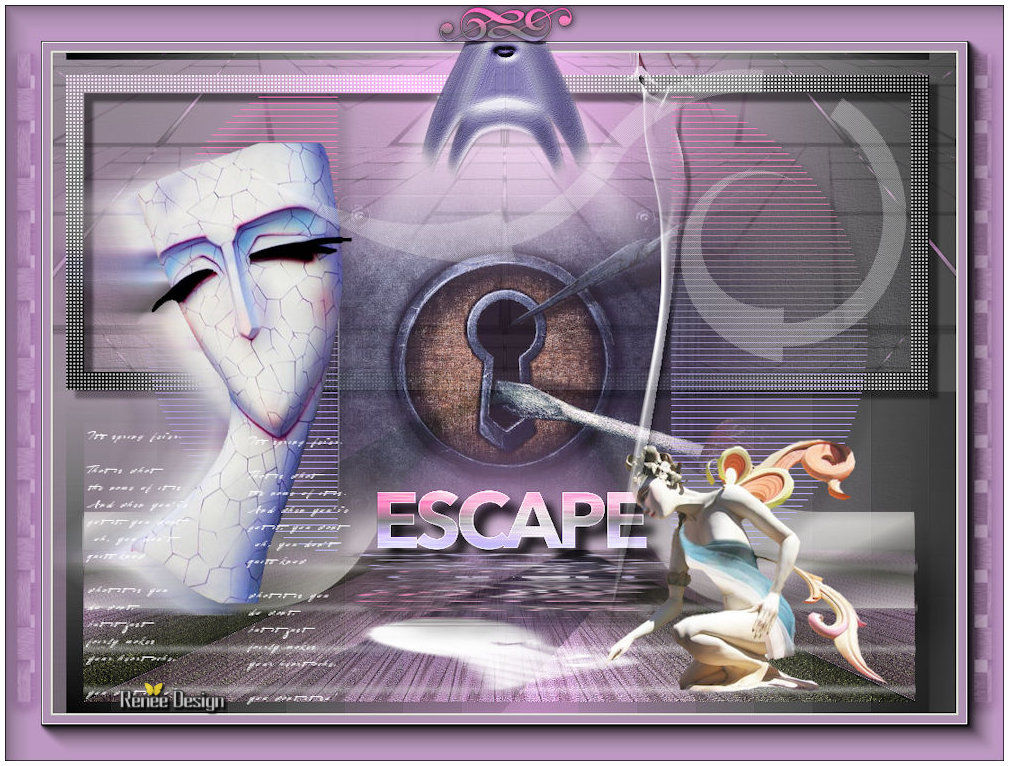
99. Image
Resize to 999 Pixels Width
Save as JPG
I hope you enjoyed this lesson
Renée
This lesson was written by Renée 20/10/2016
Edited and Update
2016
*
Any resemblance with an existing lesson is a coincidence
* Do not forget to thank the people who work with us and for us I have appointed the tubeurs and translators
Thanks Renée *
*
| 

 Translations


 If a plugin supplied appears with this icon it must necessarily be imported into Unlimited *

 _All rights reserved