|
New
Translations here
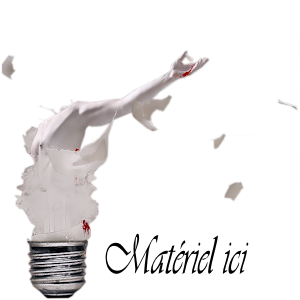
La magie de la lumière dossier tubes ici
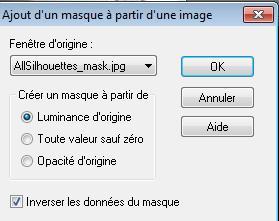
Let's start the lesson. 1. Open the background image "fond " Window - Duplicate (or shift+D) - Close the original and proceed on the copy -Promote Background Layer =Raster 1 2. Color-palette:Set your foreground color to #dcdcd1- Layers- New Raster Layer -Activate Flood Fill Tool and fill the layer with the foreground color #dcdcd1 3. Layers- New Mask layer from Image and select Mask''AllSilhouettes -mask.jpg''
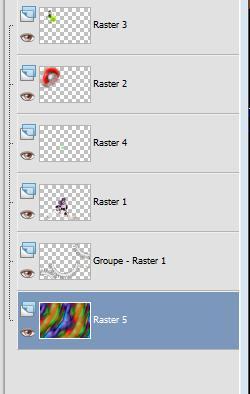
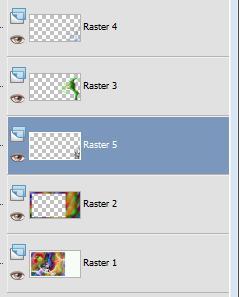
-Layers- Merge- Merge Group 4. Effects- Edge Effects-Enhance 5. Effects- Plugins - Eyecandy 5/bevel -Tab- Settings- User/settings and select -preset ''renee mecanique'' 6. Open the tube femme lumière /Edit/Copy -Edit paste as new layer on your working image and move 7. Layers- New Raster Layer 8. Selections –load/save selection –load selection from disc and select my selection: ''renee mecanique'' 9. Open the tube ''MSB balle''-Edit/Copy -Edit paste into selection 10. Selections- Deselect All 11. Effects- 3 D Effects- Drop Shadow with these settings: 5/0/60/20 color black 12.Open the tube « ampoule couleur'' -Edit/Copy -Edit paste as new layer on your working image and move /Image Resize to 60% resize all layers not checked 13. Open the tube '' lampe clair ''/ -Edit/Copy -Edit paste as new layer on your working image and move /Image Resize to 15%- resize all layers not checked / Placing in the hand of the girl 14. Effects- Plugins - Eycandy 5/black lightTab-Settings- User/Settings-and select -preset "renee mecanique3" -Your Layer palette look like this now-You should have this result
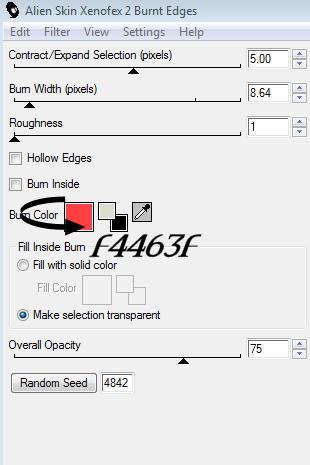
15. Layers- Merge- Merge Visible 16. Layers- Duplicate . 17. Image Resize to 65% - resize all layers not checked 18. Effects- Plugins - Simple - Top left miror 19. Effects - Alien Skin /xenofex 2- Burnt Edges use settings below
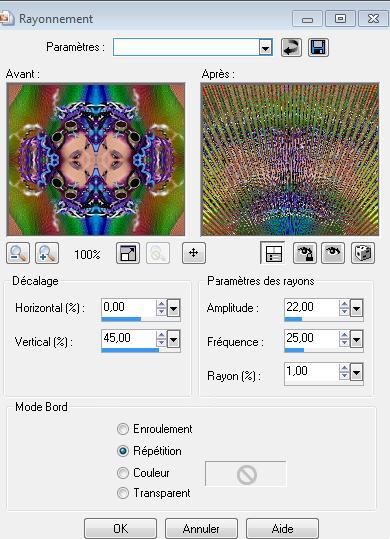
20. Effects- Distortion Effects- Spiky Halo use settings below
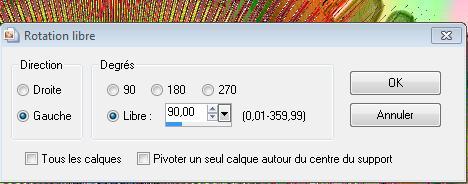
21. Image Free Rotate 90 to the left
22. Effects- Image Effects- Offset with these settings H= 385 and V =0 Double click on this Layer and set the Blend Mode to "Screen " 23. Open the tube « ampoule éclatée « Edit/Copy -Edit paste as new layer on your working image --Set the layer opacity of this layer to 90% 24. Layers- Merge- Merge Visible 25. Image- Canvas Size -color white -with these settings
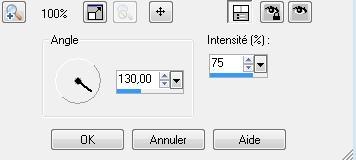
26. With the magic wand select the white Border 27.Layers- New Raster Layer -/Open the background image "fond "/Edit/Copy -Edit paste into selection 28. Selections- Deselect All 29. Adjust- Blur- Motion Blur with these settings
30. Open the tube ''fée lumiere''-Edit/Copy -Edit paste as new layer on your working image and move 31. Effects- Plugins -Eye Candy 5 /black light -Tab- Settings/User setings and select preset ''renee fee lumiere'' 32. Open the tube « water '''-Edit/Copy -Edit paste as new layer on your working image and move 33. Open the tube ''Ampoules'' -Edit/Copy -Edit paste as new layer on your working image and move 34. Layers- Arrange- Move 2x down
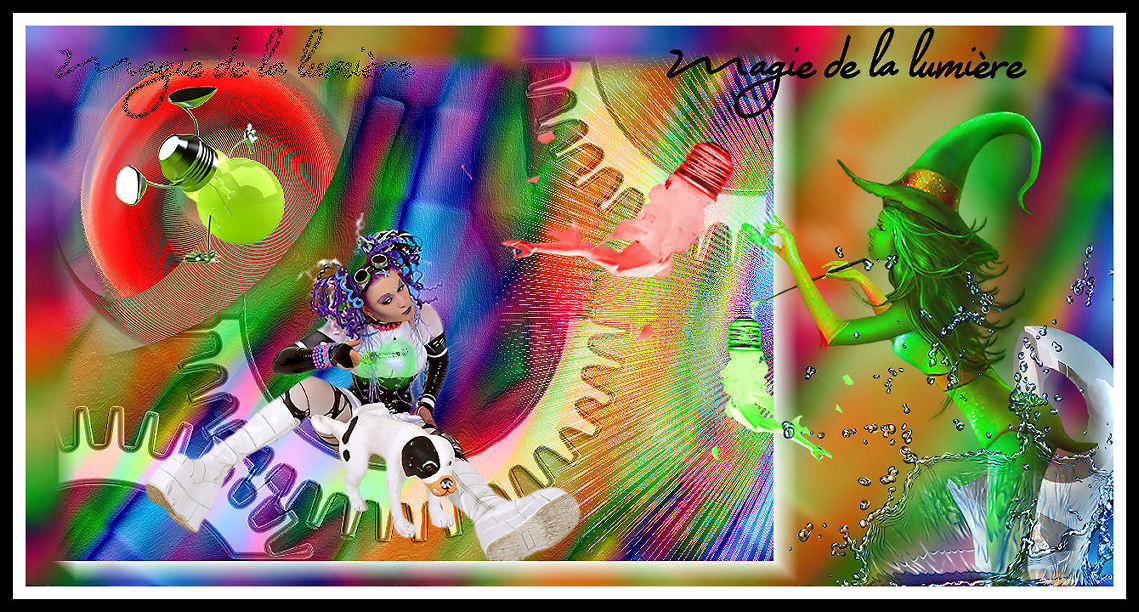
35. Click on your Text Tool-Font- Montelago -size 72 -Write your text Layers- Duplicate /Double click on this Layer and set the Blend Mode to "Dissolve " Set the layer opacity of this layer to 53% 36. Layers- Merge- Merge All ( Flatten) 37. Image - Add borders-Symmetric checked:15 pixels color white 38. Image - Add borders-Symmetric checked:15 pixels color black 39. Effects- Plugins- Xero /improver 10/10/10 Save as JPG I hope you enjoyed this lesson This lesson was written by Renée 2009
Any resemblance with an existing lesson is merely a coincidence * * Don't forget to thank the people who work for us and with us. I named the tubeurs - Testers and the translators. Thanks Renée. I am part of Tutorial Writers Inc. My tutorials are regularly recordedt ReneeGraphisme_All rights reserved
|
 Translations