|
New
Translations here
*
Let's begin
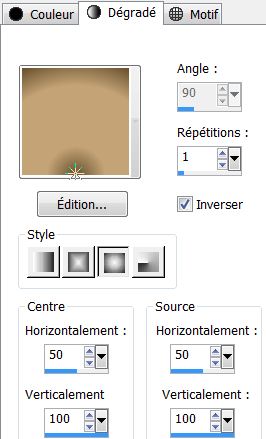
2. Material Properties: Foreground color to color: #c4a376. Background color to color: #67502d 3. Prepare a sunburst gradient configured like this
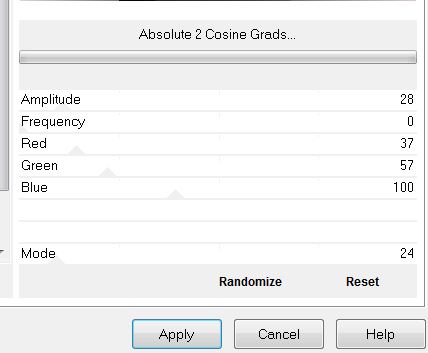
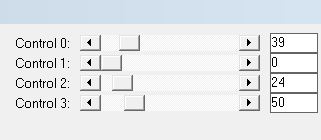
4. Flood Fill Tool:Fill the layer with the gradient 5. Effects- Plugins VM Distorsion / Flipper 87/39/172 6. Effects - Plugins Alf's Power Sines/ Absolute 2 Cosine Grads
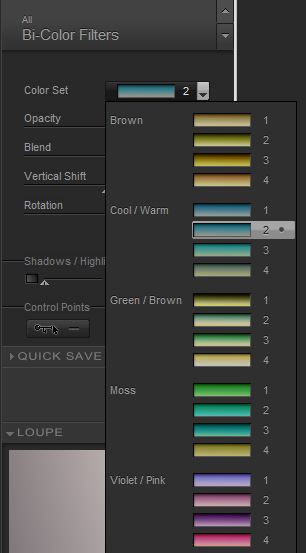
7. Effects -Plugins Nick color Pro3.1/Bi Color Filters- Cool Warm 2
8. Effects-Plugins AB21 /Cheap video trick reset et apply 9. Layers-New raster layer 10. Flood Fill Tool:Fill the layer with your foreground color 11. Layers- New mask layer from image and choose: ''Image_01''
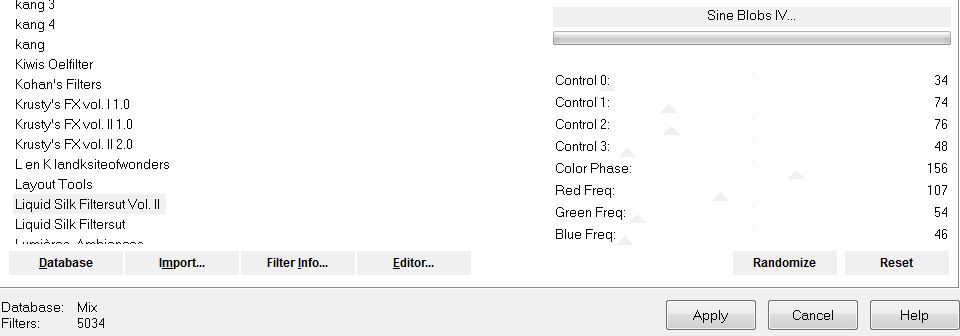
12. Layers- merge- merge group 13. Effects-Edge effects-Enhance more 14. Effet 3D effects– Drop Shadow 9/10/100/14 and negative-10/-9 15. Effects -Plugins Unlimited – Liquid Silk Filtersut Vol.II
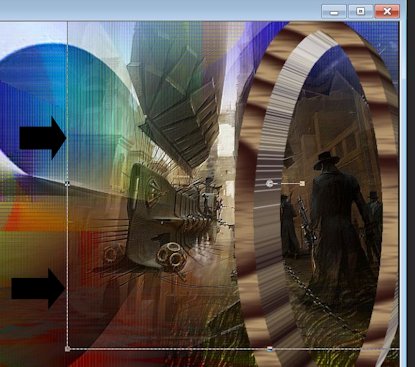
16. Effects -Plugins Mura's Meister - Perpective Tilling
17. Effects -Plugins Eyecandy 5 -Perspective-presete ''renee_invasion_1'' 18. Open tube ''image_02'' Edit/copy-Edit/paste as a new Layer and place. 19. Layer palette: Blend mode: "Luminance" Opacity 83% 20.Layers-New raster layer 21. Selections - load/save selection - load selection from disk and choose: ''renee_invasion_1'' 22. Flood Fill Tool:Fill the layer with the background color
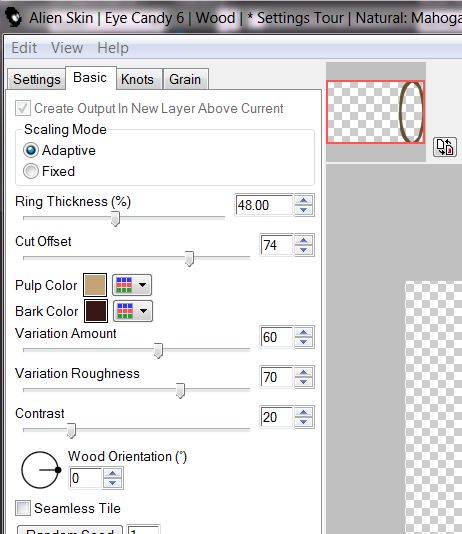
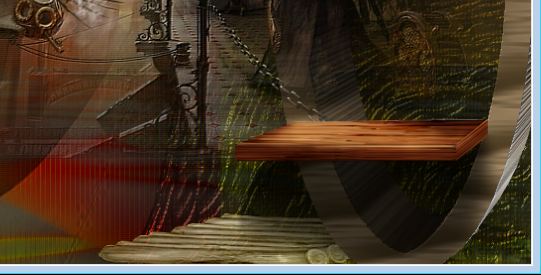
23. Effects-Plugins Eycandy 6 wood- texture -mahogany
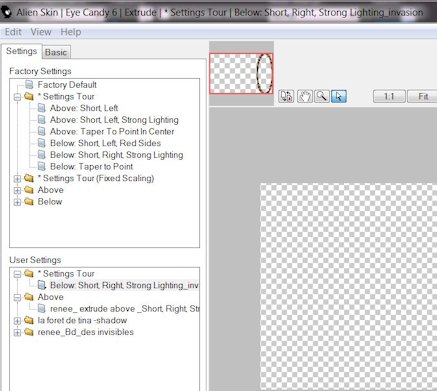
24. Selections - Deselect all 25. Effects -Plugins EyeCandy 6 -extrude- preset '' Below Short Right Strong Lighting _invasion ''
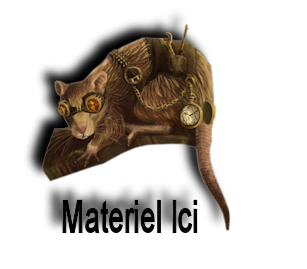
26. Effects -Plugins FM Tile Tools – Blend Emboss /default 27. Be placed at the top of the Layers palette 28. Open tube ''invasion_image 3 '' Edit/copy-Edit/paste as a new layer and place like this * Good placed in the right corner and stretch slightly to the left to coincide with the vertical line of the previous layer
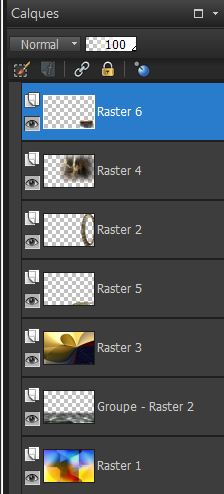
29. Effects -Plugins FM Tile Tools -Blend emboss default 30. Be placed at the top of the Layers palette 31. Open tube ''image_05 Edit/copy-Edit/paste as a new layer and place 32. Layer palette: Blend Mode:Normal. Opacity down to 75% 33. Layers- Arrange - Move down under raster layer 2 34. Activate your Top layer in your layer palette 35. Open tube ''image_06'' Edit/copy-Edit/paste as a new layer and place on this exact location
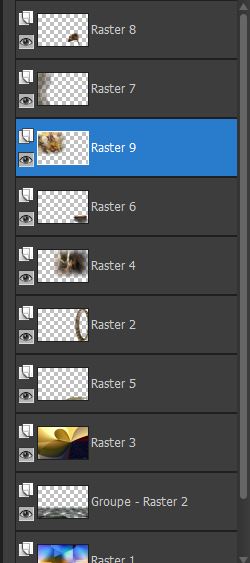
- Your layer palette looks like this:
36. Stay on the top layer in the Layers palette 37. Layers-New raster layer 38. Selections - load/save selection - load selection from disk and choose: ''renee_evasion 2'' 39. Flood Fill Tool: opacity of your colors 50 %. Flood fill that selection with your background color
Flood Fill Tool: opacity of your colors 100 % 40. Selections-select none 41. Effects -Plugins Carolaine et Sensibility- CSHalloween
42. Effects-Plugins EyeCandy 6 - perspective shadow-Setting Tour- Drop height 1 43. Layers- Duplicate 44. Effects- Image effects-Offset H -121 and V =0 / transparent 45. Layers- Merge-Merge Down 46. Layer palette: Blend Mode:Normal. Effects-Edge effects -Enhance 47. Open the tube ''chg.10.24102012'' Image resize 70% . Edit/copy-Edit/paste as a new layer and move 48.
Open the tube ''renee_invasion '' Edit/copy-Edit/paste as a new layer and move to the top left corner like this 49. Layers-Arrange-Move Down 2x 50. Adjust-One step photo fix - Your work look like this now
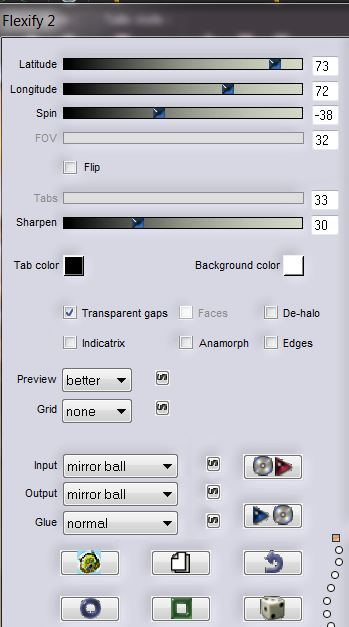
51. Stay on this raster layer 9. Open the tube ''image_08 '' Edit/copy-Edit/paste as a new layer and place. 52. Layers- Merge-Merge Visible 53. Image - Add borders symmetric: 5 pixels black 54.Selections - load/save selection - load selection from disk and choose: ''renee_invasion 3'' 55.Layers-New raster layer 56. Effects-Plugins Eyecandy 5- Glass -Clear 57. Selections- Select none 58. Effects -Plugins Flaming pear Flexify2
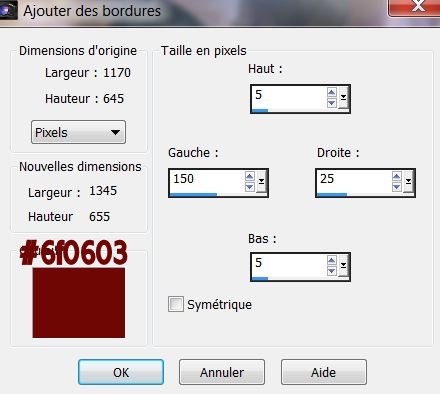
59. Layers- Merge-Merge Visible 60. Image - Add Borders - Asymmetric
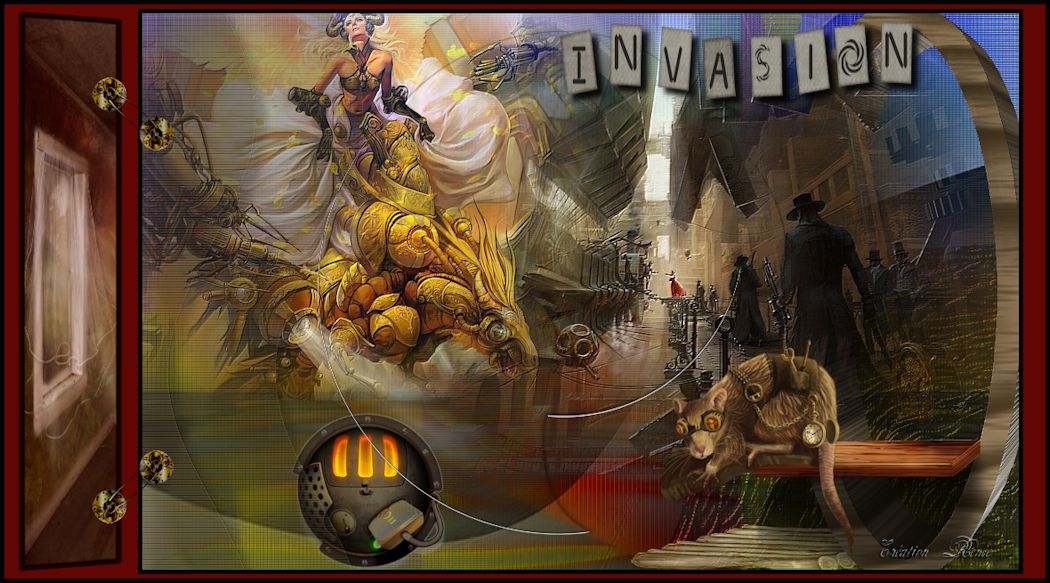
61. Open the tube ''renee_invasion_fenetre ''Edit/copy-Edit/paste as a new layer and place. 62. Open the "texte". Edit/copy-Edit/paste as a new layer and place. 63. Open the tube ''attaches_invasion''- Edit/copy-Edit/paste as a new layer and place. 64. Image - Add borders symmetric: 5 pixels black 65. Image Resize 1050 pixels Width
I hope you enjoyed this lesson This lesson was written by Renée the
14/02/2013 * Any resemblance with an existing lesson is merely a coincidence * Don't forget to thank the people who work for us and with us. I named the tubeurs - Testers and the translators. Thanks Renée
* I am part of Tutorial Writers Inc. My tutorials are regularly recorded
*
|
 Translations