|
New
Translations here
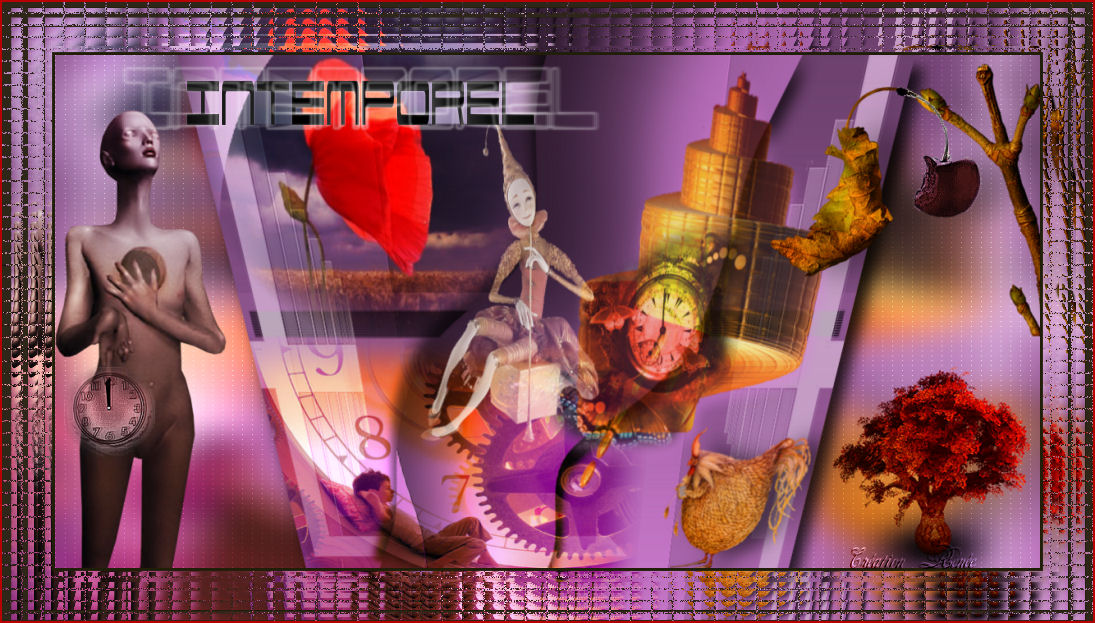
Intemporel
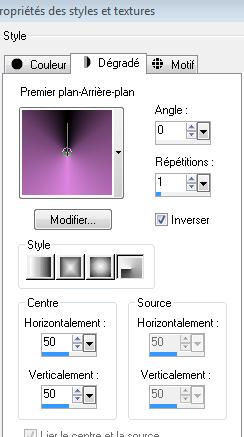
1. Open a transparent image of 900 x 625 pixels 2. Material Properties:Set your foreground color to #c073c2 - Set your background color to: #382139 -Set your foreground to gradient 'Foreground-background' -Prepare a radial gradient configured like this–Activate Flood Fill Tool and fill the layer with the gradient .
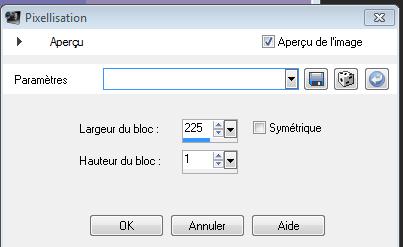
3. Adjust-Blur-Gaussian Blur: Radius: 40 4. Effects-Distortion Effects -Pixelate with these settings lisation
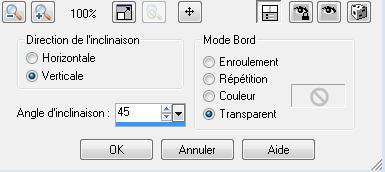
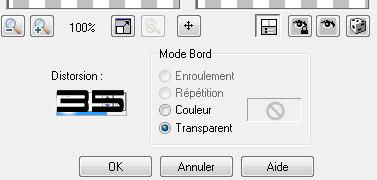
5. Effects-Edge Effects-Enhance 6. Layers-Duplicate 7. Effects-Geometric Effects-Skew with these settings
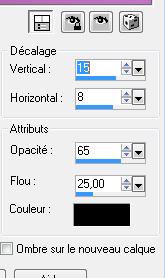
-Repeat: Effects-Geometric Effects-Skew with the same settings 8. Effects-Distortion Effects-Twirl 70 9. Effects- 3D Effects-Drop Shadow with these settings
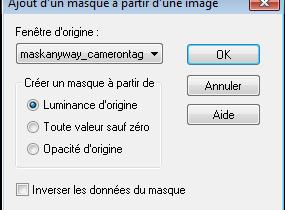
-repeat again with negative -15 and -8 10. Layers- New Raster layer- Activate Flood Fil Tool: fill the layer with the foreground color 11. Layers- New Mask layer from Image and choose Mask: ''maskanyway-camerontag''
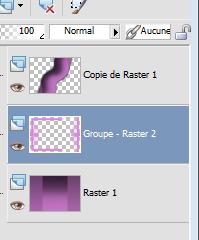
12. Effects-Edge Effects-Enhance 13. Layers- Merge- Merge- Group-Layer Palette - Double click on this Layer and set the Blend Mode to " Luminance" 14. Layers- Arrange- Move Down - You should have this result:
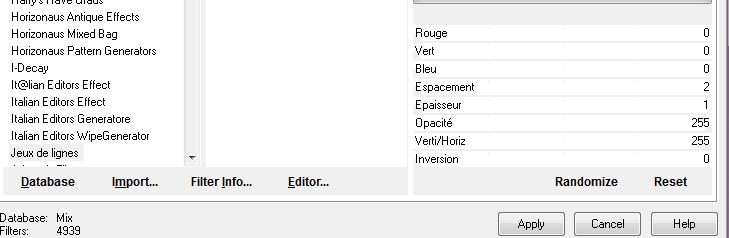
15. Layer palette – Make raster 1 active 16. Selections –load/save selection –load selection from disc and choose: ''renee-intemporel'' 17. Selections- Promote selection to layer 18. Effects- Plugins - Jeux de lignes /Entrelacement with these settings
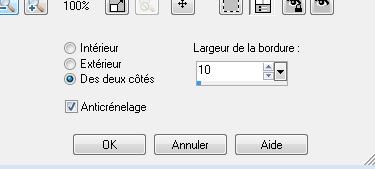
19. Selections-Modify-Select Selection Borders with these settings-Both Side
-Activate Flood Fill Tool and fill the the selections with the gradient
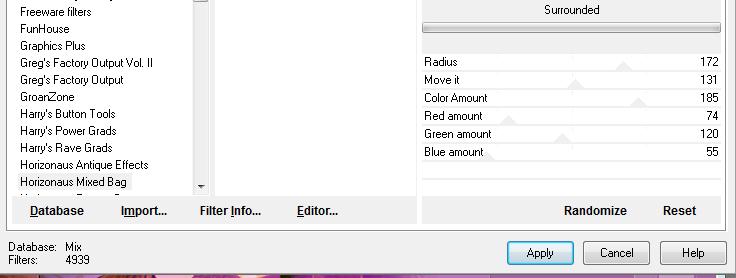
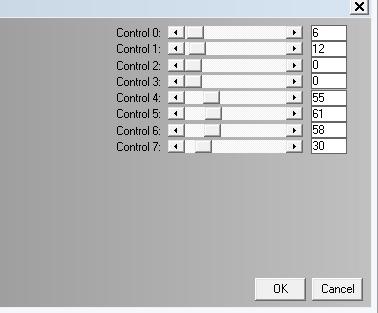
20. Selections-Deselect All 21. Open the tube ''image 1 '' Edit/copy- Edit/ paste as new layer on your working image and move to the left Double click on this layer and set the Blendmode to"Overlay " 22. Open the tube ''claudiaviza-paisage83'' Edit/copy- Edit/ paste as new layer on your working image and move to the left -Double click on this layer and set the Blendmode to "Hard Light " 23. Effects- Plugins -Horizonaus Mixed bag/Surrounded with these settings
24. Open the tube ''renee-intemporel'' Image-Resize with 80%/ --Edit/copy- Edit/ paste as new layer on your working image -Move Tool-move as shown in the example below
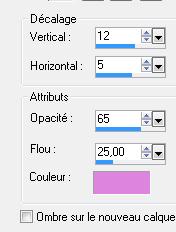
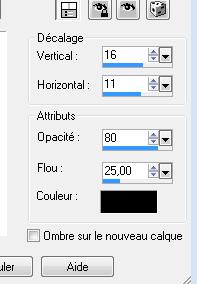
-Double click on this layer and set the Blendmode to " Normal " Set the layer opacity of this layer to 77% 25.Effects- 3D Effects-Drop Shadow with these settings-use this color #c073c2
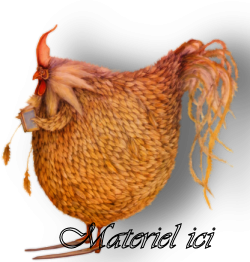
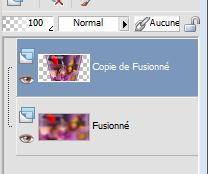
26. Open the tube ''JHAnna -polichinelle '' Edit/copy- Edit/ paste as new layer on your working image and move Double click on this layer and set the Blendmode to "Screen " 27. Open the tube ''poule'' Edit/copy- Edit/ paste as new layer on your working image and move to the bottom right corner 28. Layers- Merge- Merge Visible -Layers- Duplicate -On this layer-(Copy of merged) 29.Effects-Geometric Effects-Perspective vertical with these settings
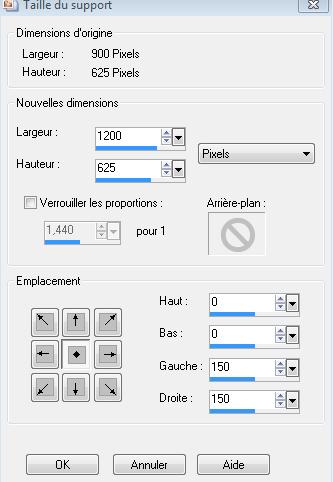
30. Activate the layer underneath ( bottom layer) /Adjust-Blur-Gaussian Blur: Radius 20 -Stay on this layer !! Image-Canvas Size with these settings
with Selection Tool (K) stretch each side -You should have this result:
32. Activate bottom layer in the Layer palette 33. Effects-Plugins -L and K's /Adoniswith these settings
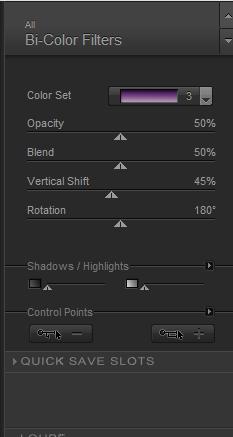
34. Open the tube ''branche arbre'' --Edit/copy- Edit/ paste as new layer on your working image- With the move tool, move it in the top right corner 35. Open the tube'' Benice-bonzaï » --Edit/copy- Edit/ paste as new layer on your working image-With the move tool, move it in the bottom right corner 36. Open the tube '' 145_silvina_vanesa_orsi_enero »Edit/copy- Edit/ paste as new layer on your working image-With the move tool, move it to the left side 37. Effects- Plugins -Nickcolor Effex Pro3 /BiColors- Color set -Violet -Pink 3
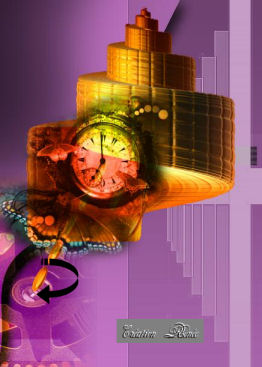
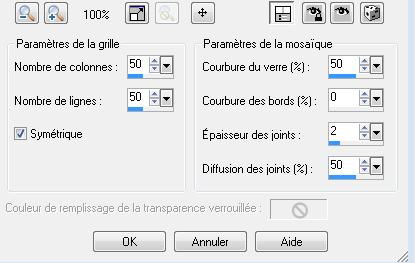
38. Open the tube ''temps'' Edit/copy- Edit/ paste as new layer on your working image -With your move tool move to the left 39. Layers- Merge- Merge- Visible 40. Image Resize with 985 pixels width 41. Image - Add borders-Symmetric checked:3 pixels #000000 42. Image - Add borders-Symmetric checked:50 pixels #dc84de 43. With the magic wand -select the border of 50 pixels 44. Selections- Invert-Edit Copy !! 45. Selections- Invert /Edit Paste into selection 46. Selections- Promote selection to layer 47. Effects- Texture Effects -Mosaic Glass with these settings
48. Selections-Deselect All 49. Image - Add borders-Symmetric checked: 2 pixels #b80000 Activate Text Tool-Font -'' 911Porscha ""/size 36 -Write your text (Font is into the zipfile) 50.
Effects- Plugins - EyeCandy 5 Impact /blacklight -Tab Settings/User settings choose my preset: Save as JPG'
*
I am part of Tutorial Writers Inc. My tutorials are regularly recordedt ReneeGraphisme_All rights reserved
|
 Translations