|
Let's start the lesson .
1.
File: Open the Image: ''fond_incroyable'' /Promote Background Layer =raster
1
2.
Effects-Plugins - Dsb Flux - Lineair transmission 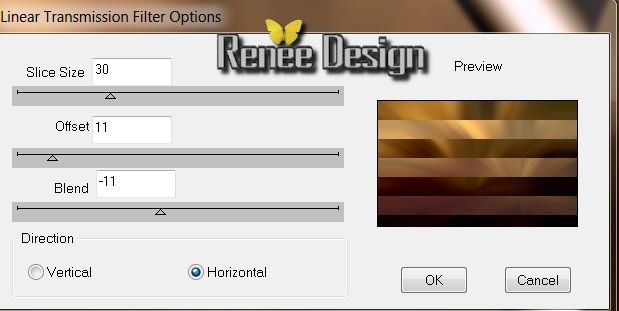
3.Effects-Edge Effects-Enhance
4.
Open the tube ''incroyable_image 1'' Edit/copy- Edit/ paste as new layer (do not move it is in the right place)
5. Effects-Plugins- Flaming Pear - Flexify
2 with these settings
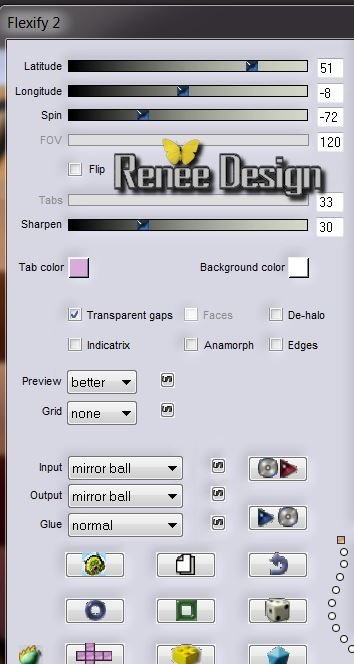
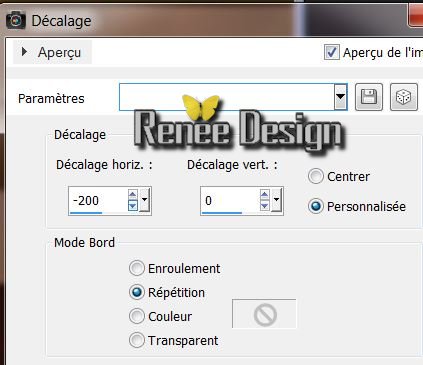
6. Effects-Image Effects-Offset with these settings
7. Layers-Duplicate
8.
Effects-Distortion Effects-Wind/Winddirection From right:100
9. Layers-Merge-Merge Down
10. Material Properties: Foreground color to color: Foreground color to color: #131313 Background color to color: white
11. Layers-New raster layer
12. Selections - load/save selection- load selection from disk and select my file
''incroyable_1''
13. Pot of Paint: opacity 55%
/Flood Fill Tool: fill the selection with your foreground color
14. Selections-Invert
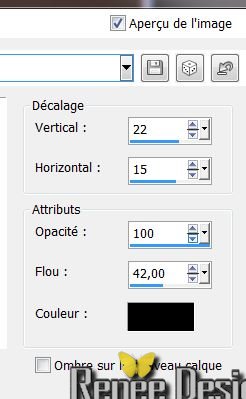
15. Effects - 3D Effects - Drop shadow/black
16.
Selections-Modify-Select-Selection Borders
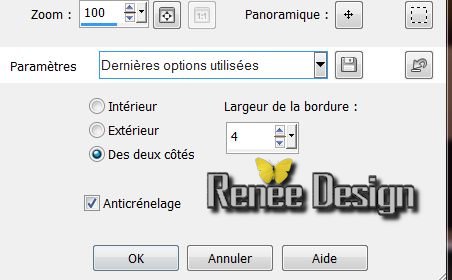
17. Flood Fill Tool: fill the selection with your background color/Pot of Paint: opacity
55
18. Selections-Promote selection to Layer
19. Selections - Deselect all
Your work look like this now
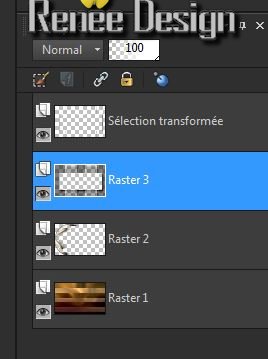
20.Layer Palette: activate Raster 3 / Layers-Arrange-Move Down
21. Activate the top of the layer-palette.(Promoted selection)
22. Effects-Plugins - Toadies - What are you
20/20
23. Effects-Distortion Effects-Wave with these settings
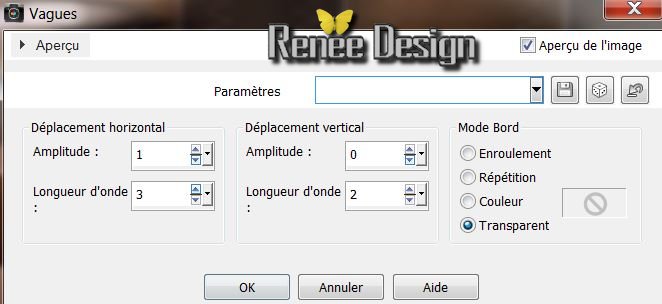
24. Layers-New raster layer
25. Material Properties: Foreground color to color:
#dea964 Background color to color:
#131313
26. Prepare a Linear Gradient with these settings
90/1 (Invert not checked)
27. Selections-Custom selection with these settings
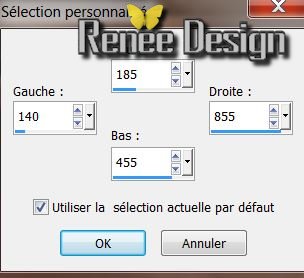
28. Flood Fill Tool: fill the selection with the gradient / Pot of Paint: opacity 80%
29. Effects-Plugins Xero XL /Porcelaine
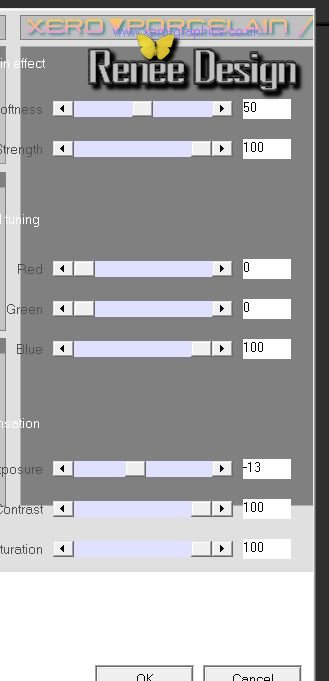
30. Selections-Modify-Select-Selection Borders with the same settings (point 16)
31. Flood Fill Tool: fill the selection with your background color/Pot of Paint: opacity 80%
32. Selections - Deselect all
33. Layers-Duplicate
34. Image-Resize 75 % (Resize all Layers not checked)
35. Effects-Plugins Richard Roseman -Diffuse V1.2 (click Darks)
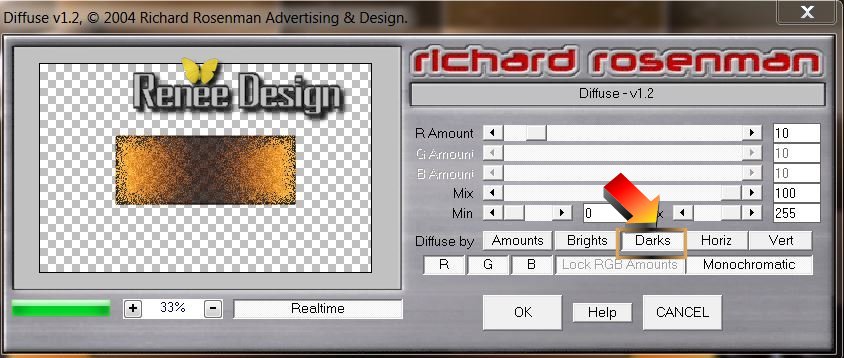
36. Activate the bottom of the Layers palette(Raster 1)
37. Effects-Plugins Xero XL -Porcelaine (with the same settings
29 )
38. Activate the top of the layer-palette.
39. Open the tube ''steampunkbrille_phf" Edit/copy-Edit paste as a new layer. With your move tool place it in the right place
40. Open the tube texte ''incroyable'' Edit/copy- Edit/ paste as new layer (do not move it is in the right place)
41. Effects-Plugins Mura's Meister / Copies with these settings
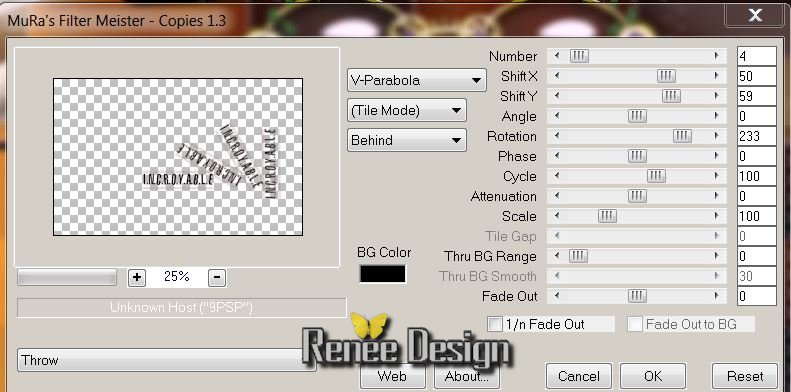
42. .Layer Palette: change your Blend Mode to "Soft Light"
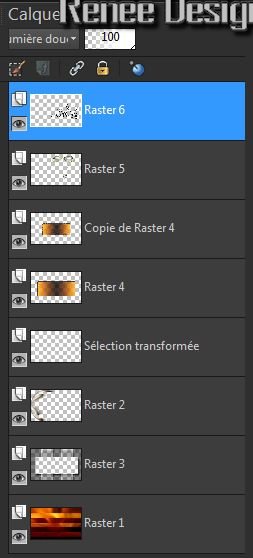
Your work look like this now
43.
Close the bottom layer in the layer palette /Activate an open layer in the layer palette /Layers-Merge-Merge Visible
44. Open the bottom layer(raster1)
45. Activate the top of the layer-Palette
46. Layers-New raster layer
47.Selections - Select all/Open the tube
''ajv-ButterflyAtMyNose-250711'' Edit-Copy-Edit Paste into selection
48. Selections - Deselect all
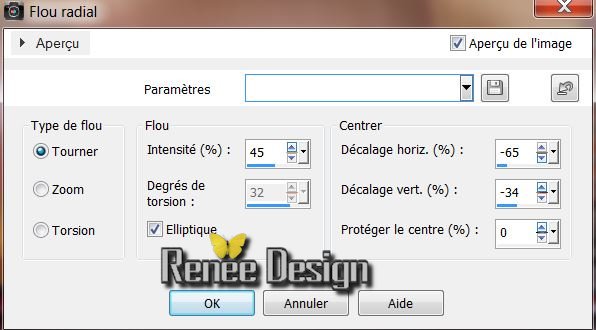
49. Adjust-Blur-Radial Blur with these settings
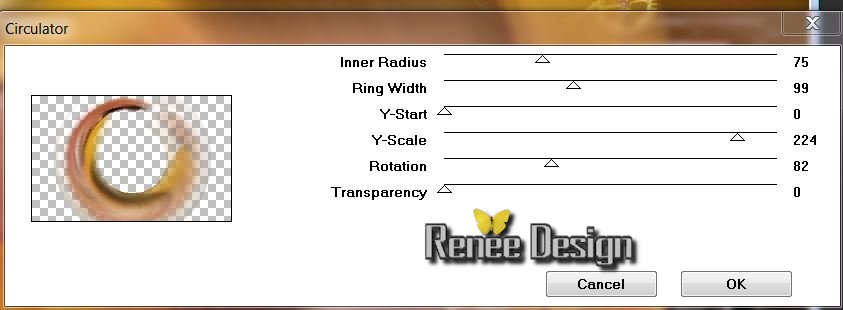
50. Effects-Plugins Unlimited -Filtre Déformation - Circulator
(or in filtre Factory B )
51. Image Mirror
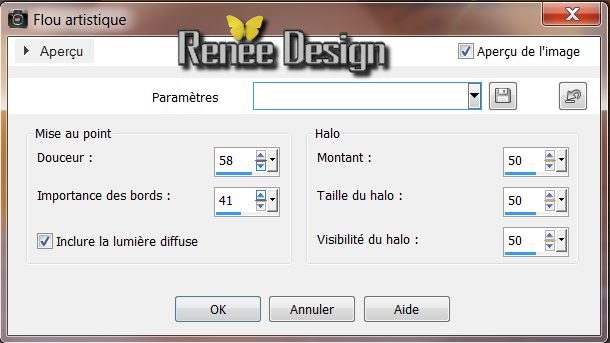
52. Adjust-Softness-Soft Focus
53. Effects-Plugins - Penta Com - VTR2 /
29/0/169/0
54. Layers-Arrange-Move Down
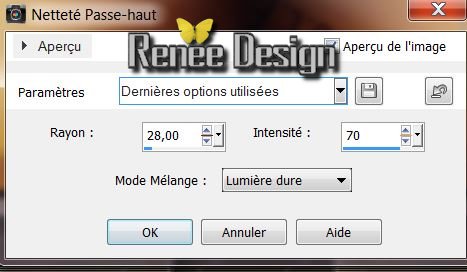
55. Adjust-Sharpness-High Pass Sharpen
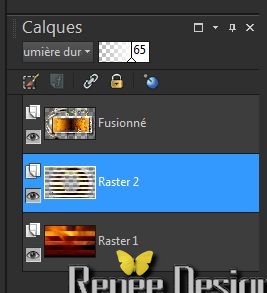
56. Layer Palette: change your Blend Mode to "Hard Light" /Opacity down to: 65
Your work look like this now
57. Activate the top of the layer-palette.
58. Return to tube ''ajv-ButterflyAtMyNose-250711''
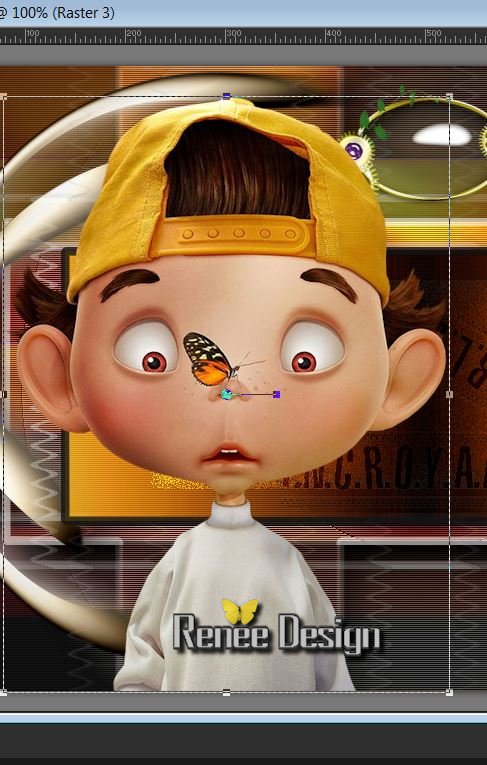
/Image-Resize 85%/ Edit/copy-Edit paste as a new layer. With your move tool place it in the right place
place like this / on the bottom edge
59. Layers-Maske- Load/Save Mask -Load Mask From Disk and choose
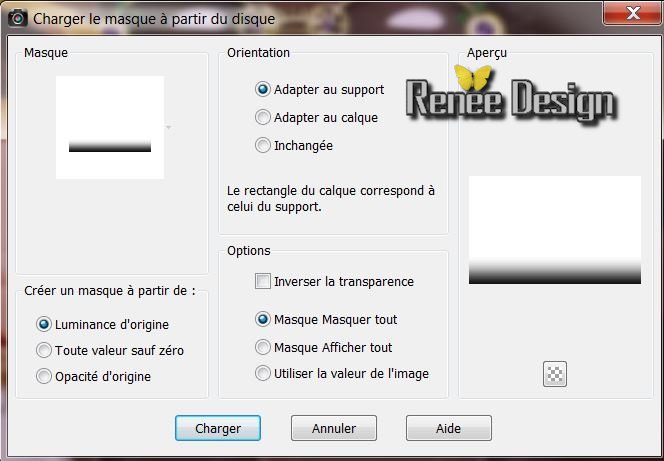
''masq_ket_suave''
60. Layers-Merge-Merge Visible
61. Layers-New raster layer
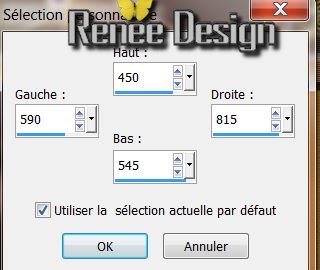
62. Selections-Custom selection with these settings
65. Selections-Modify-Select-Selection Borders with the same settings
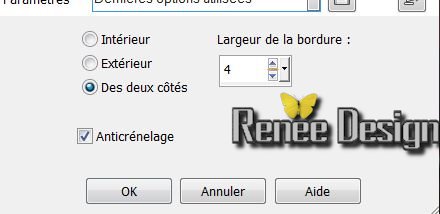
66. Activate Flood Fill Tool: fill the selection wit color white
67. Selections - Deselect all
68. Effects -Plugins Flaming Pear Flexify: clicking on the red arrow and search your file: preset -incroyable_preset_flexify'' click on the Preset: ''and OK

If the preset does not work for the old PSP . Here are the settings
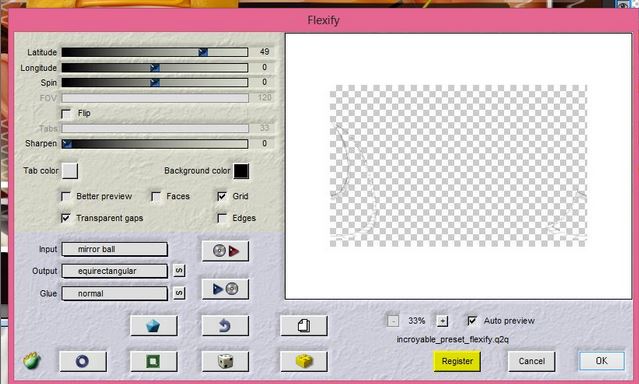
69. Repeat this Filter again
70. Effects-Plugins -EyeCandy 5 Extrude tab-User-User Settings click on the preset
''incroyable-extrude ''
71. Reduce the opacity of this layer to: 65%
72. Open the tube '019_CFT_2013'' /Image-Resize 35% Edit/copy-Edit paste as a new layer. With your move tool place it in the right place
73. Open the tube ''incroyable_papillon'' / Edit/copy-Edit paste as a new layer. With your move tool place it in the right place
74. Open the tube ''texte_incroyable'' Edit/copy-Edit paste as a new layer. With your move tool place it in the right place
75. Effects-Distortion Effects-Twirl: -100
76. Image - Add Borders - Symmetric checked - 2 pixels Black
77. Image - Add Borders - Symmetric checked - 25 pixels color #e8b331
78. With the Magic Wand select Symmetric Border of 25 pixels
79. Selection-Invert/
Effects-3D effects-Drop Shadow:
/0/0/65/85 Black
80. Selections-Invert
81. Effects-Plugins EyeCandy 5 /Glass tab-User-User Settings click on the preset ''incroyable_glass''
82. Selections - Deselect all
83..Image - Add Borders - Symmetric checked - 5 pixels Black
84. Image - Add Borders - Symmetric checked - 10 pixels en
#e8b331
85. Image - Add Borders - Symmetric checked - 5 pixels Black

I hope you enjoyed this lesson
Renée
This lesson was written by Renée the10/10/2013
Created
/10 /2013
Any resemblance with an existing lesson is merely a coincidence
*
* Don't forget to thank the people who work for us and with us. I named the tubeurs - Testers and the translators.
Thanks Renée.
|