|
Let's start the lesson
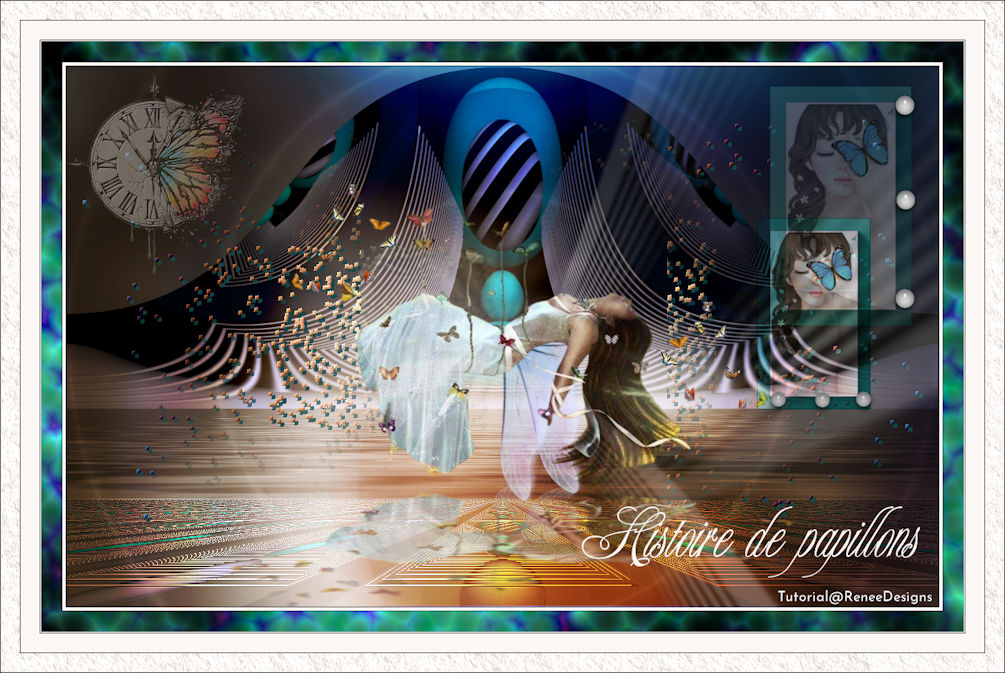
-Histoire de
papillons/The story of the butterflies
- Preparation
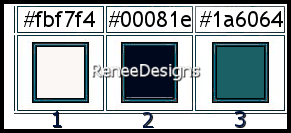
-Material Properties: Set your Foreground color to color #fbf7f4 =1- Set your Background color to color # 00081e= 2
1. Open the Background Image
‘’Fond-Histoire-de-papillons’’- Promote Background Layer =Raster 1
2. Open the Tube ‘Histoire-de-papillons-image-1’’ -Edit - Copy- Activate your work -Edit - Paste as a new layer
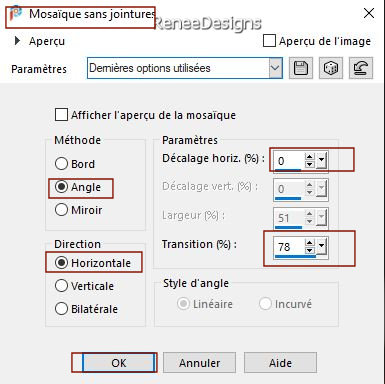
3. Effects- Image Effects- Seamless Tiling use the settings below
4. Effects -Plugins - Ulimited
2.0 - Variations - ButtonMaker Round...using the default settings
(attention here it is the Background color that gives effect, you need a dark color)
5. Layers -
Duplicate
6. Effects -Plugins- Ulimited
2.0 - Variations - Eliminate Black
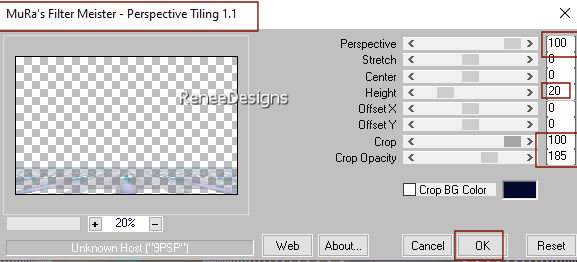
7. Effects – Plugins - MuRa's Meister – Perspective Tiling use the settings below
8. Effects – 3D-Effects – Drop Shadow with the se settings: 1/1/80/1 Black
9. Effects - Edge Effects - Enhance
10. Layer Properties- Change the Blend Mode to " Overlay" ( we do not see anything for the moment it is normal)
- Activate raster 2 in the layer palette
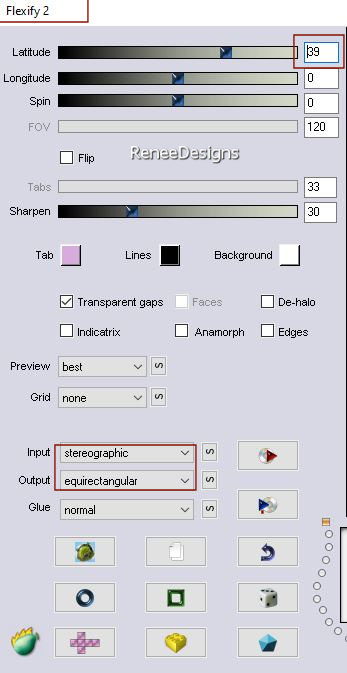
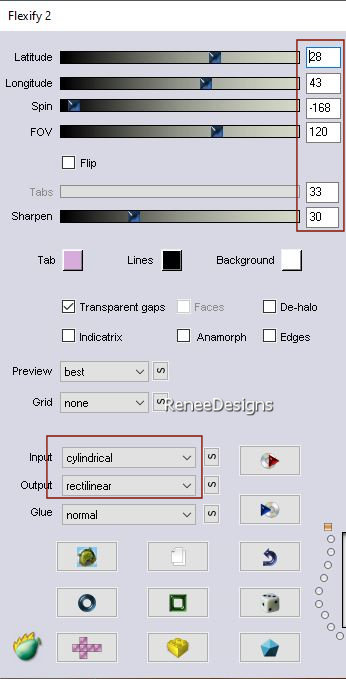
11. Effects – Plugins – Flaming Pear – Flexify2 use the settings below
12. Objects – Align
- Top
13. Layer Properties- Change the Blend Mode to " Overlay"
- Activate the bottom of the layer palette =Raster 1
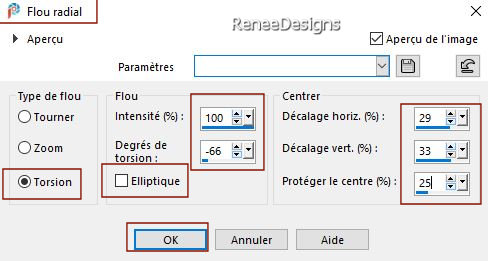
14.Adjust – Blur-
Radial Blur use the settings below
-Material Properties: the foreground color is still on #fbf7f4 =1- the background color is still on # 00081e= 2
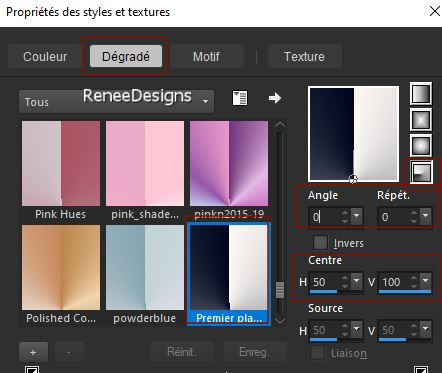
- Prepare a foreground/background radial gradient configured like this
15. Layers- New Raster Layer
16. Activate Flood Fill Tool  – Fill the layer with the gradient
17. Effects –Plugins- Unlimited 2.0 -&<Bkg Designers sf10 IV> - @ Instant Tile
with these settings: 80/190
18. Adjust- Blur- Gaussian Blur- Radius 55%
DO NOT ADD A NEW LAYER
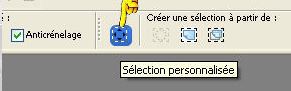
19. Activate Selection Tool -Custom Selection (S) -Rectangle with these settings
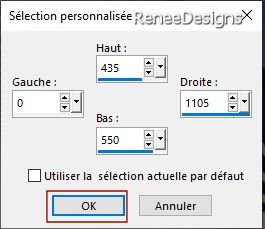
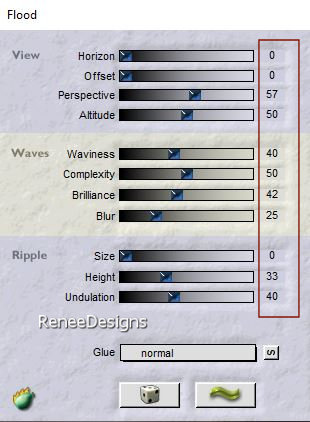
20. Effects – Plugins – Flaming Pear – Flood use the settings below - Color #000615
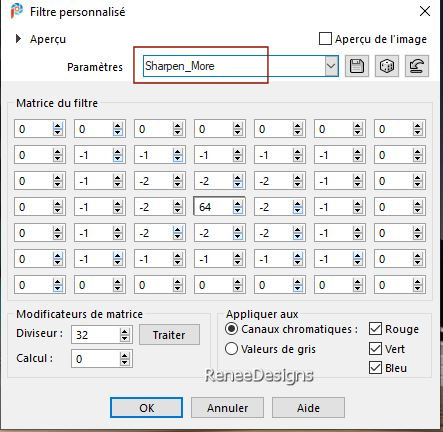
21. Effects- User Defined Filter – Sharpen More (to be placed in the default settings folder)

22. Layers Properties- Change the Blend Mode to " Overlay"- and reduce the opacity to 51%
- Color Palette
– set your background color to color #1a6064= 3
-Prepare a foreground/background linear gradient configured like this

- To replace the top of the layer-palette
23. Layers -
New Raster Layer
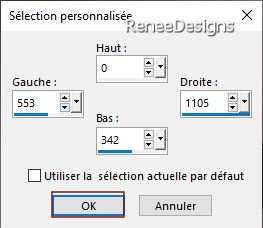
24. Activate Selection Tool -Custom Selection (S) -Rectangle with these settings
25. Activate Flood Fill Tool
– Fill the selection with the gradient
26. Effects – 3D-Effects – Drop Shadow with these settings: 0/0/50/35 Color black (repeat once more with the same settings)
27. Effects- Image Effects- Seamless Tiling use the settings below
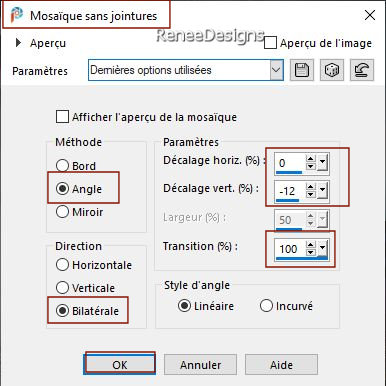
28. Effects – Reflection Effects – Kaleidoscope use the settings below

29. Layer Properties- Change the Blend Mode to " Overlay"-and reduce the opacity to 69%
30. Layers –
New Raster Layer
31. Selections –load/save selection –load selection from disc and select my selection: Histoire-de-papillons-1
32.Color Palette-Close the gradient, the foreground color is back at color # fbf7f4=1
Activate Flood Fill Tool
– Fill the selection with the foreground color = 1
33. Effects – Plugins – Medhi - Weaver use the settings below
34. Effects – Plugins – The plugin site - Harry ‘s Filters 3.0 use the settings below
35. Layers -
Duplicate
36. Layers- Arrange- Move Down – Move above Raster 1
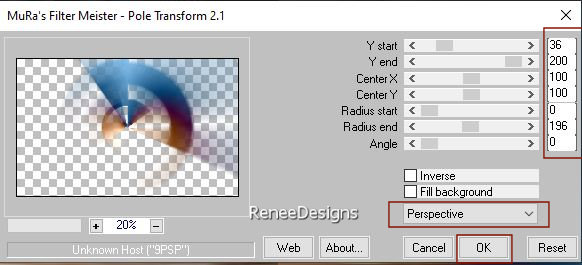
37. Effects - Plugins- Mura's Meister - Pole Transform use the settings below
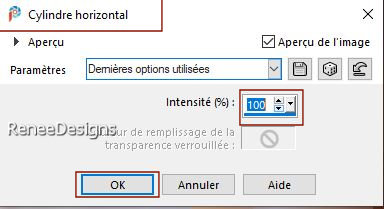
38. Effects - Geometric Effects - Cylinder Horizontal-Strenght 100 %
39. Adjust- Blur- Gaussian Blur- Radius 89%
40. Layers-Properties-Set the Blend Mode to " Lighten "
-Activate the top of the layer palette =Raster 5
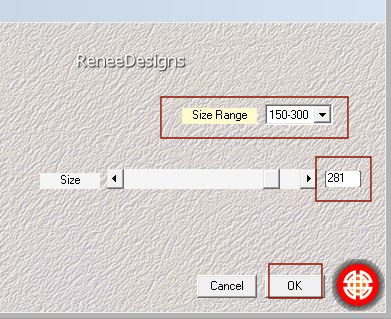
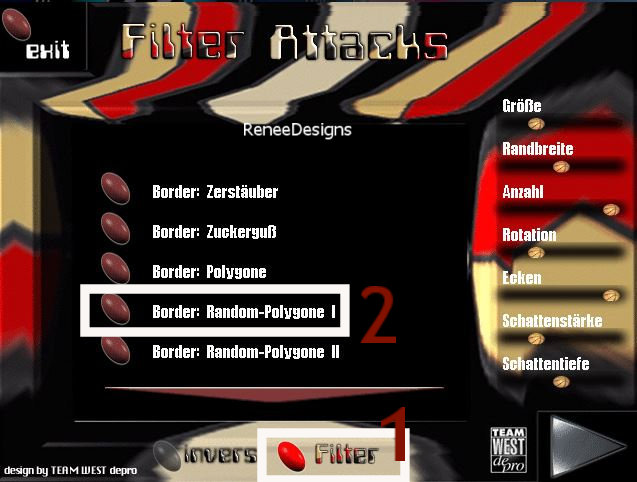
41. Effects – Plugins – Filters Attack
1. Click on Filter
2. Click -Border : Random-
Polygone 1
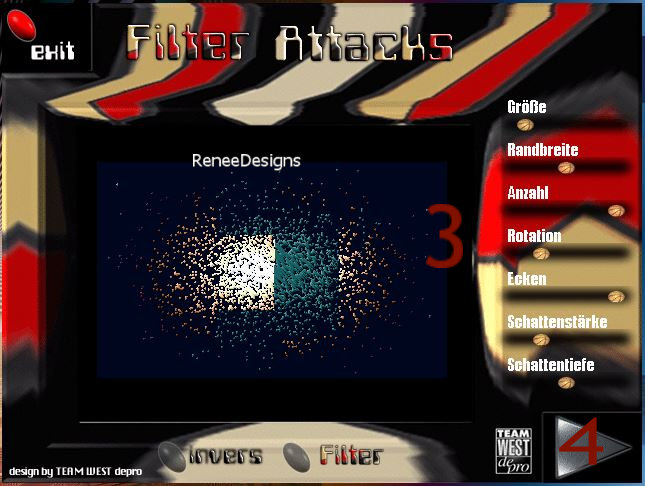
3. At the settings (is number 3) with the sliders you can change some things but especially at the button "Größe "
-you can try to achieve a similar result as in the example below (it does not matter if it is different)
4. Click on Red Arrow to apply the effect
42. Open the Tube ’’Histoire-de-papillons-image-4.pspimage’’ -Edit - Copy- Activate your work -Edit - Paste as a new layer
43. Pick Tool: (K) on your keyboard -Enter these parameters on the toolbar
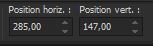 285
/ 147 285
/ 147
Press ( M ) to close the Pick Tool
44. Effects - Plugins - Alien Skin Eye Candy 5 - Impact – Perspective
Shadows -Tab-Settings-User Settings and select my file- Preset : ''Histoire de papillons"
45. Open the Tube ‘’
Histoire-de-papillons-lignes’ - Edit - Copy- Activate your work -Edit - Paste as a new layer
46. Image - Free Rotate 90° to the Right
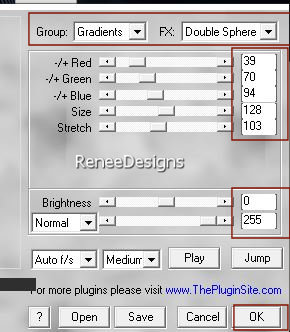
47. Effects – Plugins – Flaming Pear – Flexify 2 use the settings below
48. Layers- Properties - Reduce the opacity to 32%
You may minimize your working area for a moment, but do not close, we will need it again soon
49. Open the Tube
‘’ Histoire-de-papillons-image-2.pspimage’’
50. Layers- Merge- Merge All
51. Image -Resize to 304 Pixels Height-Resize all layers checked !!!.
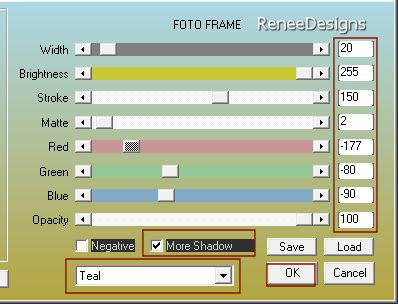
52. Effects- Plugins – AAA Frame – Foto Frame use the settings below
- EDIT- COPY
53. Activate your minimized image from step 48 -Edit - Paste as a new layer
54. Pick Tool: (K) on your keyboard -Enter these parameters on the toolbar
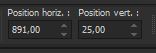 891
/ 25 891
/ 25
Press ( M ) to close the Pick Tool
55. Layers- Properties - Reduce the opacity to 26%
56. Layers- Duplicate
57. Image- Resize to 80 %- Resize all layers NOT checked.
58. Pick Tool: (K) on your keyboard -Enter these parameters on the toolbar
 875
/ 192 875
/ 192
Press ( M ) to close the Pick Tool
59. Layer Properties- Change the Blend Mode to " Overlay"- and reduce the opacity to 85%
60. Activate your Text Tool -For Renée- Font VanRose -Size 96 (included into the zipfile) ‘’‘’write the title ‘’Histoire de
papillons’’
(For Renée: color white as background color)
61. Open the Tube ‘’Histoire-de-papillons-ronds’’ -Edit - Copy- Activate your work -Edit - Paste as a new layer
Place the tube in the upper right corner near those small images (see finished image)
62. Open the Tube ‘’Histoire-de-papillons-Horloge’’ -Edit - Copy- Activate your work -Edit - Paste as a new layer
- Place to your liking(for Renée in the upper left corner)
63. Layers- Merge- Merge- Visible
EDIT- COPY
64. Open the Tube ‘’Cadre’’ in your Psp
65. With your Magic Wand, select the inside of that frame.
66.Edit - Paste Into Selection (Image is still in your PSP memory)
67. Image - Resize with 1005 Px Width- Resize all layers checked.
- Paste the author's watermark on your work and your own watermark
Layers- Merge- Merge All (flatten)
-Save as JPG
That's it - Thank you / I hope you enjoyed this lesson
Renée
This lesson was written by Renée
26/03/2022
Edited and Update
in 2022
*
*
Any resemblance with an existing lesson is a coincidence
* Do not forget to thank the people who work with us and for us -I have appointed the tubeurs and translators
Thanks
|

 Translations