|
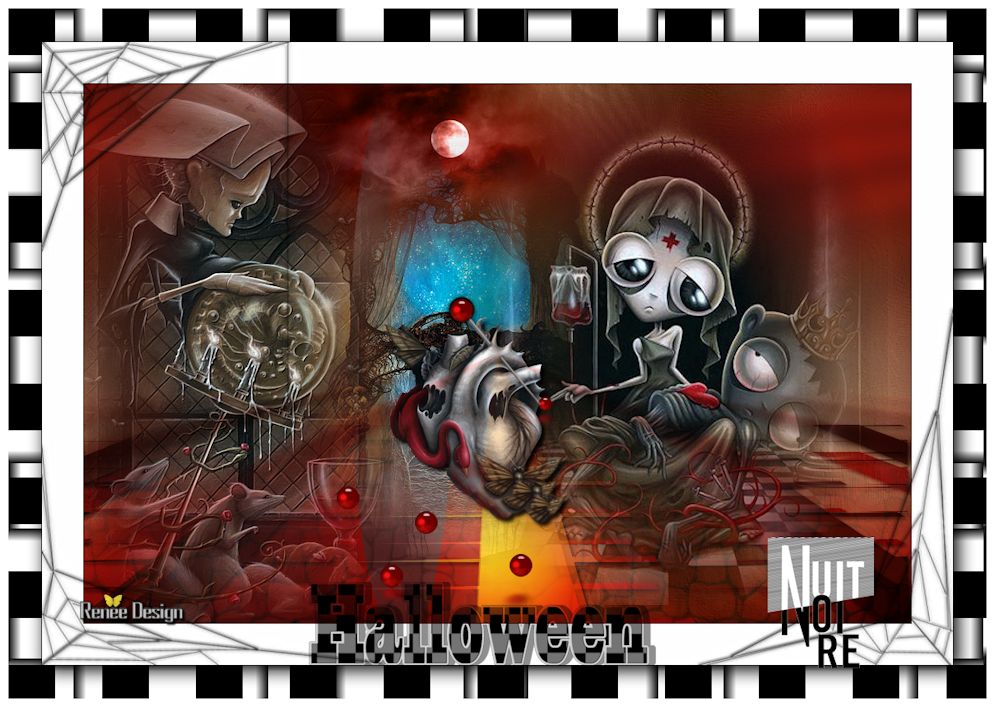
Let's start the lesson. Open the Color -Palette
-Material Properties: Foreground color to this color :#831100 Background color to this color : #000000
1. File- Open a new image: 1005
x 655 pixels -Transparent
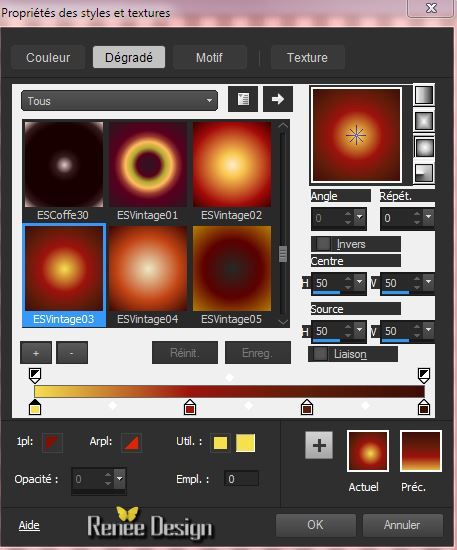
2. Material palette: change foreground color into gradient choose :''ESVintage 03''
Prepare a Sunburst Gradient as configured
3. Effects- Plugins
- Graphic Plus - Cross Shadow use settings below

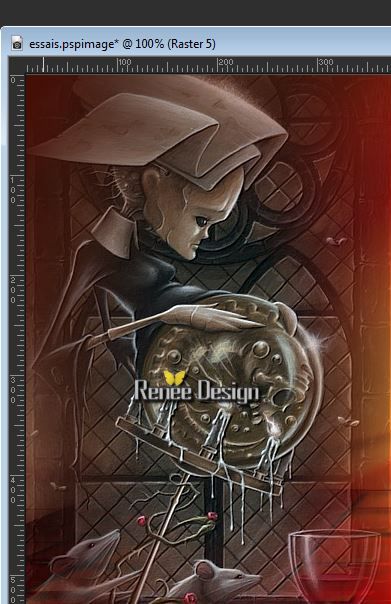
4. Activate this tube
''NS_268_0309.pspimage''-Edit/copy-Edit paste as a new layer on your working area (do not move)
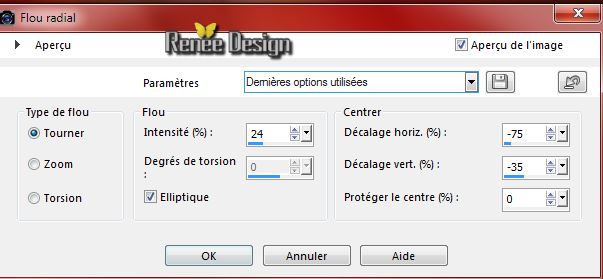
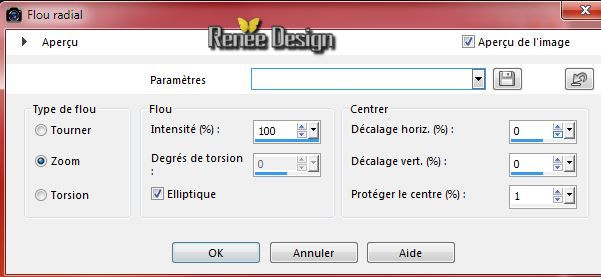
5.Adjust- Blur- Radial Blur with these settings
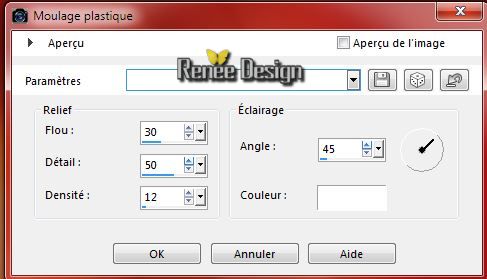
6. Effects- Texture Effects-Soft Plastic with these settings
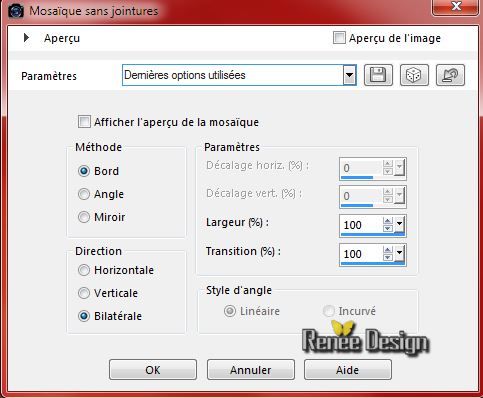
7. Effects-Image Effects-Seamless Tiling use the settings below
8. Effects- Plugins - Unlimited 2.0 -
Color Filters - Sepia setting:128
9.
Layers- New raster layer
10.
Selections - load/save selection - load selection from disk and choose my selection
''halloween_nuit_noire_1''
- Activate Flood fill tool and fill the selection with the sunburst gradient
Selections- Deselect All
11.
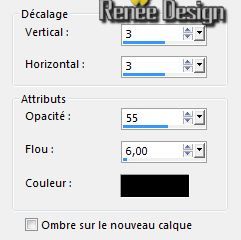
Effects - 3D Effects - Drop shadow with these settings:
12.
Layers- Duplicate
13. Effects- Plugins - Icnet
Unlimited 2.0 - Render - Smoke with these settings: 128/128/217
14.
Effects- Image Effects-Offset with these settings H = 0 and V =
-33/ transparent
15.
Layer Palette -Double click on this Layer and set the Blend Mode to "Overlay "
- Layer-Palette: activate layer underneath (raster 3)
16.
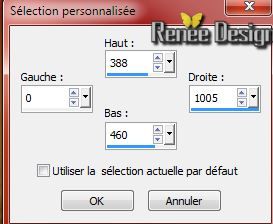
Selection Tool ( S ) Custom selection use settings below
17.
Selections- Promote selection to layer
Selections- Deselect All
18 .Adjust- Blur- Radial Blur with these settings- (Zoom)
19.
Layers- Arrange -Bring to Top
20.
Effects - 3D Effects - Drop shadow with the same settings
-
Layer Palette -Double click on this Layer and set the Blend Mode to "Hard Light "
21.
Activate this tube "halloween_nuit_noire_image1.PspSelection.pspimage''-Edit/copy-Edit paste as a new layer on your working area
(
place against the bottom edge)
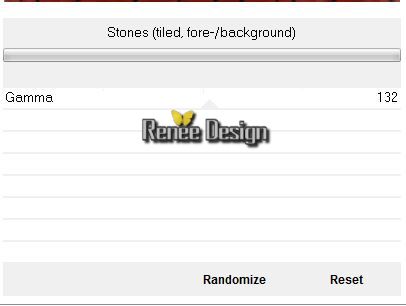
22. Effects-Plugins - Icnet
Unlimited2.0 - Render - Stones(tiled,fore-/background)
23.
Layer Palette -Double click on this Layer and set the Blend Mode to "Soft Light " and lower the opacity down to: 85%
24.
Activate this tube '' halloween_renee_nuitnoire.pspimage''/Edit - Copy -Edit - Paste as new layer on your working area
- With your move tool move to the left like this
25.
Layers- New raster layer
26.
Selections - load/save selection - load selection from disk and choose my selection ''
halloween_nuit_noire_2.Pspselection''
-Properties Foreground: foreground color to color white
27.
Activate -Paint Brush- Shape Round use settings below ( opacity 40 and blend mode "'screen "' )

Click once in the selection (position the tip of the brush see screen)
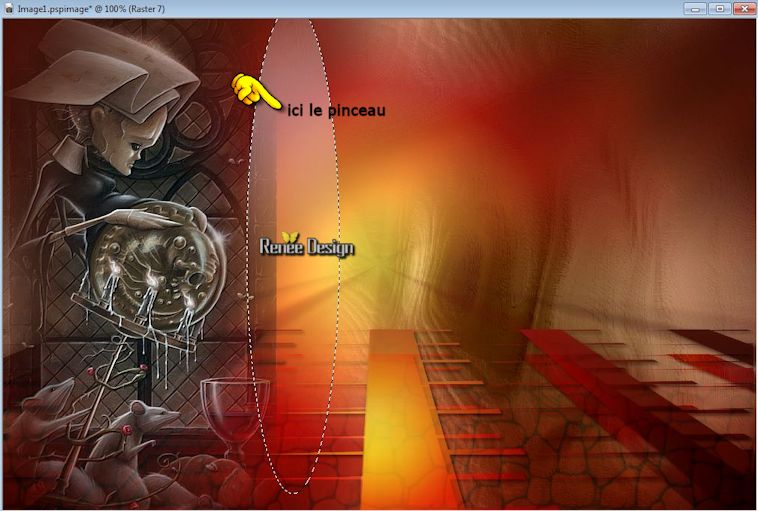
Selections- Deselect All
28.
Layers- Duplicate
-
Image Flip
-
Layer Palette -Double click on this Layer and set the Blend Mode to "Hue"
- Activate the bottom of the Layer-Palette (Raster 1)
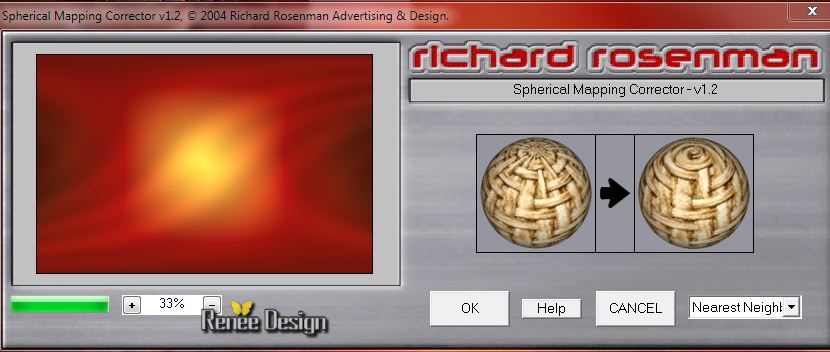
29. Effects- Plugins -Richard Rosenman - Spherical Mapping
Corrector v 1.2 - Nearest Neight
- Activate the top of the Layer-Palette
30.
Activate this tube ''halloween_renee_ciel_lune''/ Edit - Copy-Edit - Paste as new layer on your working area and move like this
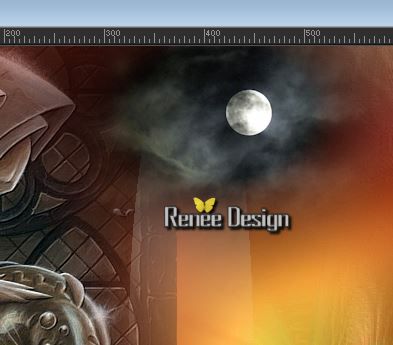
-
Layer Palette -Double click on this Layer and set the Blend Mode to "luminance"
31.
Activate this tube ''halloween_renee_nuit_noire_coeur.pspimage''-
Edit-copy- Edit- paste as new layer on your working area
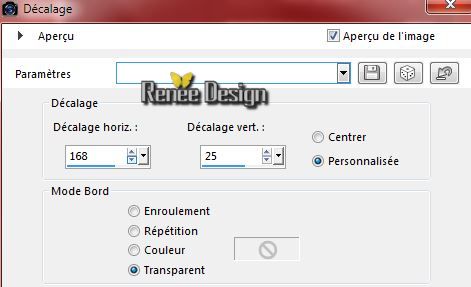
32.
Effects- Image Effects-Offset use settings below
33.
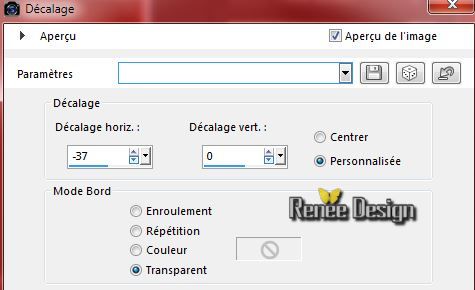
Activate this tube ''halloween_nuit_noire_image2''- Edit-copy- Edit- paste as new layer on your working area
34.Effects- Image Effects-Offset use settings below
35.
Layers- Move- Move Down
- Activate the top of the Layer-Palette
36.
Activate this tube''halloween_nuit_noire_image3.PspSelection.pspimage''
- Activate Raster 1 of the tube -Edit-copy- Edit- paste as new layer on your working area
Do not move it is in the right place
37.
Activate Raster 2 of the same tube
-Edit/copy-Edit paste as a new layer on your working area
38.
Layers- Duplicate (
3 times for me) and move
39.
Layers- Merge- Merge Down and repeat (the marbles have been merged into one layer)
40. Effects- Plugins - Eyecandy 5 Impact -perpsective shadow
tab Settings/User Settings and choose my preset ""halloween_nuitnoire_shadow"
41.
The tube with that badge: repeat effects Eyecandy Perspective shadow-with the same settings
42.
Layers Palette: activate the promoted selection layer
43.
Layers- Arrange- Bring to Top
44.
Layers-Merge-Merge Visible
45.
Image - Add borders-Symmetric checked:1 pixel color black
46.
Image - Add borders-Symmetric checked:50 pixels color white
47.
Layers- New raster layer
-Flood Fill Tool: fill the layer with color black
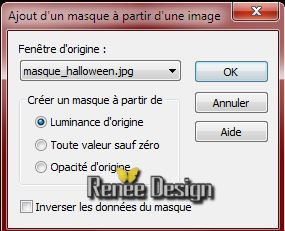
48.
Layers- New Mask layer from Image and choose Mask:
''masque_halloween''
49.
Layers- Merge- Merge Group
50.Image - Add borders-Symmetric checked: 1 pixel color black
51.
Selections- Select All
52.Image - Add borders-Symmetric checked: 40 color white
53.
Effects - 3D Effects - Drop shadow with these settings:5/5/100/32 color black
54.
Selections-Invert
55.
Selections- Promote selection to layer
-
Selections- Deselect All
56.
Effects- Plugins - L and K's / Pia setting:
57
57
Effects- Plugins -Unlimited 2.0 /&<BKg Designer sf 10 III>
Weaver- with these settings :79/69
58.
Activate this tube''renee_halloween ''2 tubes of texts / Edit - Copy-Edit - Paste as new layer on your working area and move to the right
-
The little word ''halloween-Blend Mode-"Multiply"'
- The little word ''Nuit noire'' Blend Mode "Normal "
59.
Layers- Merge- Merge All
60.Image - Add borders-Symmetric checked: 10 pixels color white
61.
Image Resize 995 pixels Width .
Save as JPG
I hope you enjoyed this lesson
Renée
This lesson was written by Renée 28/08/2014
Created the
10/2014
*
Any resemblance with an existing lesson is merely a coincidence
* Don't forget to thank the people who work for us and with us. I named the tubeurs - Testers and the translators.
Thanks Renée.
 |
 Translations


 All rights reserved