|
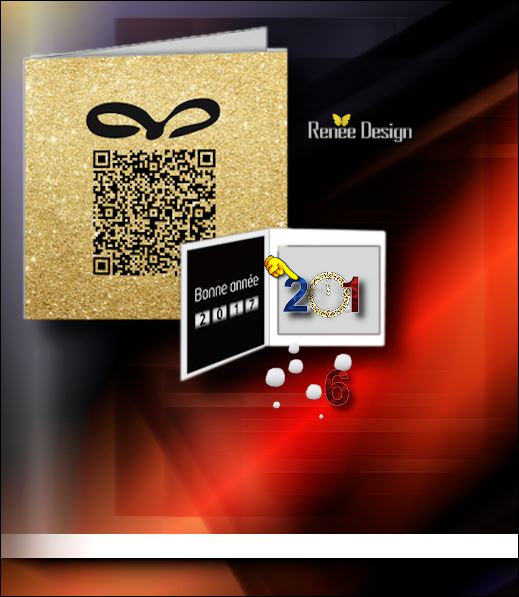
We wish all of you a prosperous 2017

-
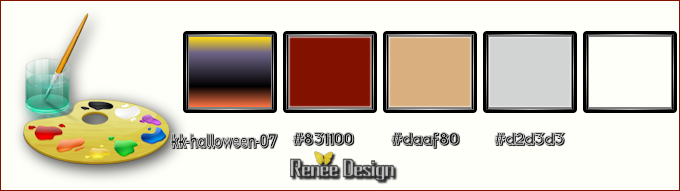
Color Palette: Set your Foregroundcolor to gradient and select -kk-halloweeen-07
 - Set your background color to #ffffff - Set your background color to #ffffff
-
Color Palette:-
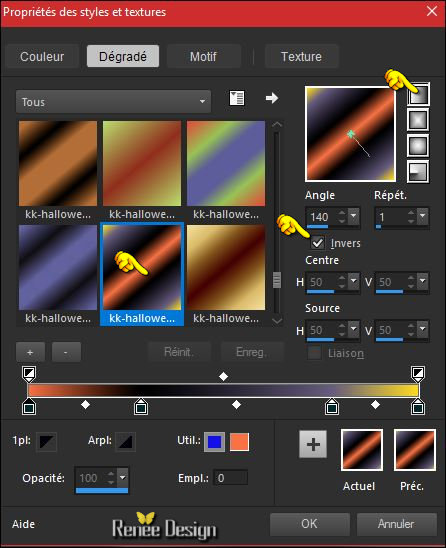
Prepare a linear gradient configured like this.
1.
File: Open a new transparent image 1005 x 665 pixels
2.
Activate Flood Fill Tool and fill the layer with the gradient
3.
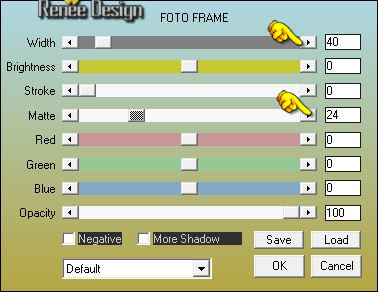
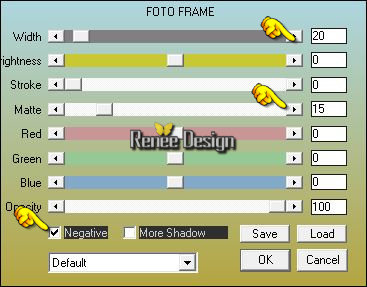
Effects –Plugins - AAA Frame - Foto Frame with these settings
4.
Effects - Distortion Effects - Wind direction- From Left checked - Wind Strength: 100° -Repeat: Effects - Distortion Effects - Wind direction- From Right checked - Wind Strength:100°
5.
Layers- Duplicate
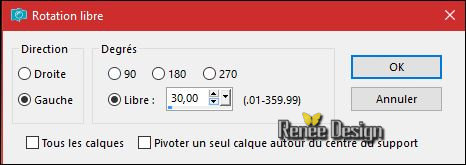
6.
Image -Free Rotate 30° Left
7.
Layers- Duplicate
8.
Image Resize to 75% - Resize All layers not checked
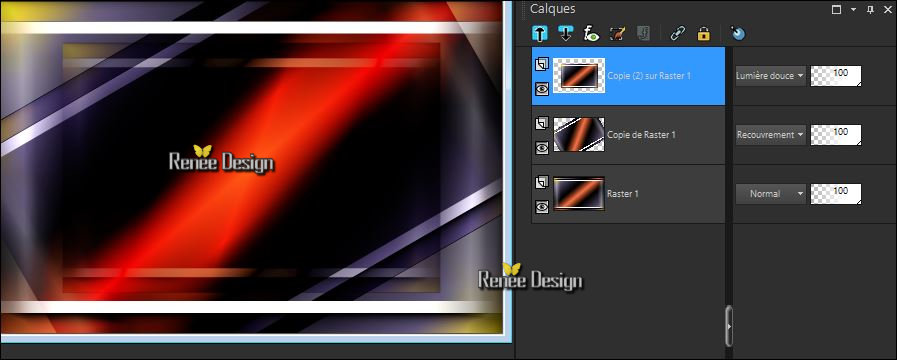
9.
Image -Free Rotate 30 ° Right
- Layers-Properties-Set the Blend Mode to " Soft Light "
Your Layer palette look like this now-You should have this result
-
In the layers palette: make Copy of Raster 1 active
- Layers-Properties-Set the Blend Mode to " Overlay "
10.
To replace the top of the layers palette
11.
Effects –Plugins- Unlimited – Tramage – Panel Stripes
125/183/118
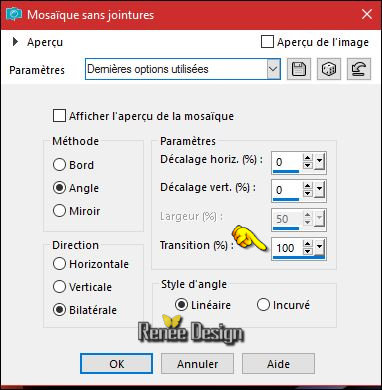
12. Effects
– Image Effects- Seamless Tiling use settings below
13.
Effects- Edge Effects- Enhance More
14. Layers- Merge- Merge Down
- Layers-Properties-Set the Blend Mode to " Overlay "
15. Image
Resize to 75 % / Resize All layers not checked
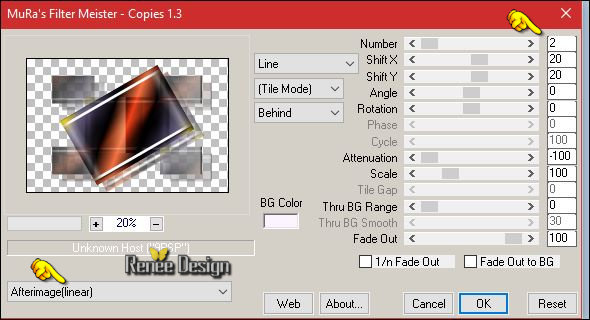
16. Effects
–Plugins– Muras’ Meister Copies use settings below
17. Effects - Distortion Effects - Wind direction- From Right checked - Wind Strength: 40°
18. Open the tube ‘’ Renee_tube_BA2017_image1’’
- Edit - Copy- Activate your working area, Edit - Paste as a new layer
19. Effects- Image Effects- Offset with these settings: H = - 264 and V =
48
20. Open the tube ‘’ Renee_tube_BA2017_image2’’
- Edit - Copy- Activate your working area, Edit - Paste as a new layer
- Move as shown in the example below
21. Picture Tube Tool and select ‘’ Corel_10_036’’ ( Standard in the PSP.)
Do not take a new layer- Create as new layer checked

- Apply
- Activate Move Tool (M) move it the right place (see finished image) ( At the number 6 of 2016)
22. Effects- Edge Effects- Enhance More
23.
Layers- New Raster Layer
- Activate the Brush Tool and select my file « Pinceau_NA2017_renee’’ in your
Psp
- File- Export Custom Brush
(Give it a name)
24. Activate Brush Tool and select my file in the list "Brush NA2017"with these settings

- Stamp in the left bottom corner by using your background color #ffffff
25. Layers- New Raster Layer
26.
Selections –load/save selection –load selection from disc and select my selection: ‘’ NA2017_1’’
27. Activate Flood Fill Tool and fill the selection with the background color #ffffff
Selections- Deselect All
28. Effets
– Effets de bords – Accentuer
29. Layers-Properties-Set the Blend Mode to " Screen"
- Color Palette- Set your foreground color to #d2d3d3
30. Layers- New Raster Layer
31.
Selections –load/save selection –load selection from disc and select my selection: ‘’ NA2017_2’’
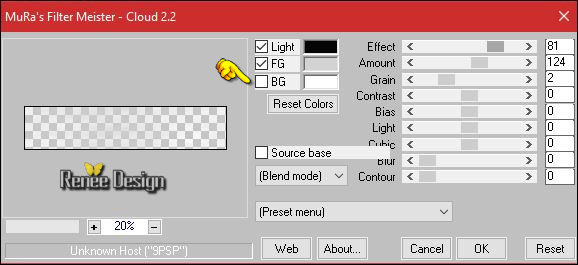
32. Effects
–Plugins –Mura’s Meister – Clouds use settings below (Color black and
#d2d3d3)
Selections- Deselect All
-
Set the layer opacity of this layer to 65%
33. Open the tube ‘’ Renee_tube_BA2017_image3’
- Edit - Copy- Activate your working area, Edit - Paste as a new layer
34. Effects – Image Effects -Offset with these settings H = 0 and V = -33
- Layers-Properties-Set the Blend Mode to " Hard Light "
35. Open the tube ‘’ Renee_tube_BA2017_image4.png’’
- Edit - Copy- Activate your working area, Edit - Paste as a new layer
-Do not move, it is in the right place
36. Open the tube ‘’ Renee_tube_clockwork_2017.pspimage’(Do not close we need it later for the rest of the work) ’
- Activate the layer ‘’renee_tube_NA2017’ of the tube
- Edit - Copy- Activate your working area, Edit - Paste as a new layer
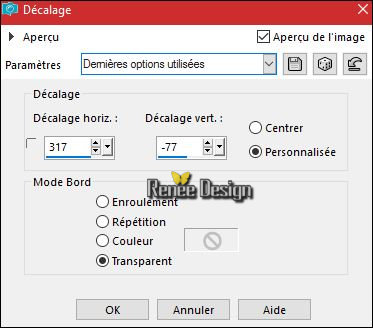
37. Effects – Image Effects -Offset with these settings
Back on tube - ‘’renee_tube_NA2017’ Activate the layer " raster 1 or raster 2’’
- Edit - Copy- Activate your working area, Edit - Paste as a new layer
- Move as shown in the example below

38. Image - Add borders-Symmetric checked: 2 pixels #d2d3d3
39.
Selections-Select All
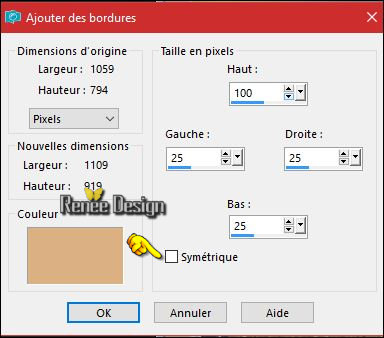
40. Image - Add borders-Symmetric NOT checked with these settings-Color #daaf80
41.
Selections -Invert
42. Properties Foreground: set the foreground to pattern and select my file
"Corel_15_010"
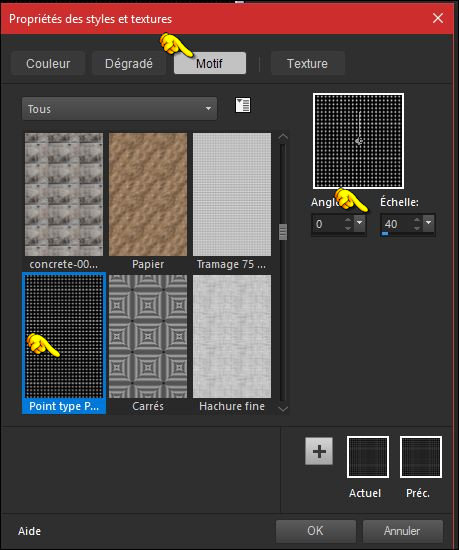
43. Activate Flood Fill Tool and fill the selection with the pattern
-
Promote Background Layer
44.
Selections- Promote Selection to Layer
45. Effects
- Plugins - AAA Frame - Foto frame use settings below
46.
Selections-Invert
- In the layers palette: make Raster 1 active
47.
Effects – Plugins - AAA Frame Works with these settings

Selections- Deselect All
48. Open the tube ‘’ Renee_tube_BA2017_image5.png’’
- Edit - Copy- Activate your working area, Edit - Paste as a new layer
- Place it in the right place see finished image
49. Image - Add borders-Symmetric checked: 1 pixel #831100
50. Open the tube -Text"-Edit/ Copy-Edit - Paste as new layer on your working image and move
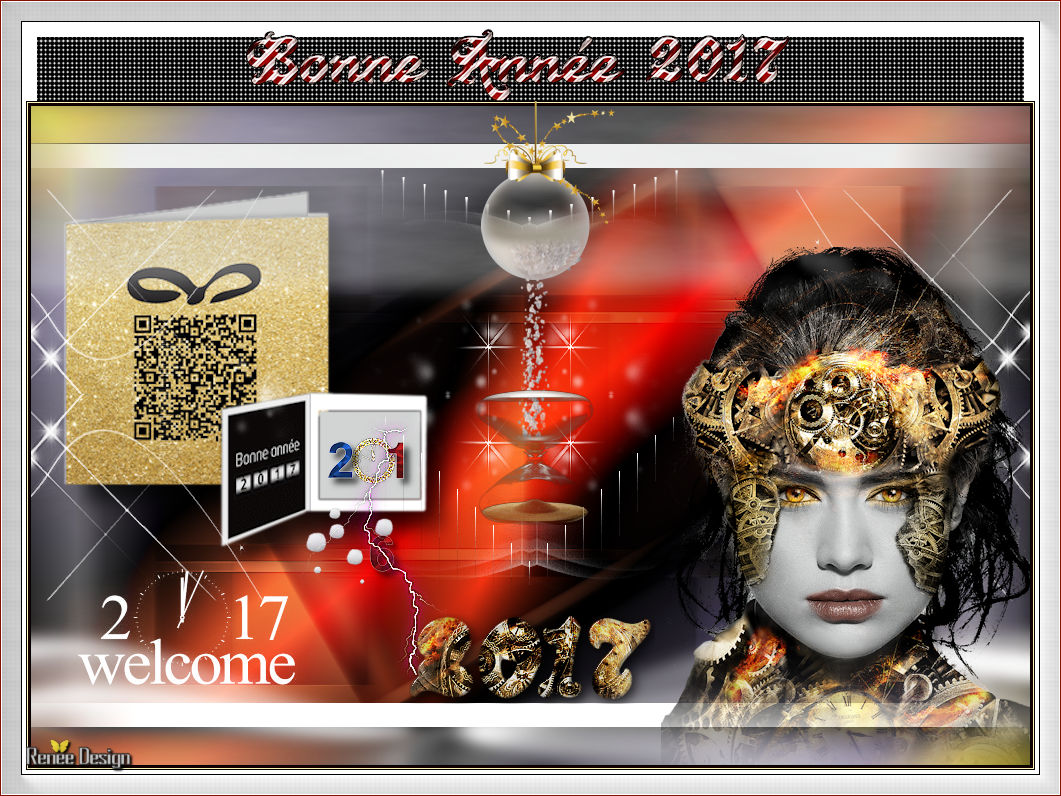
- Layers- Merge- Merge All (Flatten)
Save as JPG

Thank you all for making my lessons
>
I was surprised by your special creations and all your beautiful work.
See you in 2017 for a new adventure ... I hope
I hope you enjoyed this lesson
Renée
This lesson was written by Renée 15/10/2016
Edited and Update
le 2016
*
Any resemblance with an existing lesson is a coincidence
* Do not forget to thank the people who work with us and for us I have appointed the tubeurs and translators
Thanks Renée *
*
| 
 Translations


 If a plugin supplied appears with this icon it must necessarily be imported into Unlimited *

 All rights reserved