|
On commence
1. Open the image fond ''bleeding_hear ''-promote to background layer. Open your color palette
2. Layers - new raster layer Flood Fill tool : fill the layer with black
3. New mask layer from image
''skf_mask06.jpg'' 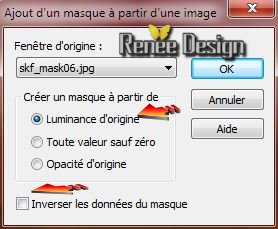
4. Effects -Edge effects-Enhance / Layers Merge Group
5. Layers - New raster layer / Flood Fill tool : fill the layer with: #410c09
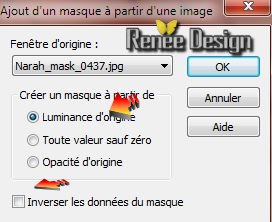
Open -New mask layer from image ''Narah_mask_0437.jp''/Image Mirror
/Image Flip
6. New mask layer from image
''Narah_mask_0437''
7. Layers Merge Group /Blend Mode: to "Hard Light" and the opacity to 61%
8. Layers - new raster layer /Flood fill Tool: Opacity 50% - Fill the layer with: #410c09
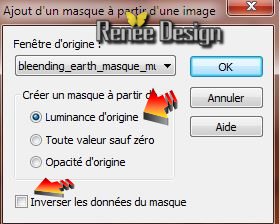
9.Selections - load selection from disk ''bleeding_earth_1''/ New mask layer from image
''bleeding_earth_masque_mur''
10. Layer Merge Group
11. Effects - Effects - 3D Effects - Drop Shadow 1/1/40/14 black
12. Selections - select none
13. Open the tube ''bleeding_earth_image1" /Image
mirror /Edit/ copy - Edit/paste as a new layer
Place under the left
14.Effects - Edge effects-Enhance
15. Open the tube
''Lexha_IceLadyMistedface_Novembr2013'' Edit/ copy - Edit/paste as a new layer /Blend Mode: to "Hard Light"
Move tool: Place it as shown in screen below
16. Layers-Duplicate
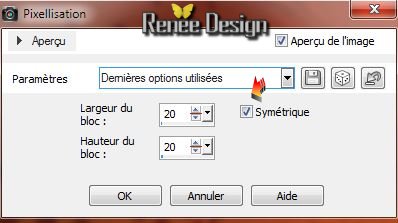
17. Effects - Distortion effects-Pixelate
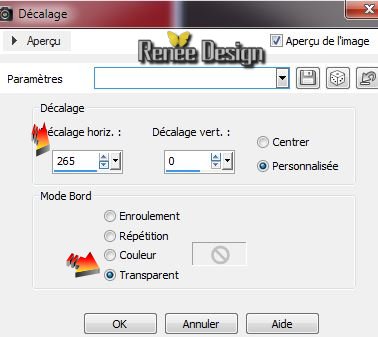
18. Effects -Image effects-Offset
19. Effects - Edge effects-Dilate/ Blend Mode Luminance (héritée ) Opacity 29%
20.
Effects-Plugins Unlimited - Filter Factory Gallery U / Digital Weaver
86/139
21. Open the tube ''bleending_earth_fissure'' Edit/ copy - Edit/paste as a new layer
22. Layers - New raster layer
23. .Selections - load selection from disk ''bleeding_eart_2''
/ Flood Fill Tool: Fill the selection with this color: #af2a07
and then click 5x in the selection
24. Selections - select none
25. Layers - New raster layer
26 Selections - load selection from disk ''bleeding_earth_3''
Flood Fill Tool: Fill the selection with #ffffff click 4 x
in the selection
27. Selections - select none
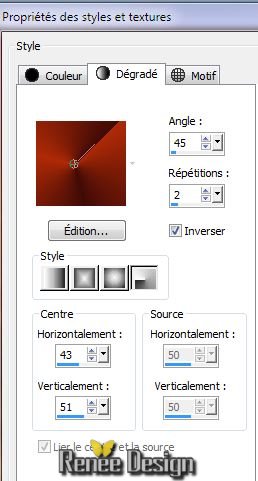
28. Layers - merge - merge visible
29. Open the tube ''bleeding_earth_rayon' Edit/ copy - Edit/paste as a new layer
30. Layers - New raster layer
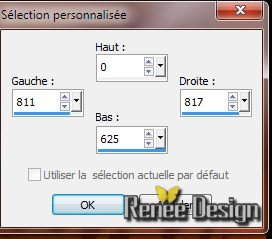
31. Selections-Custom selection with these settings
32. Flood fill Tool: Opacity 100/
Fill the selection with: #af2a07
33. Selections - select none
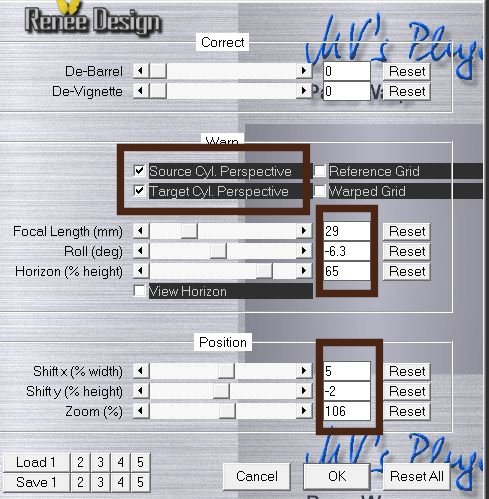
34. Effects -Plugins MV'sPlugins -Panopwarp
35. Effects-
Distortion effects-- Punch 100
36. Effects-Plugins
Mura's Meister - Copies
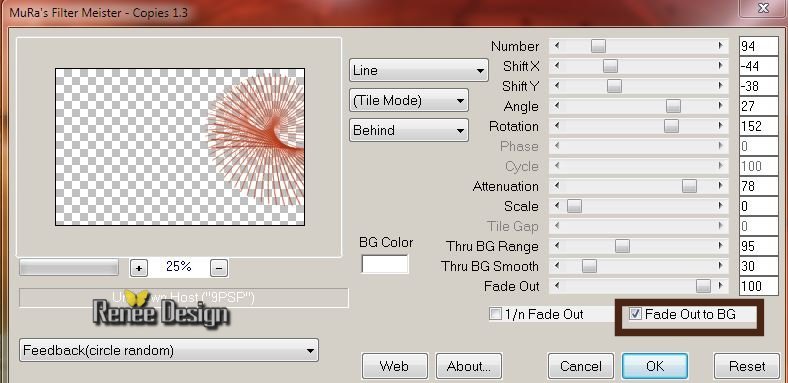
37. Blend Mode Luminance (héritée) Opacity 79%
38. Open the
tube ''sekretnoe_soveschanie'' Edit/ copy - Edit/paste as a new layer (do not move it is in the right place)
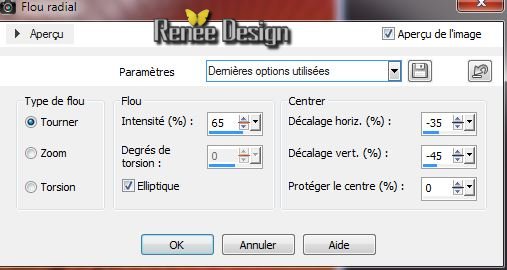
39. Adjust-Blur-Radial Blur
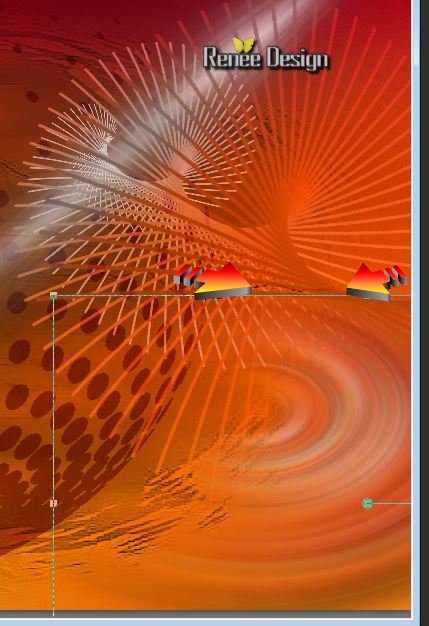
40. Image
Resize 63% (all layers unchecked)
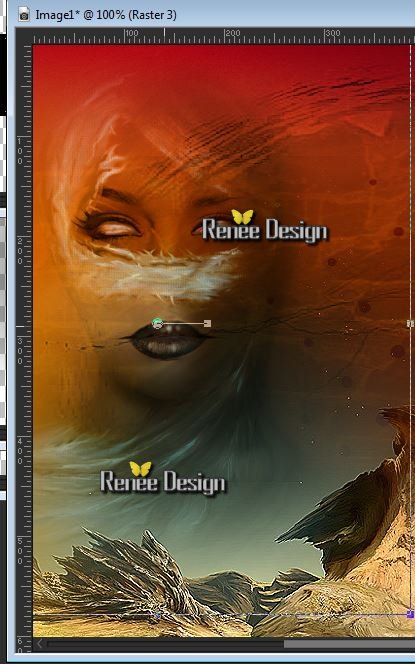
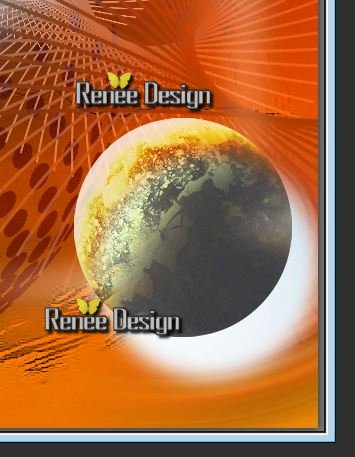
41.Move Tool: Place it as shown in screen below
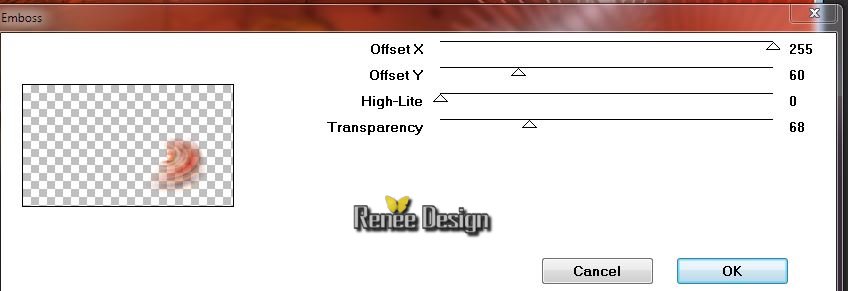
42. Effects-Plugins
Graphic Plus -Emboss
43.Layers - new raster layer
44. Color palette - The foreground color: #410c09 and Backgroundcolor : #af2a07 Prepare a radial gradient configured like this
45. Selections - load selection from disk ''bleeding_earth_4'' :Fill the layer with the gradient (2 klick )
46. Blend Mode en mode screen Opacity: 48
between 65%
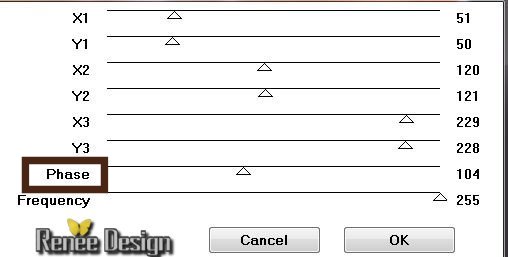
47. Effects- Plugins VM Extravanga - Aura detector
Attention> Phase = varier between 104 and 130 for a good result
Selections - select none
48. Open the tube ''Kryssurealisme-02-12-13-lune'' ( raster 1 of your tube) /Image Resize
35%- Edit/ copy - Edit/paste as a new layer
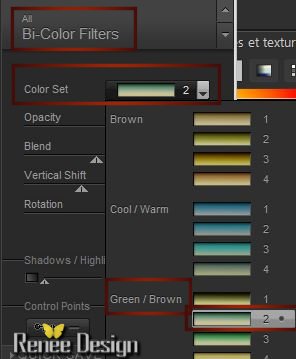
49.Effects
- Plugins Nick Color Effex Pro3.0 /Bi ColorFilters - Color set
2 / Green Brown 2
50. Blend Mode: to "Hard Light" and Opacity 81%
51.On the
tube ''Kryssurealisme-02-12-13-lune''( aktivate
raster 4 of the tube) Image Resize
35% -- Edit/ copy - Edit/paste as a new layer
Arrange layer move down /Move Tool:
Place it as shown in screen below (K)
52. Blend Mode "Soft Light"
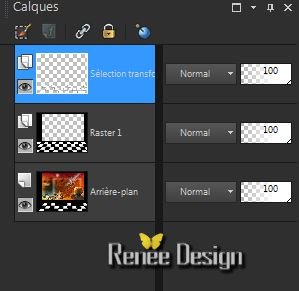
You are there in your layers palette
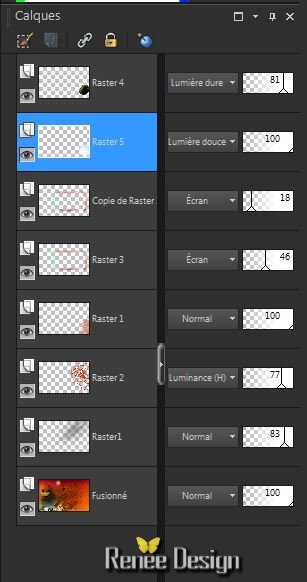
53. Replace at the top of the Layers palette
54. Repeat the tube
''Kryssurealisme-02-12-13-lune''( aktivate
raster 3 of your tube) / Image Resize 65% /
Edit/ copy - Edit/ past as a new layer
-and place on the right side . Blend Mode Normal -
Opacity 81%
55. Layers-Merge-Merge visible
56. Image - add borders 10 pixels #af2a07
57.Image add borders asymmetrical black
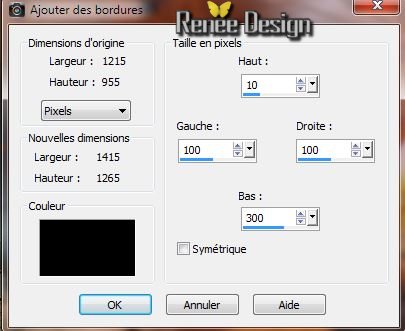
58. Avec la
baguette magique sélectionner cette partie noire
59.
Layers - new raster layer Edit/copy-Edit /paste ''
C3-0E36-4FE5-94CF-49928AF333F3.jpg" in to the selections -
Selections - Select none
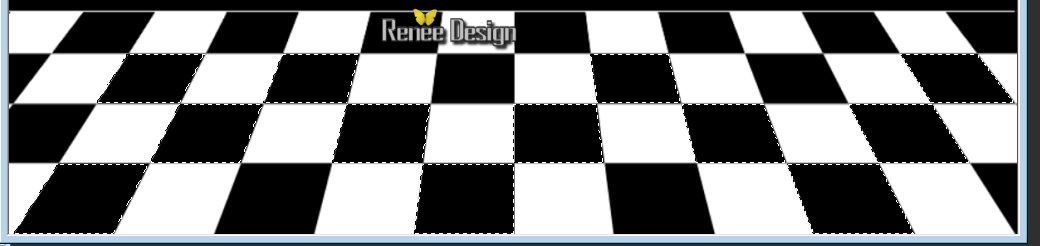
60. Stay on top layer . With the magic wand select as here (surrounded by black dots)
61. Effects -
3D effects - Drop Shadow 0/0/80/40 black
DO NOT
DESELECT
62. Activate the Bottem layer
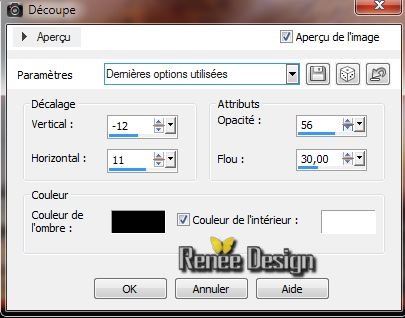
63 Effects -
3D effects- Cutout
63.
Selections-Promote selection to Layer
64. Selections - select none
65. Layers-Arrange-Bring to Top
You are here
66. Open the
tube ''Kryssurealisme-02-12-13'' on your tube
(Merge /raster1-Kopie of raster 3 and raster 3 in a single layer) Image Resize 70% -/Image
mirror / Edit/ copy - Edit past as a new layer
-and move
67. Open the
tube ''Krysurrealisme30-11-13-54''- le Resize 62% -
Editer copier -Editer coller comme nouveau calque- /and
place
68. Effects - 3D Effects - Drop Shadow - always in memory
69. Aktivate Pen-Tool-Line Style ''Arrowhead-ball' /Width
3 / trace a line of eye tube in hand of women (view finished)

70. Open the
tube ''bleeding_earth_lumiere '' Edit/ copy - Edit/paste as a new layer
71. Ouvrir le
tube ''bleeding_earth_titre 'Edit/ copy - Edit/paste as a new layer
72. Open the tube ''''bleeding_earth_terresang'' Edit/ copy - Edit/paste as a new layer/Layer- Duplicate /Image mirror
73. Image - add borders 5 pixels: #af2a07
74. Image - add borders 5 pixels white
75. Image
Resize 995 pixels Width
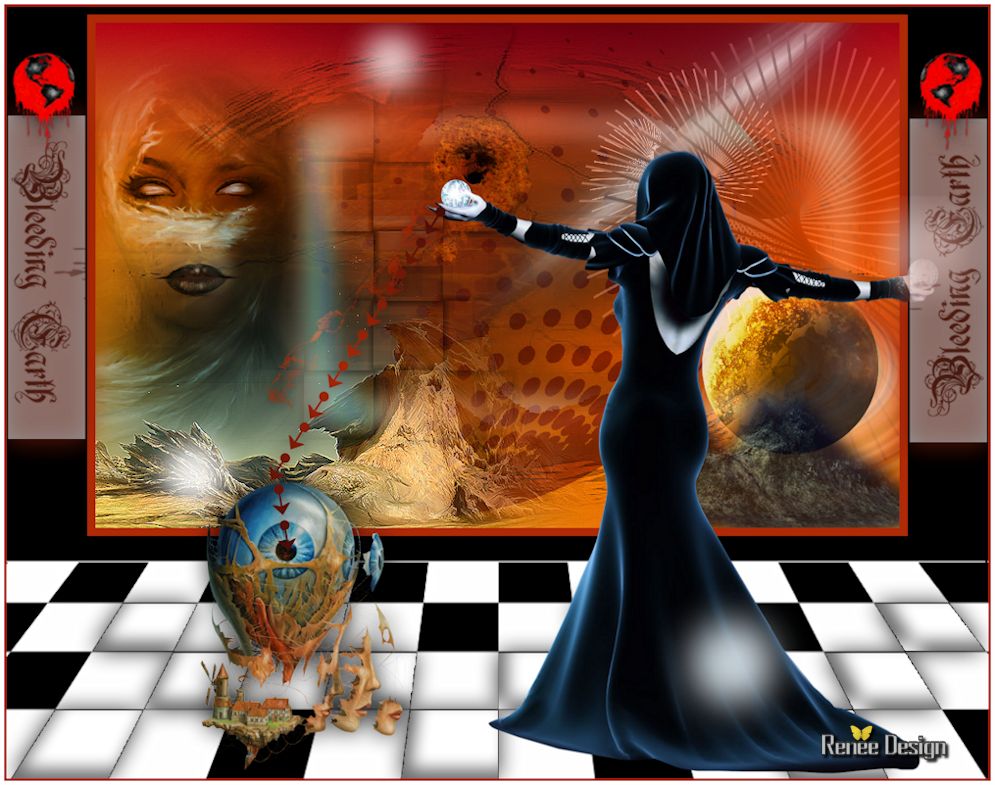
I hope you enjoyed this lesson
This lesson was written by Renée
the 3/12/2013
introduction
the 14/12/2013
*
Any resemblance with an existing
lesson is merely a coincidence
*
Don't forget to thank the people who work for us and with us.
I named the tubeurs - Testers and the translators
Thank you
*
| 


 Translation