|
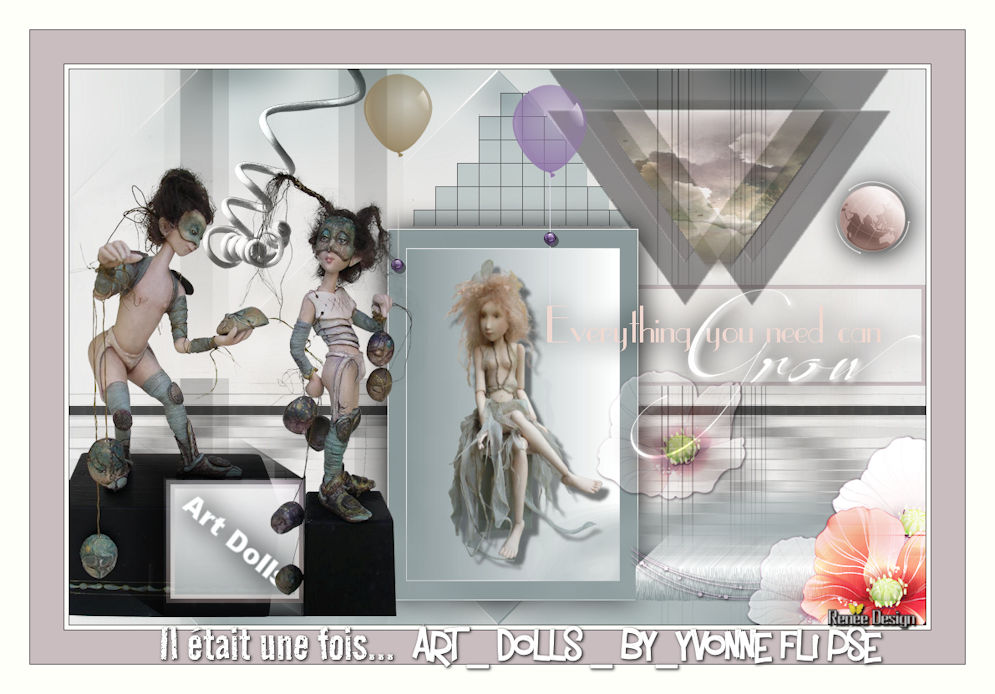
Once upon a time...A dream came up
Knowing...thinking...dreaming
it is all there
Let's start the lesson
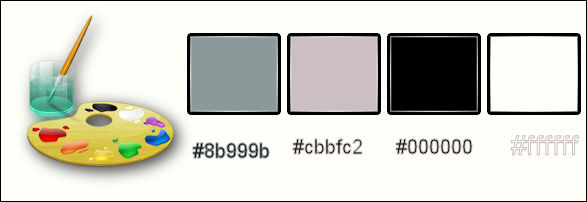
- Material Properties-Set your foreground to
#cbbfc2 -Set your background color to black
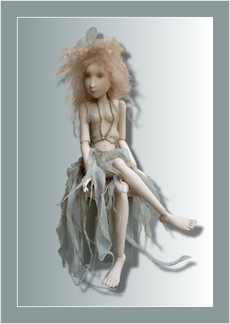
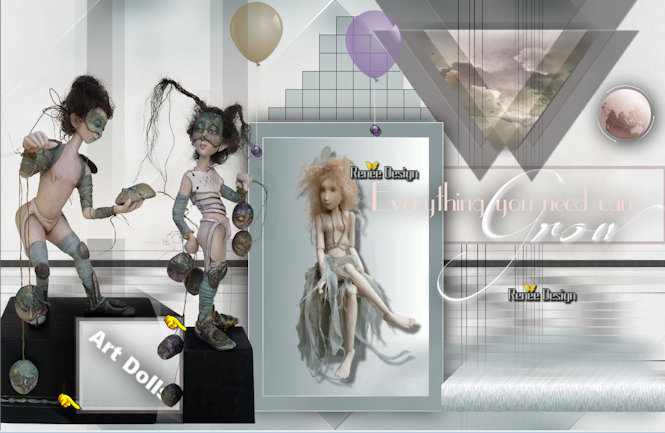
1. Open the image ‘’
Fond_Art Dolls Yvonne Flipse’’- – Window - Duplicate (or shift+D) - Close the original and proceed on the copy -Promote Background Layer =Raster 1
2. Adjust-Blur-Gaussian Blur: Radius 15
3. Effects-Plugins – Simple - Blintz
4. Effects-Plugins – Simple – 4 Way average
5. Effects- User Defined Filter- Emboss 3 -using the default settings
6. Adjust-Sharpness-Sharpen
7. Layers-New raster layer
8.Selections –load/save selection –load selection from disc and choose:‘’Art_dolls_1’’
9. Activate Flood Fill Tool and fill the selection with the background color
Selections-Deselect All
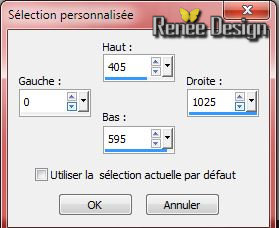
10.
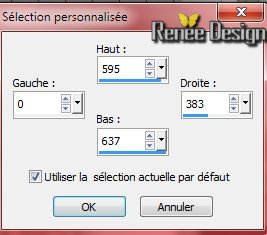
Selection Tool ( S ) Custom selection with these settings
11. Selections-Promote selection to layer
Selections-Deselect All
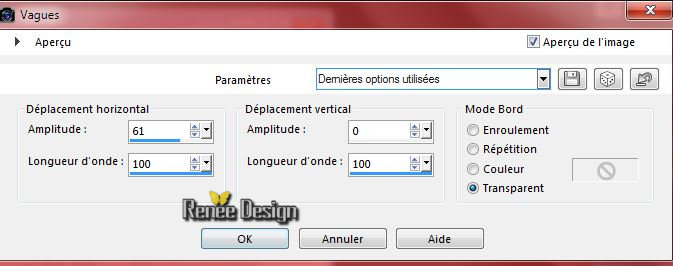
12. Effects-Distortion Effects-Wave with these settings
13. Layers-Duplicate
14. Image - Mirror
15. Layers-Merge-Merge Down
16. Effects- 3D Effects-Drop Shadow with these settings : 1/1/100/2 black
17. Effects-Texture Effects– Mosaic Antique with these settings

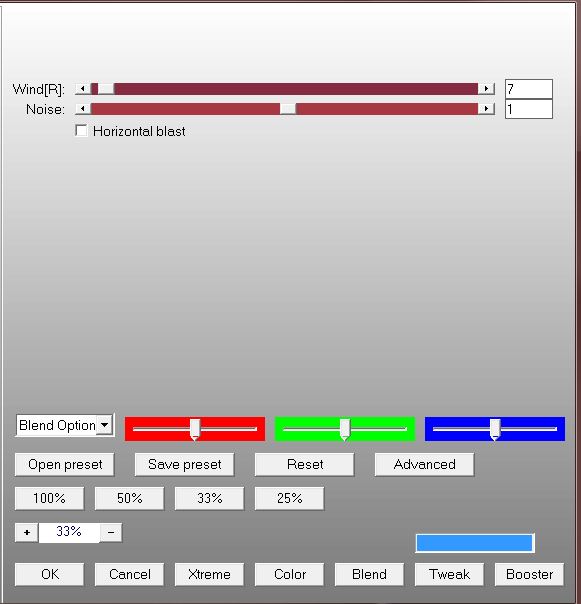
18.Effects-Distortion Effects-Wind-Winddirection From Left -Wind strength 100
- Layer-Palette-Make Raster 2 active
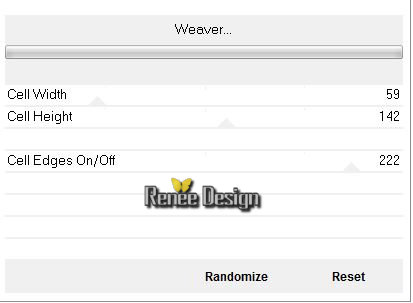
19. Effects –Plugins Unlimited – Toadies - Weaver
Layer-Palette- Make Raster 2 active
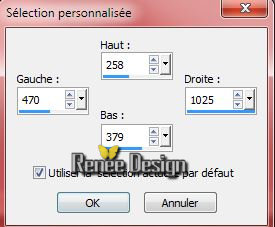
20. Selection Tool ( S ) Custom selection with these settings
- Hit the Delete Key of your Keyboard
- Keep Selected
21. Layers-New raster layer
22. Activate Flood Fill Tool and fill the selection with the foreground color
23. Selections- Modify –
Contract- 5 pixels
Hit the Delete Key of your Keyboard
Selections-Deselect All
24. Layers-New raster layer
25. Selections –load/save selection –load selection from disc and choose: ‘’
Art_dolls_2’’
26. Pot of Paint: Change the opacity of the color at 70%
–Activate Flood Fill Tool and fill the the selections with the foreground color
27. Layers-New raster layer
28. Activate the tube « JHanna_785
background/activate layer ‘’Modifié’’ of the tube
- Edit/copy- Edit/ paste into selection
29. Layer Palette - Double click on this Layer and set the Blend Mode to "Luminance -Legacy " -Set the layer opacity of this layer to 61%
- Layer-palette-Make Raster 4 active
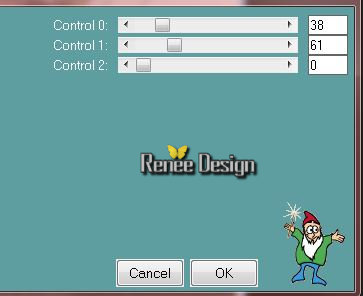
30. Effects-Plugins – Toadies – What are you
20/20
Layer palette look like this now
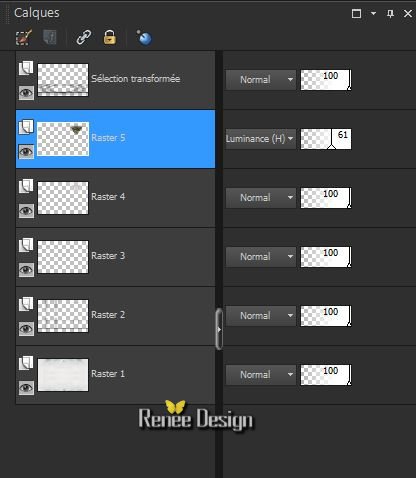
- Layer-Palette-Make Raster 5 active
31. Layers-Merge-Merge Down
32. Effects- 3D Effects-Drop Shadow with these settings : 1/1/100/2 black
33. Double click on this Layer and set the Blend Mode to "Hard Light "
- Material Properties-Set your foreground to #8b999b -Set your background color to white
-
Activate the top of the layer-Palette
34. Layers- New raster layer
35.
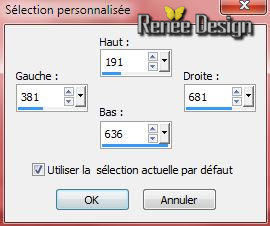
Selection Tool ( S ) Custom selection with these settings
- Put the image aside for now, we will need it later.. keep selected
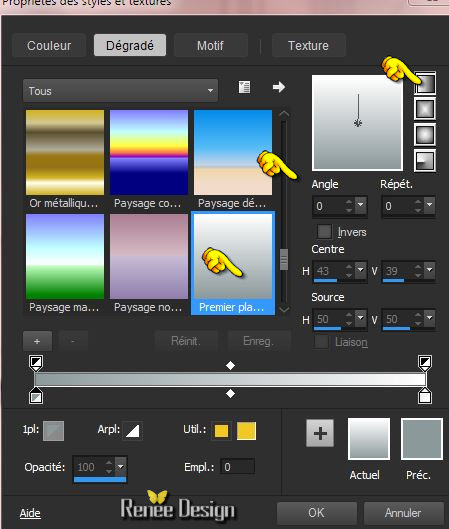
- Material of the foreground: Prepare a Foreground/background-linear gradient configured like this.
We make a picture
36. Open a transparent image of 300 x 445 pixels
37. Activate Flood Fill Tool and fill the layer with the gradient
38. Activate the tube
‘’Dolls1de -Arasimage’’ activate layer
‘’TUBED1’
- Image Resize 471 pixels height
-
Edit/copy- Edit/ paste as new layer on your working image
39.
Image - Add borders-Symmetric checked:1 pixel white
40. Image - Add borders-Symmetric checked:25 pixels #8b999b
41. Image - Add borders-Symmetric checked:1 pixel white
42. Edit-Copy
-
Now activate the image from step 35
43. Edit-Paste into selection
44. Effects- 3D Effects-Drop Shadow with these settings : 1/1/100/50 black
Selections-Deselect All
- Material Properties-Set your foreground to #8b999b
45. Layers-New raster layer
46. Selections –load/save selection –load selection from disc and choose:» Art_dolls_3’’
47. Pot of Paint: Opacity of the color at 70% -Activate Flood Fill Tool and fill the the selections with the foreground color #8b999b
48. Effects-Plugins – EyeCandy 3.1 –
Antimatter
49. Double click on this Layer and set the Blend Mode to "Hard Light "-I have lowered the opacity of that layer to
69%
50. Effects-Plugins – L and
K’s - Jouri-with these settings
Selections-Deselect All
51. Activate the tube ‘’ Art Dolls- Image
1.png’’
- Edit/copy- Edit/ paste as new layer on your working image - With your move tool place it to the bottom of your image
52. Activate the tube ‘’
texte-Kahlan.png’’
- Edit/copy- Edit/ paste as new layer on your working image
- Move tool / place your tube on the right side of your image (erase the signature)
53. Image-Negative Image
54. Effects-3D Effects-Drop Shadow with the same settings
55.
Layers-New raster layer
56.Selection Tool ( S ) Custom selection with these settings
-
Properties foreground- put same gradient to lineair with settings below:
57. Pot of Paint: Change the opacity of the color at 100%
-Activate Flood Fill Tool and fill the selection with the gradient
58. Effects-Plugins – AP{Paint}- Windblast with these settings ( ore take plugins- AP
GX14)
Selections-Deselect All
59. Effects-Plugins – EyeCandy 3.1 –
Motion Trail
you get this message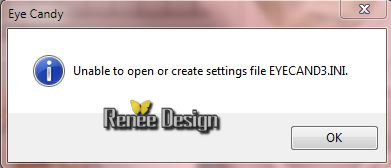 >>Click Ok -and the window opens and you can use the filter with these settings

60. Effects- 3D Effects-Drop Shadow with these settings : 3/3/100/50 black
61. Layers Duplicate – Image – Mirror
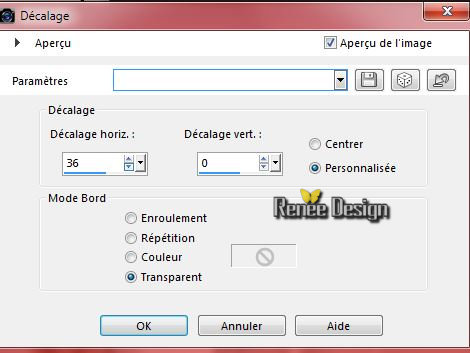
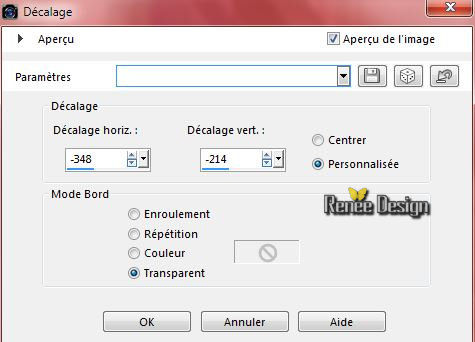
62. Effects-Image Effects-Offset with these settings
63.Layers-Merge-Merge Down
64. Activate the tube ‘’ Art Dolls- Elements_deco’’
- Activate ‘’Ballon_1/ Ballon_2 and terre
‘’
Edit/copy- Edit/ paste as new layer on your working image -Move tool / place your tube as shown in the example below
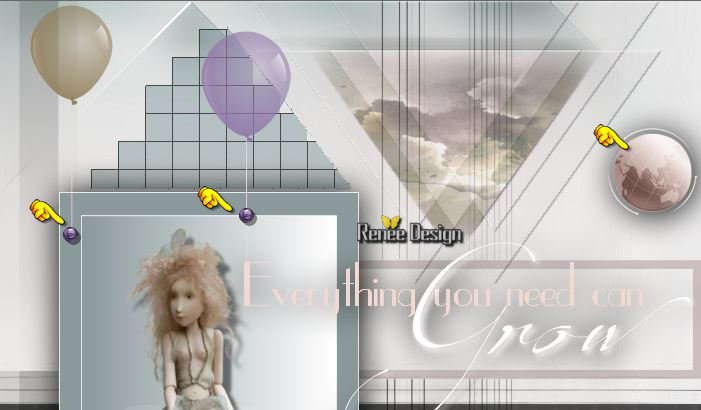
- Activate tube ‘’box’’
- Edit/copy- Edit/ paste as new layer on your working image
65. Effects-Image Effects-Offset with these settings
66. Activate the tube ‘’ MaskedPeople5 by Yvonne
Flipse.pspimage’’
- Image Resize 60 %
-
Edit/copy- Edit/ paste as new layer on your working image- Move tool / place your tube on the bottom left side of your image (see finished image) 67.
Activate the tube ‘’MaskPeople3 by YvonneFlipse.pspimage’’
-
Image Resize 60 %
- Edit/copy- Edit/ paste as new layer on your working image -Move tool / place your tube on the bottom left side of your image. (see finished image) . 68. Layers-Arrange-Move Down
- Activate the top of the layer-Palette
69. Activate the tube ‘’Art Dolls- ruban’’
-Edit/copy- Edit/ paste as new layer on your working image
Move tool / place your tube on the bottom of your image
- Layer-Palette-Make Raster 12 active (terre)
70. Activate the tube ‘’Vine.pspimage’’
- Edit/copy- Edit/ paste as new layer on your working image
-Move tool / place your tube on the top left between the two ladies (see finished image)
71. Double click on this Layer and set the Blend Mode to "Luminance-Legacy"
72. Effects-Plugins –
Grahic plus – Cross Shadow using the default settings
- Activate the top of the layer palette
73. Activate the tube’’
Flowers1 »
- Edit/copy- Edit/ paste as new layer on your working image
- Move tool / place your tube on the bottom right corner
74. Double click on this Layer and set the Blend Mode to "Hard Light "
75. Effects- 3D Effects-Drop Shadow with these settings :
1/1/75/5 black
76. Image - Add borders-Symmetric checked:1 pixel
black
77. Image - Add borders-Symmetric checked:5 pixels white
78. Image - Add borders-Symmetric checked:1 pixel black
79. Image - Add borders-Symmetric checked:40 pixels #cbbfc2
80. Image - Add borders-Symmetric checked:1 pixel black
81.
Image - Add borders-Symmetric checked:35 pixels white
82.
Activate the tube Text‘’ il etait une fois...’’
- Edit/copy- Edit/ paste as new layer on your working image and move
- Ore write your own text. Font ‘’Mistsbr_ttf’’ (Included into the zipfile)
83.Effects- 3D Effects-Drop Shadow with these settings : 1/1/75/5 black
84. Image Resize 995
pixels width.
Save as JPG
I hope you enjoyed this tutorial .
Renée
This lesson was written by Renée
25/06/2015
edited and update
2015
*
Any resemblance with an existing lesson is merely a coincidence *
* Don't forget to thank the people who work for us and with us. I named the tubeurs - Testers and the translators.
Thanks Renée.
| 
 Translations


 When you see this logo the filter is imported in Unlimited
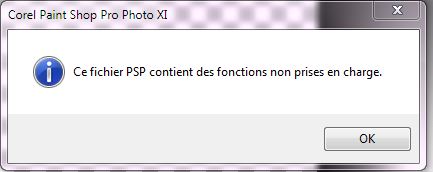

 All rights reserved